-
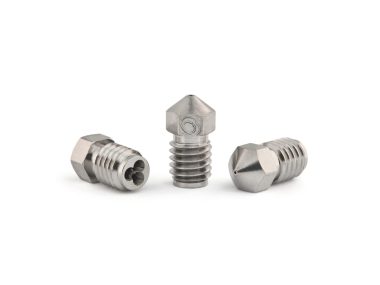
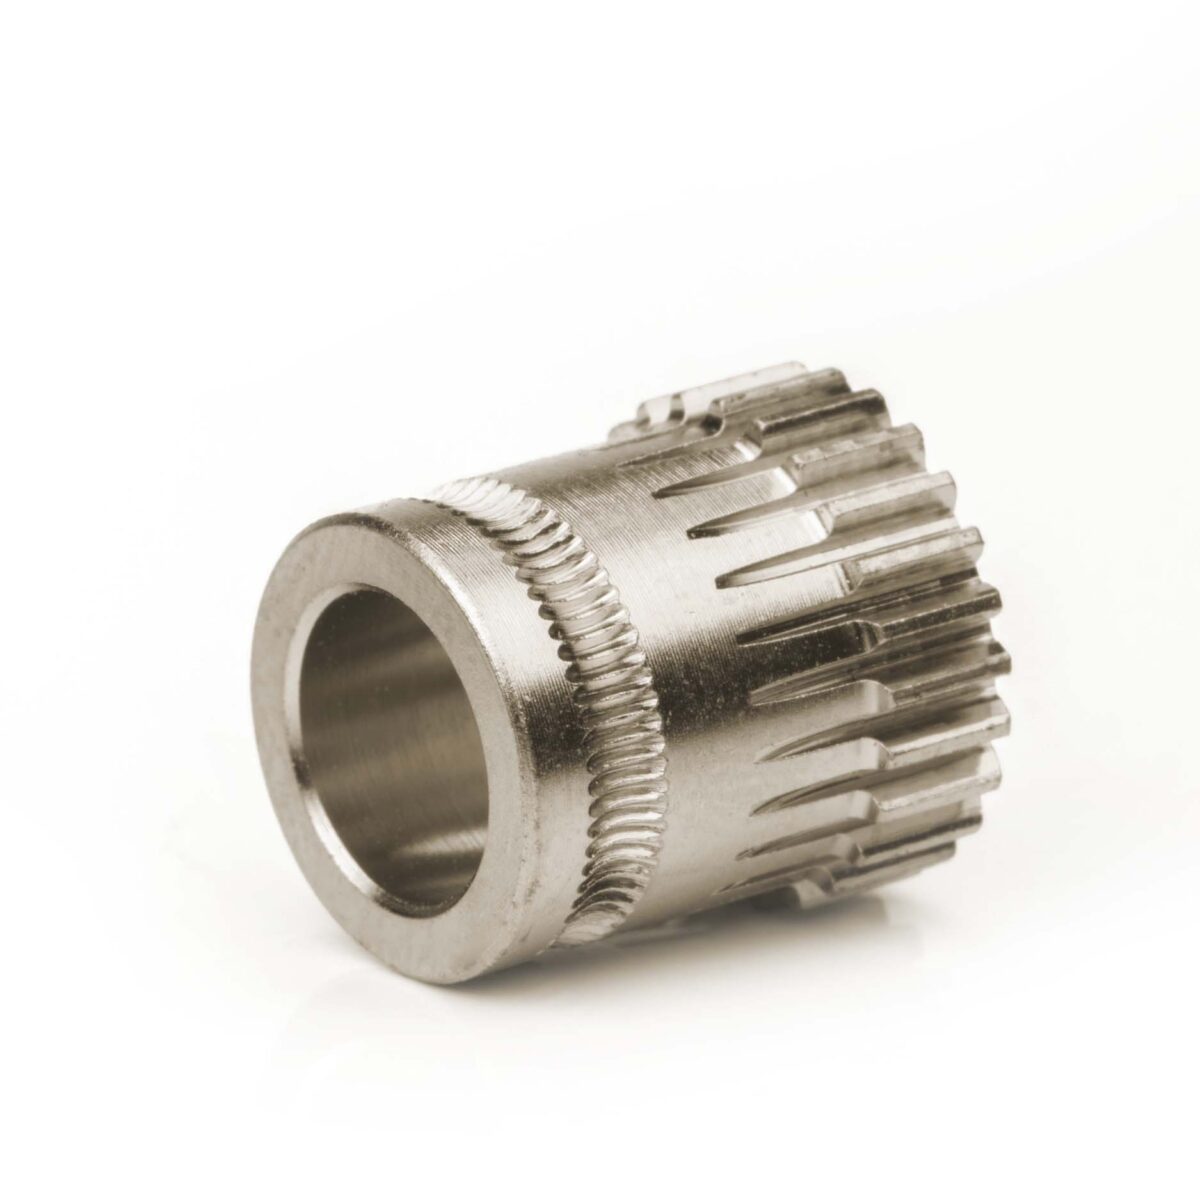
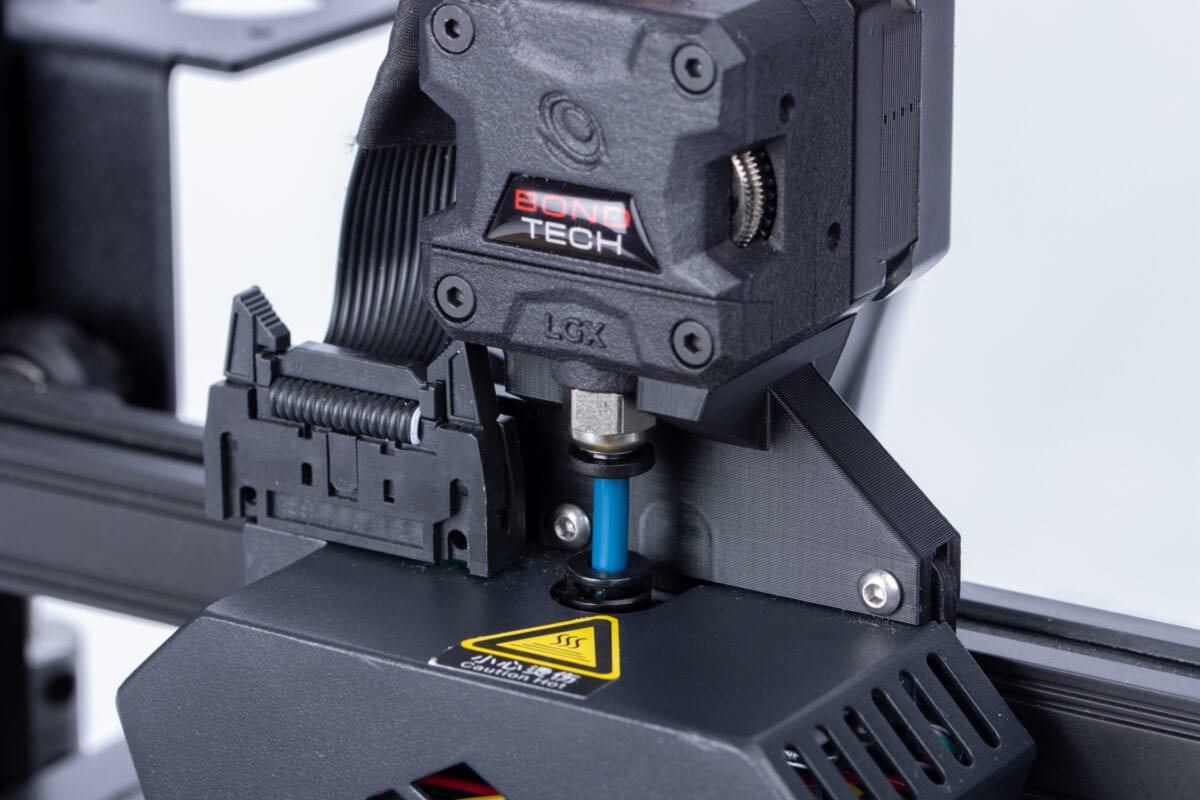
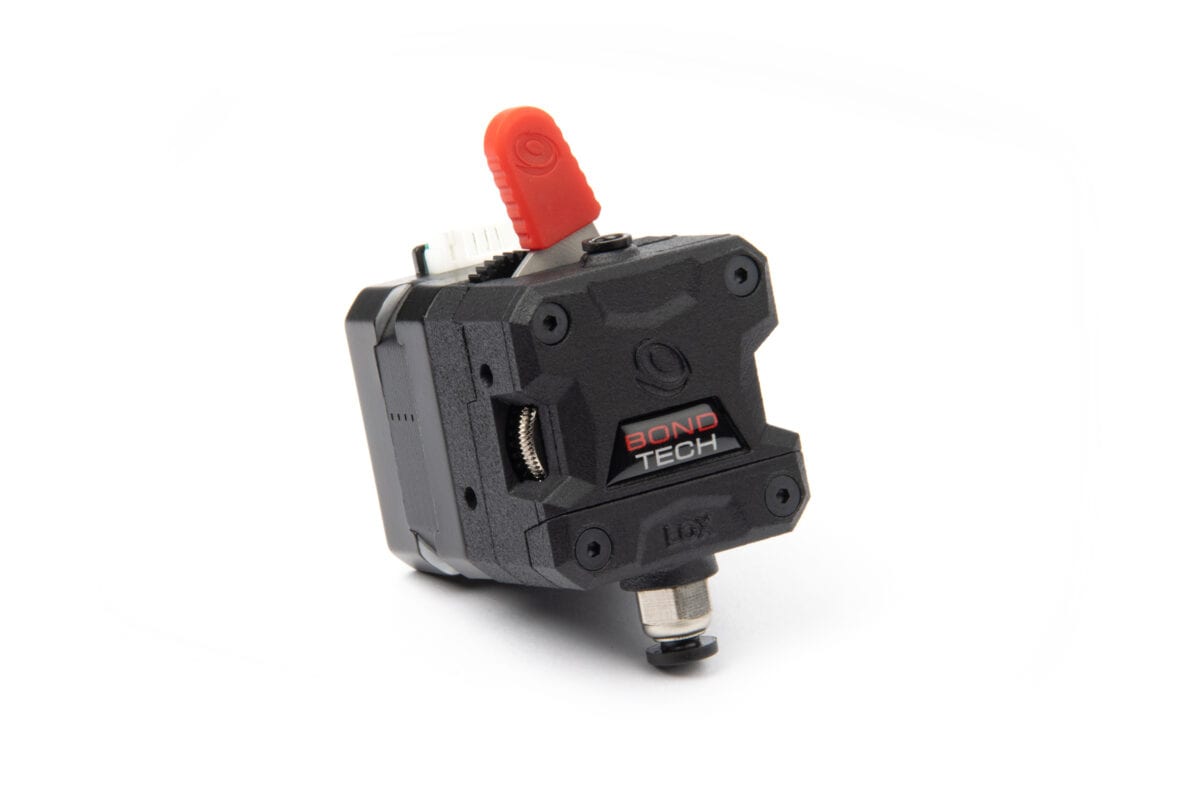
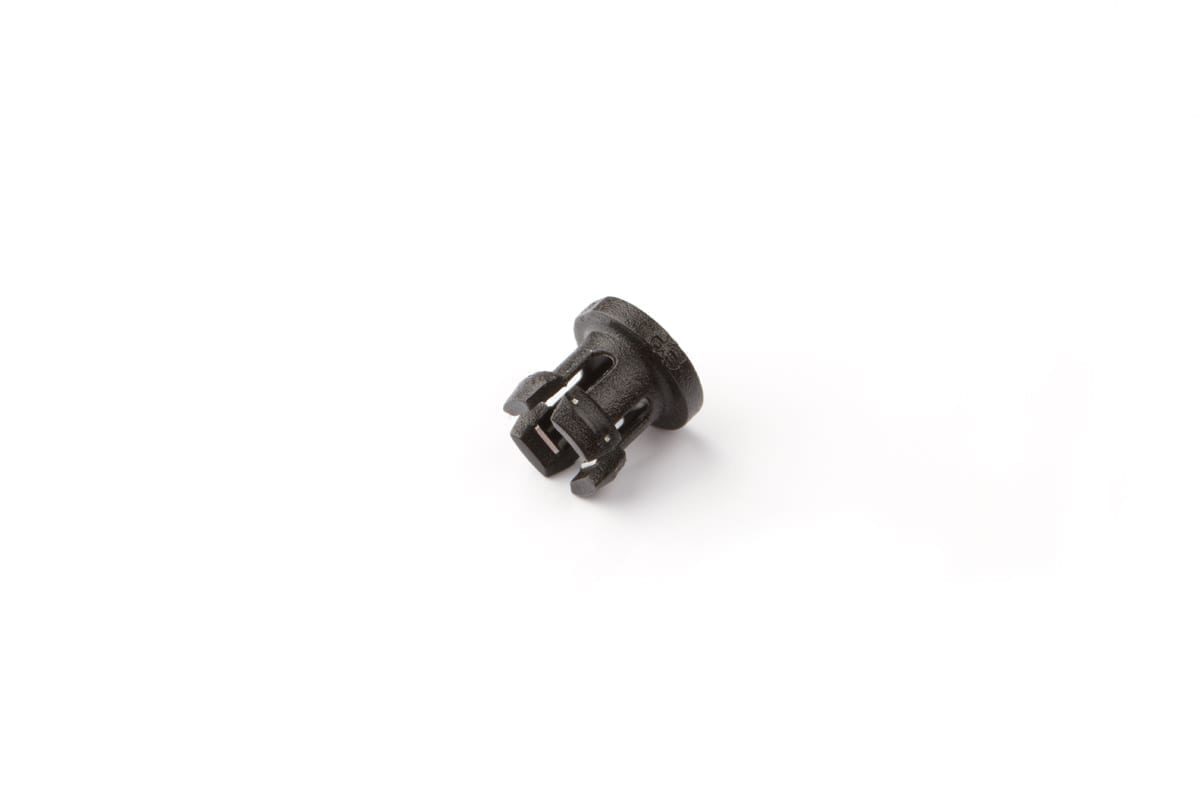
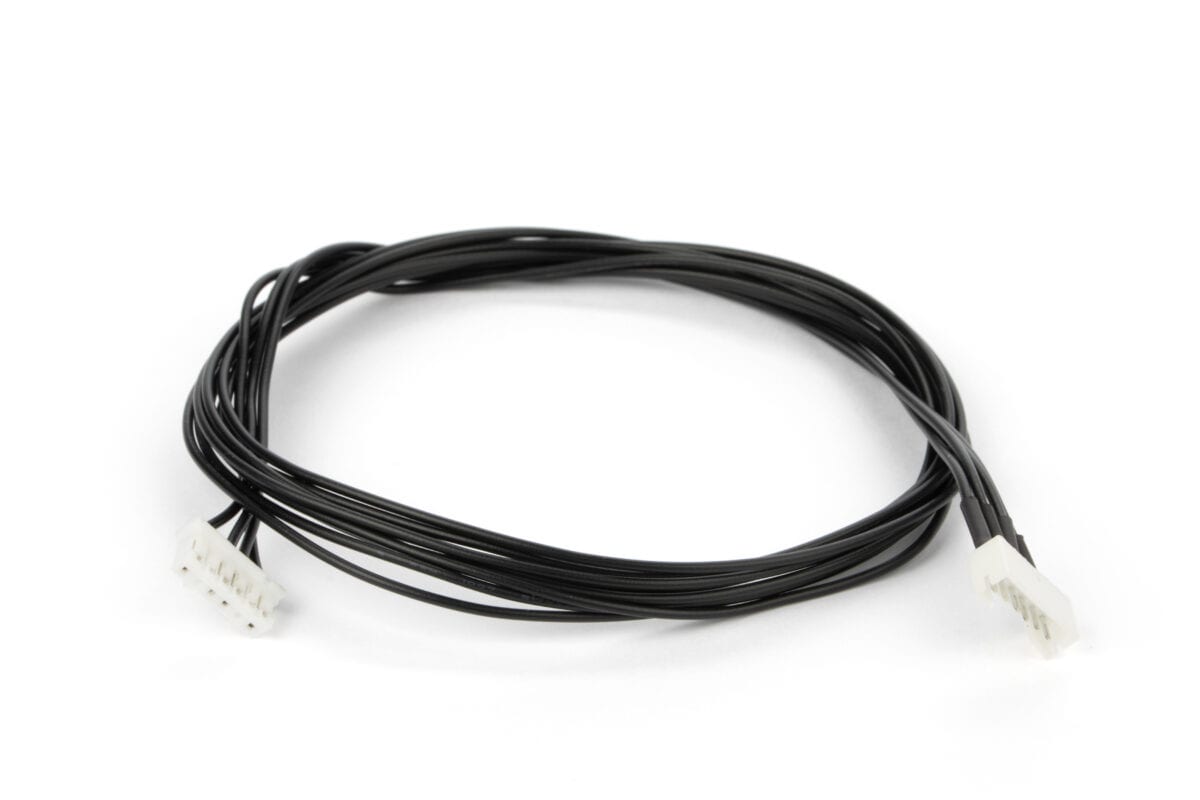
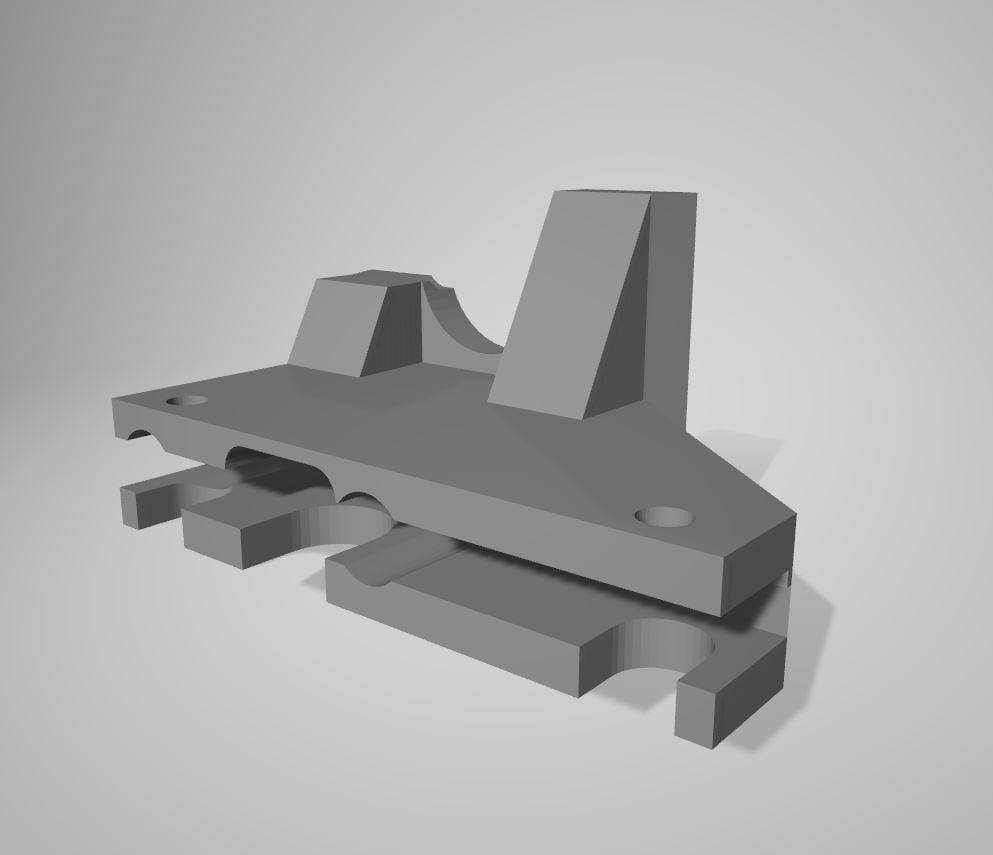
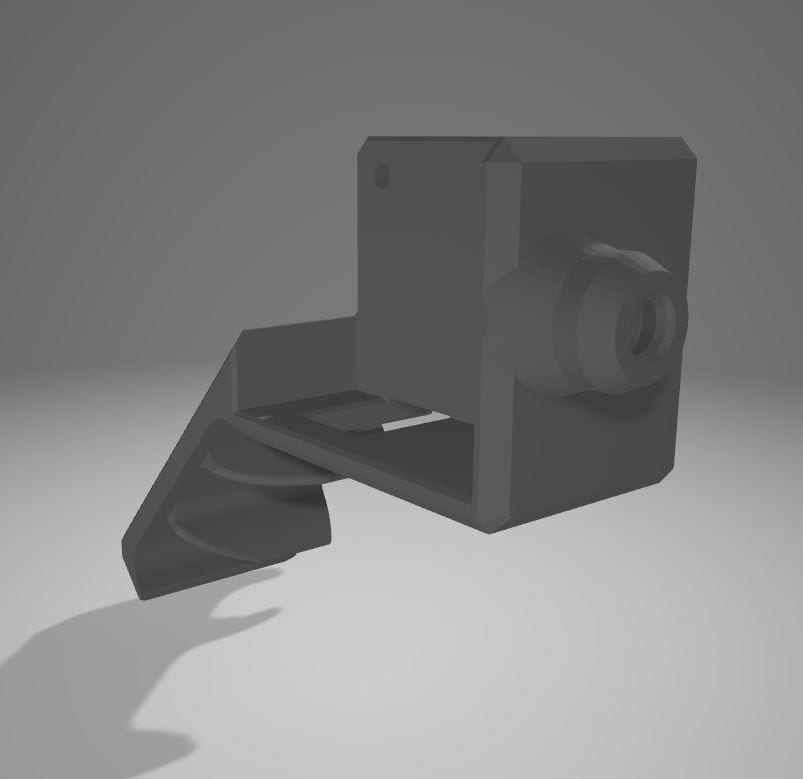
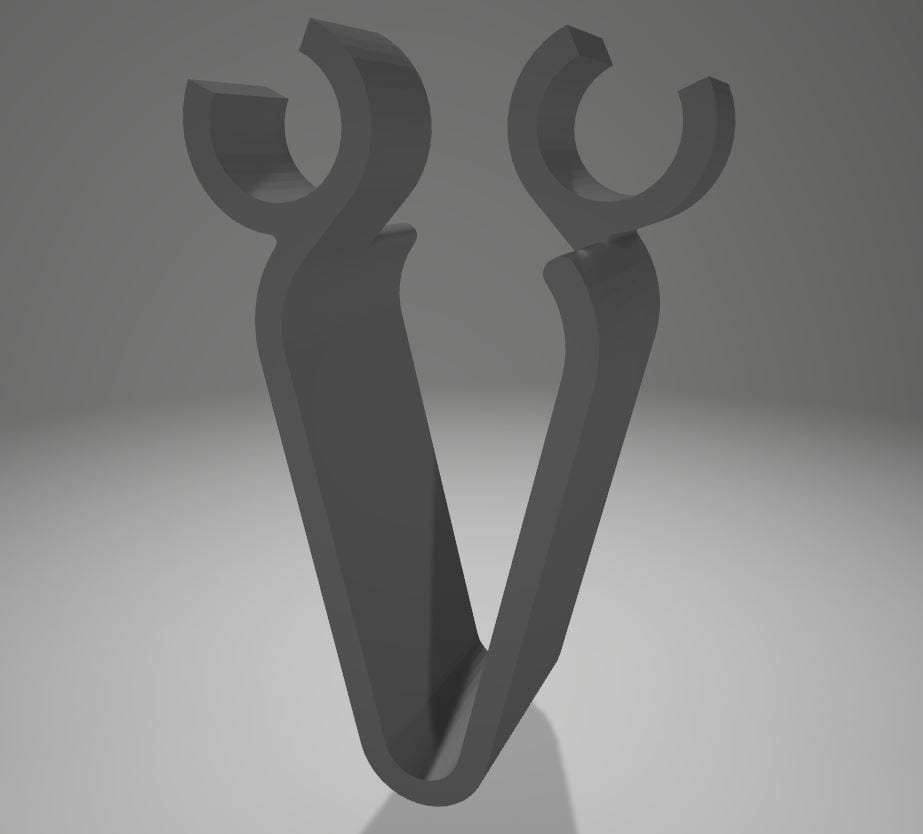
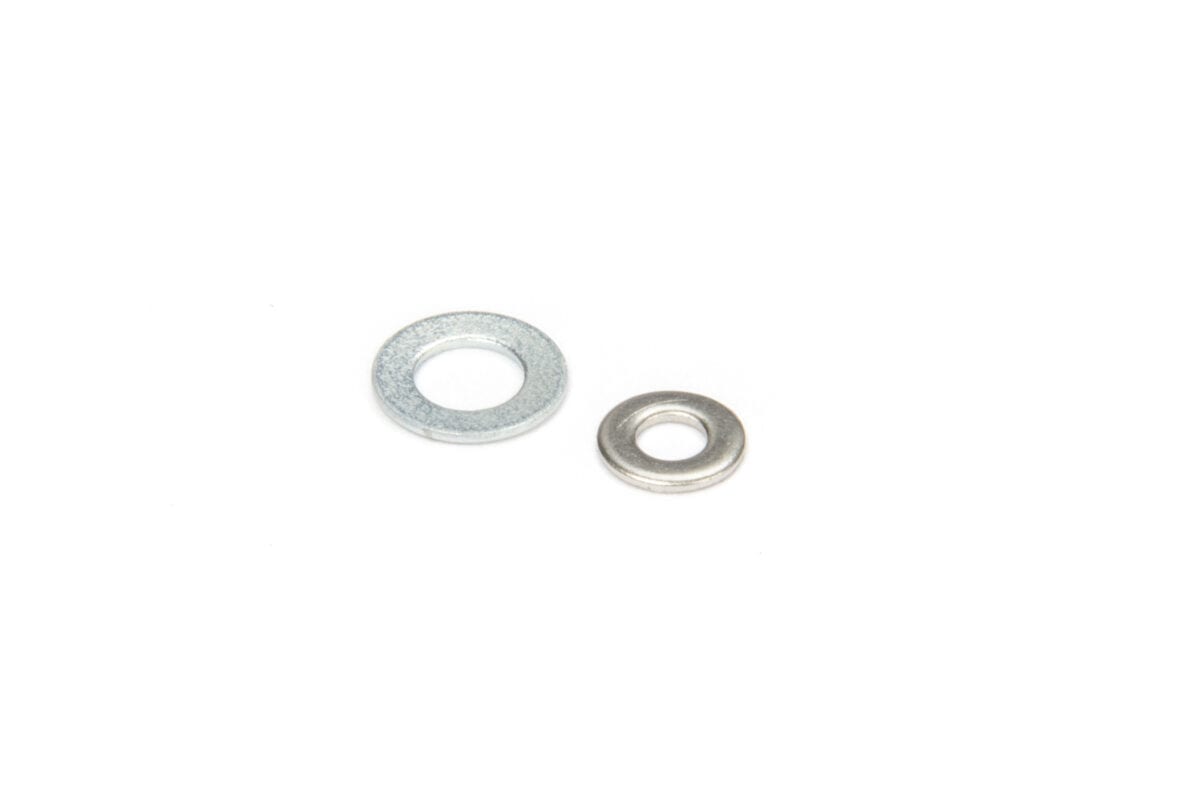
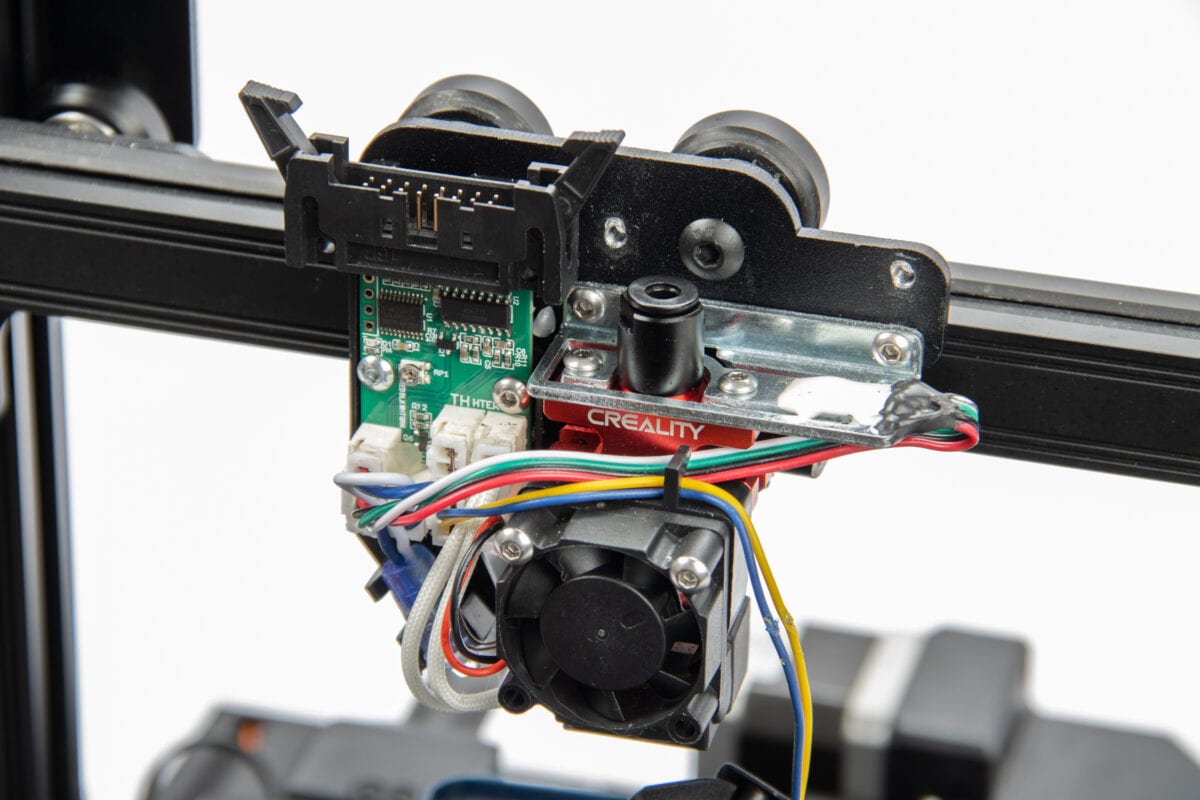
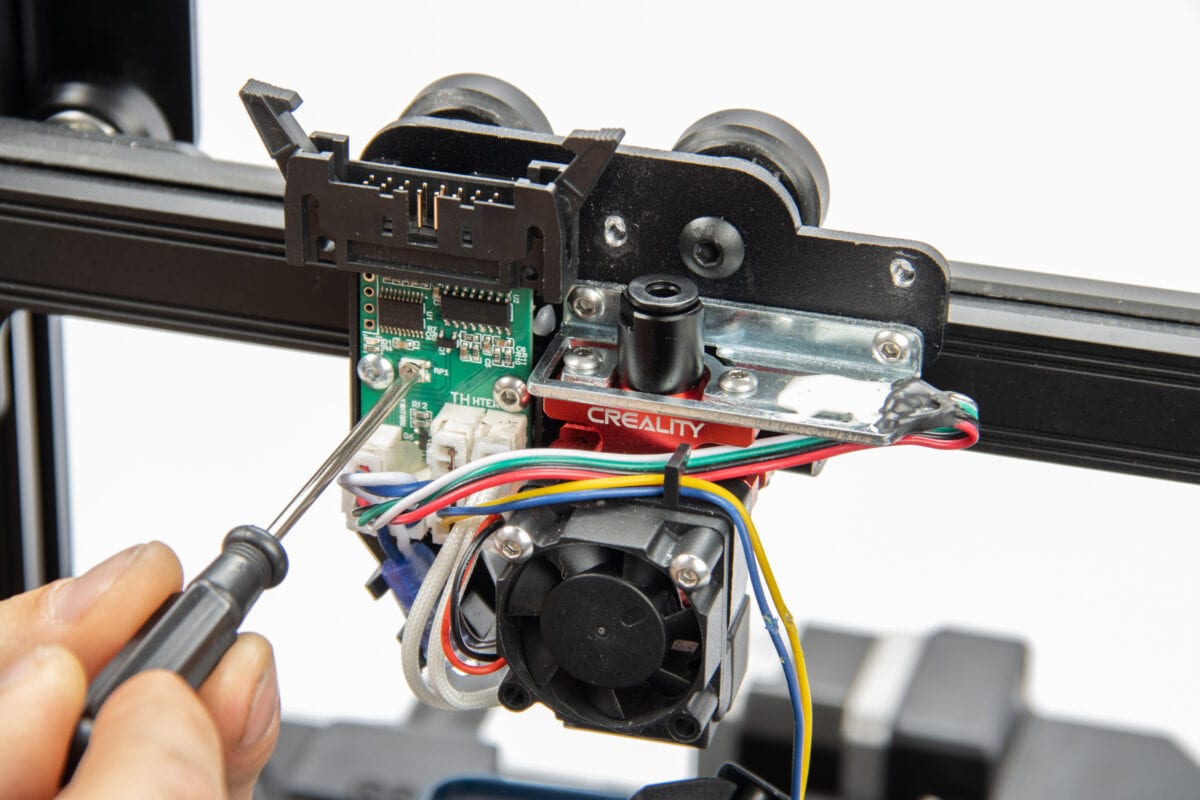
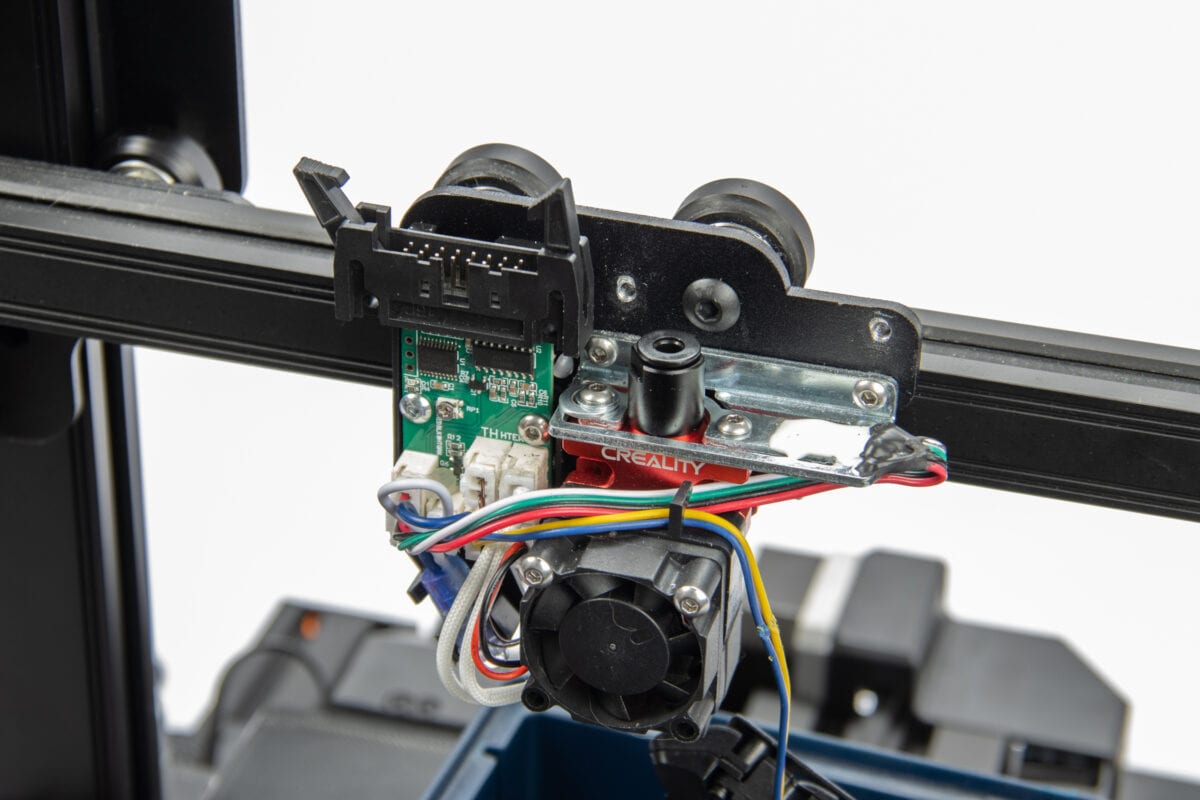
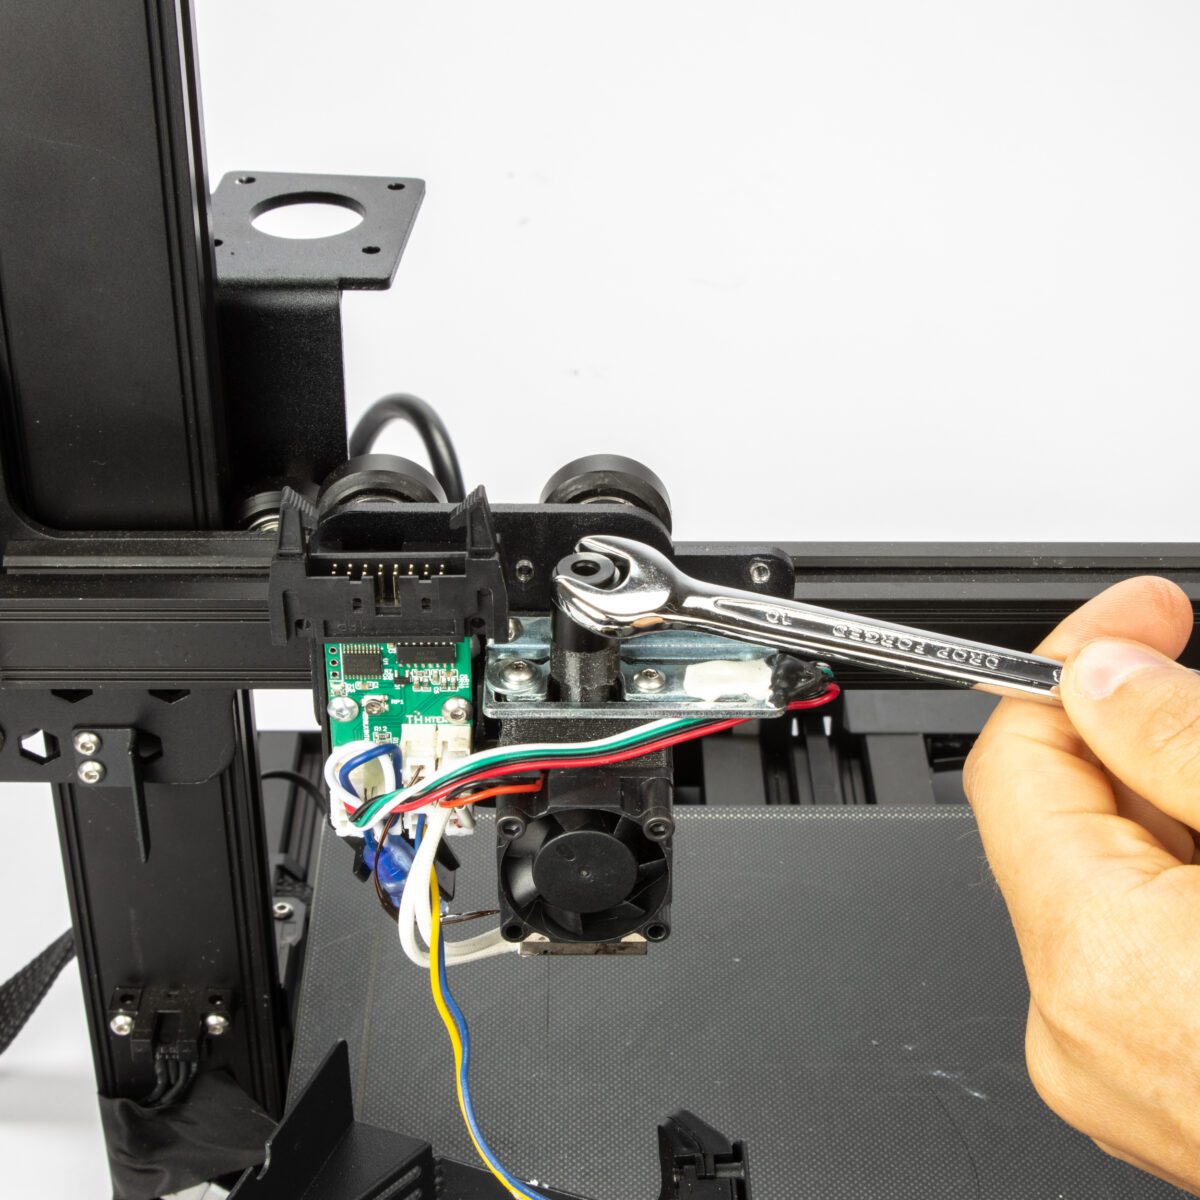
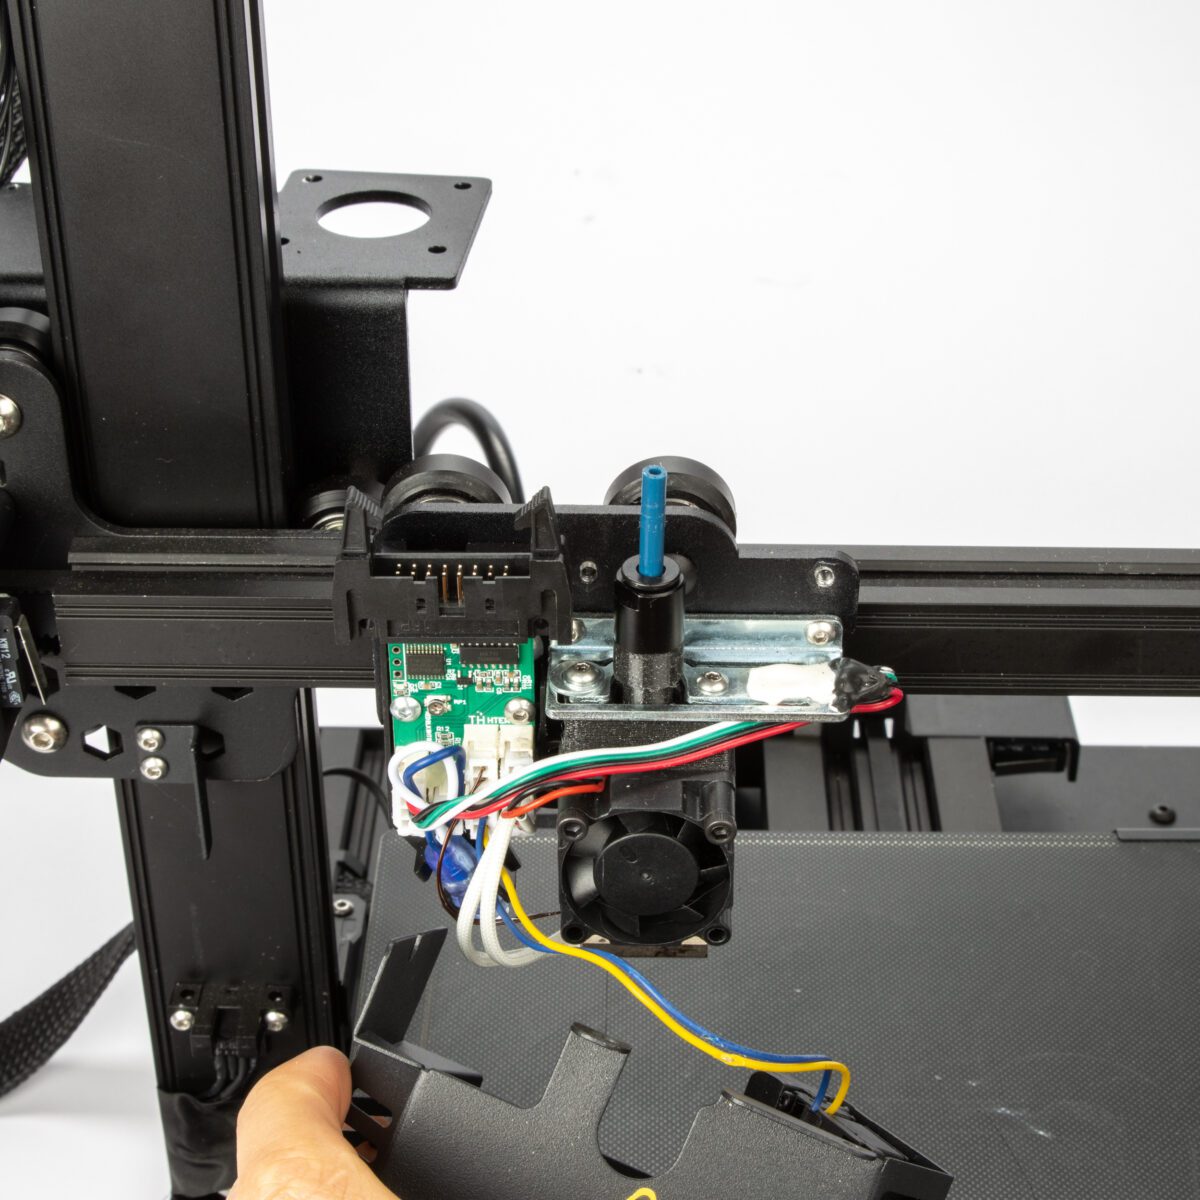
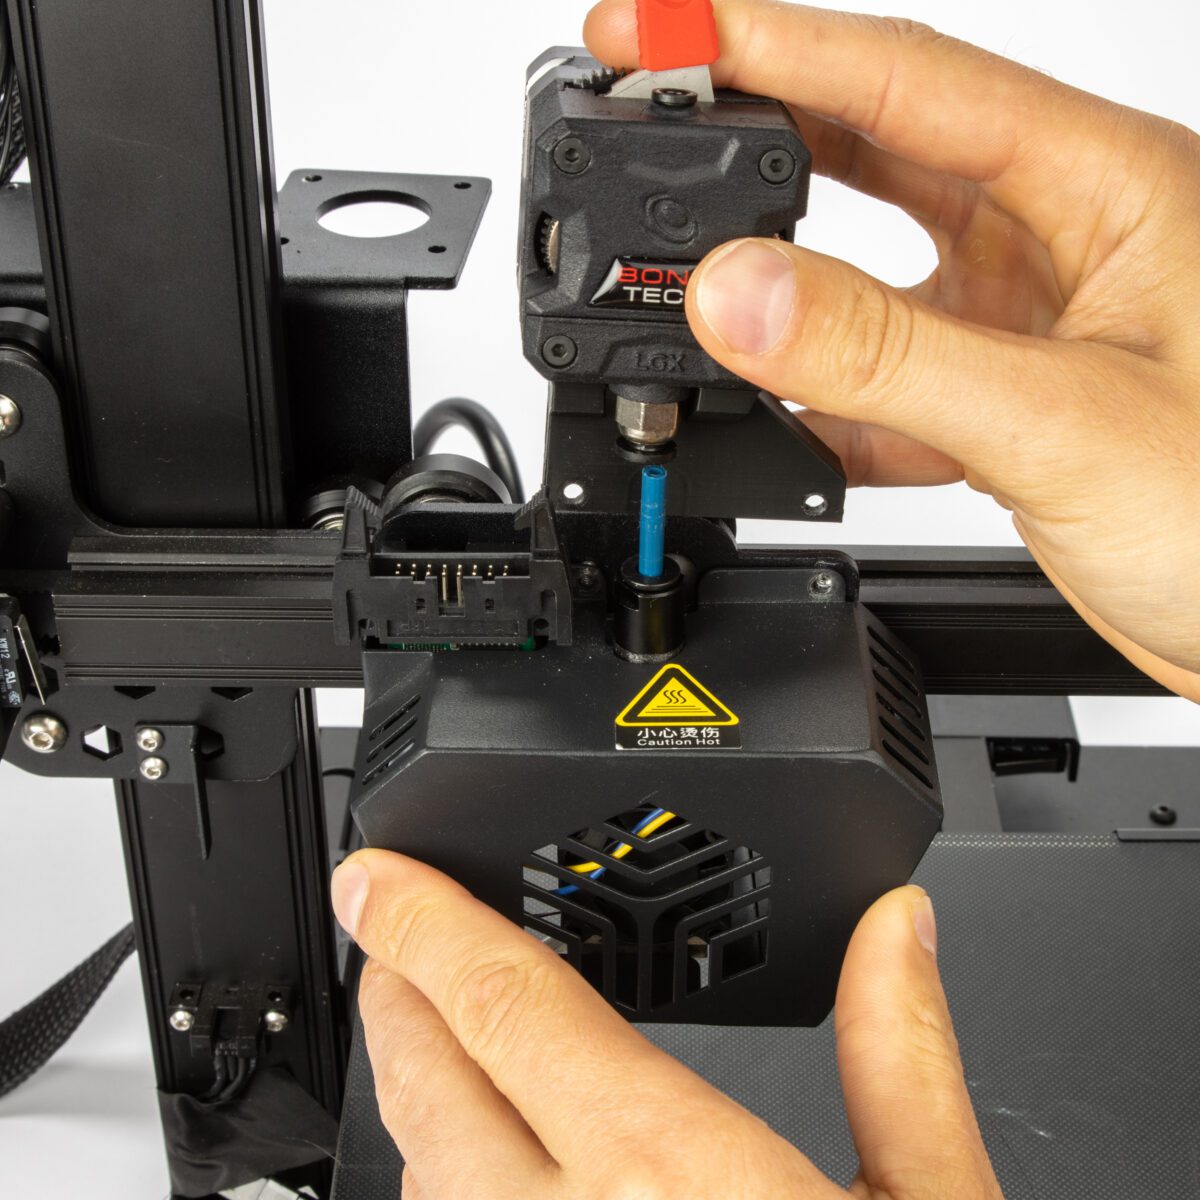
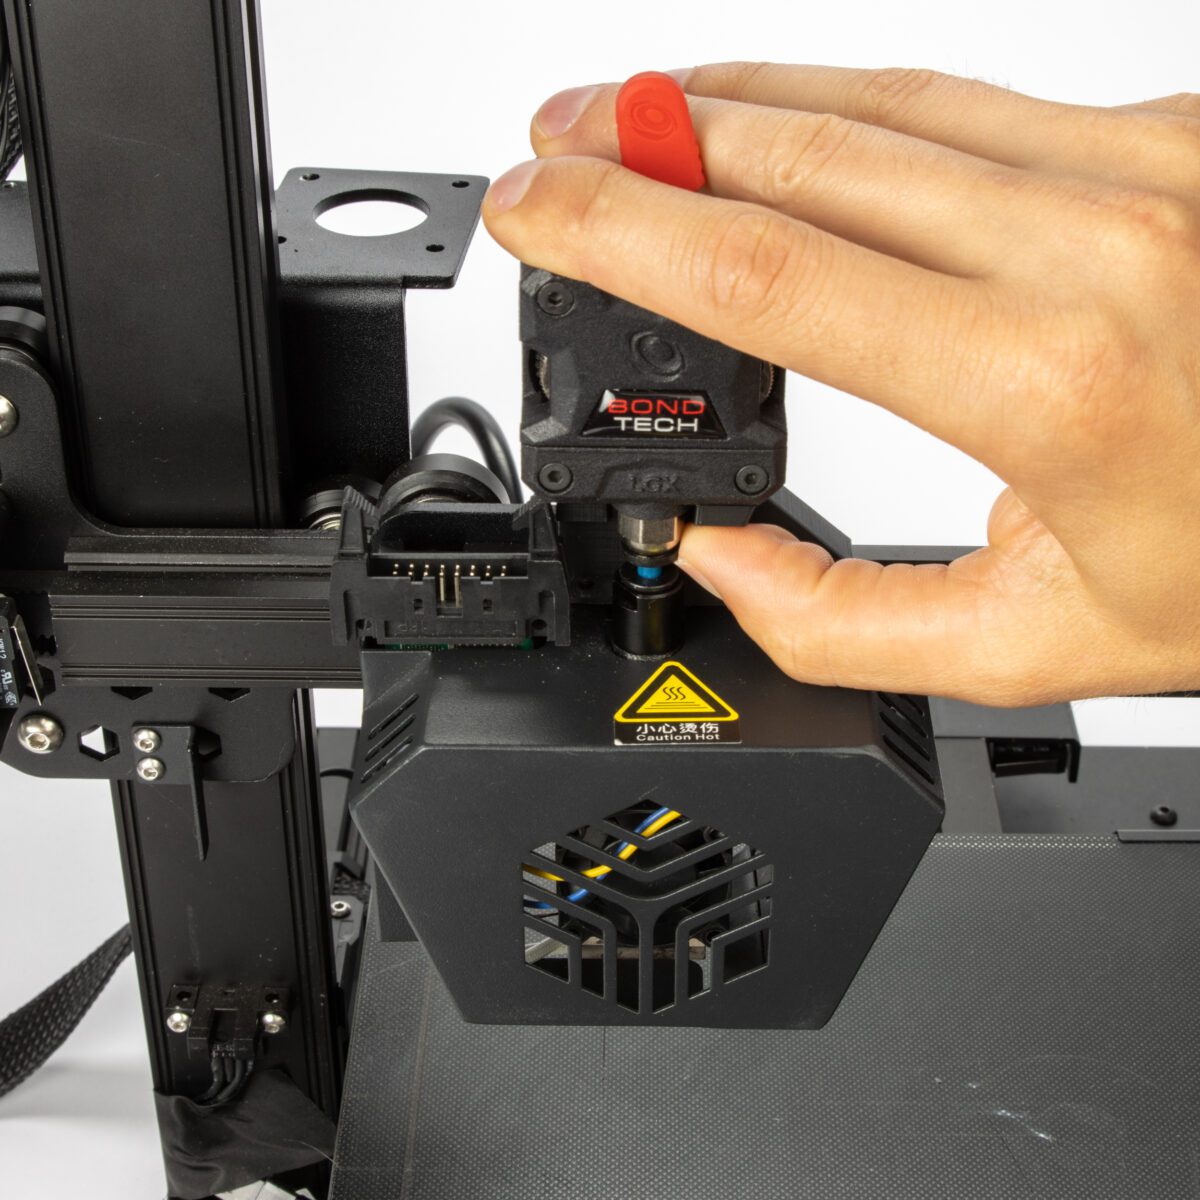
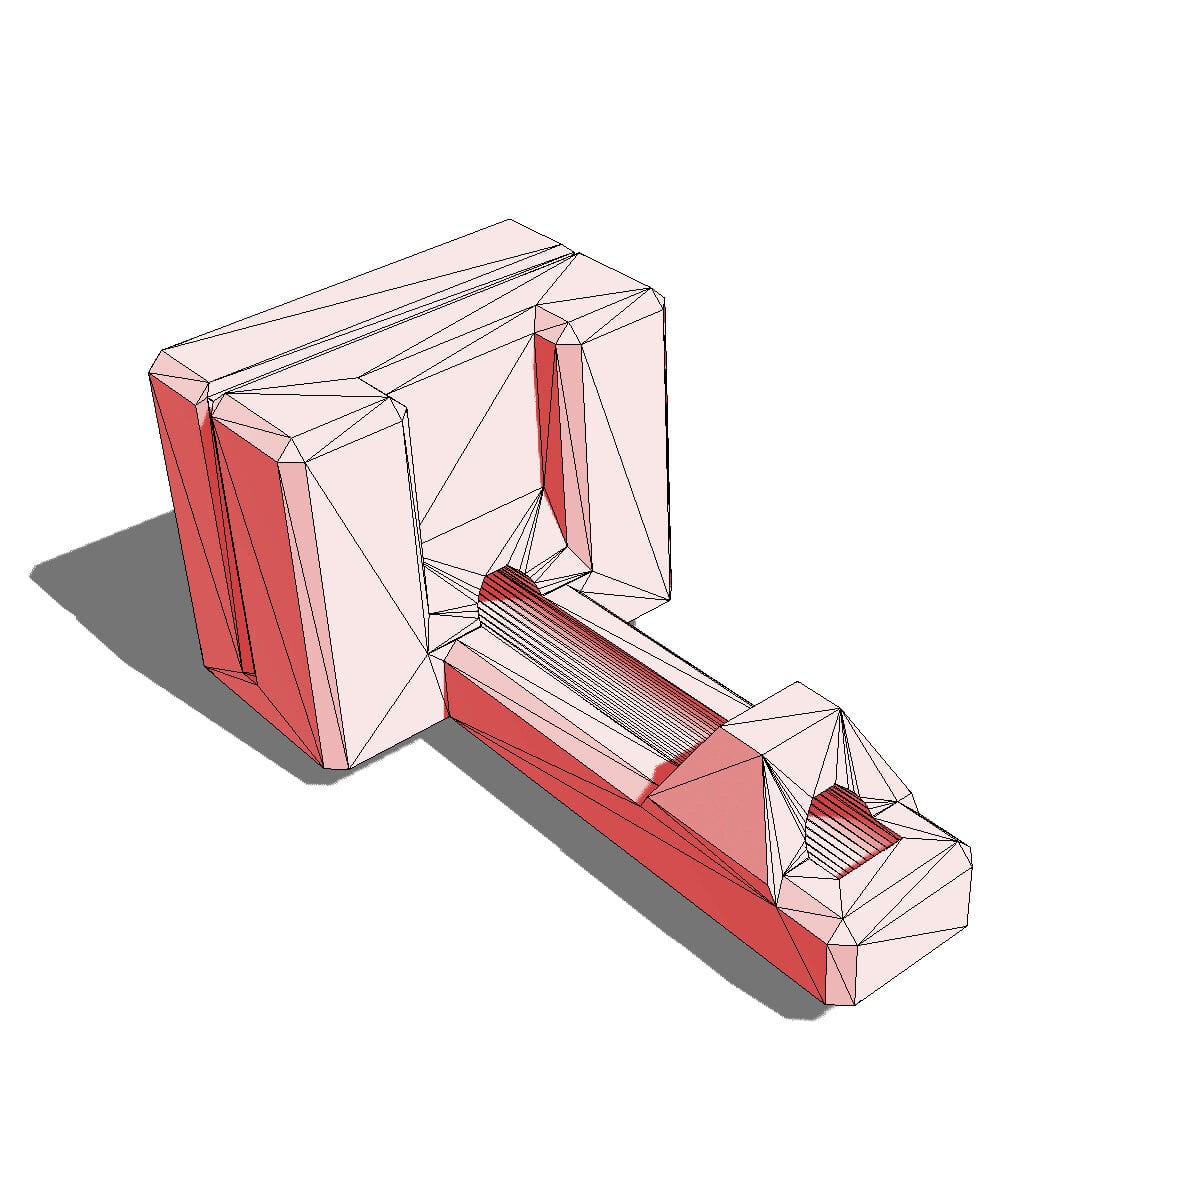
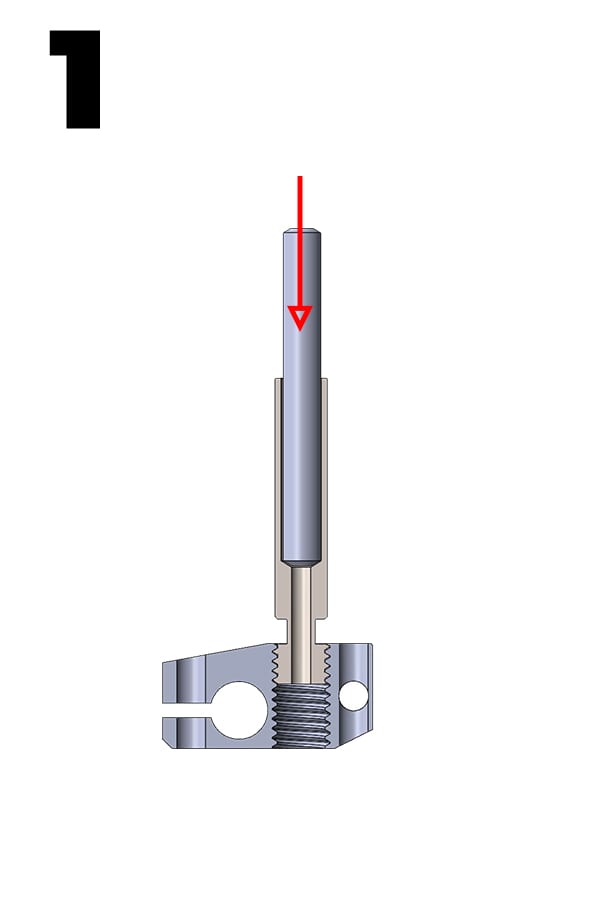
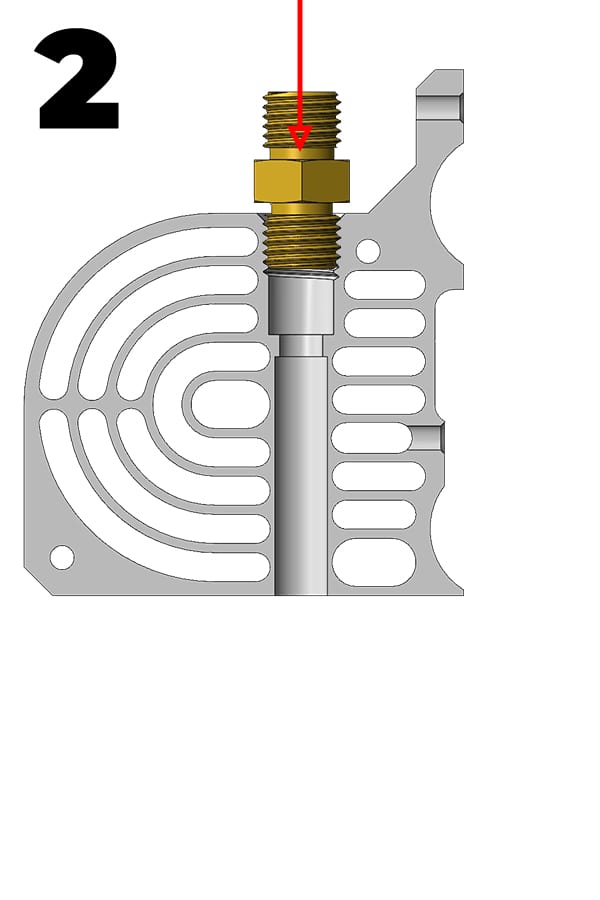
Slice 300°C Thermistor
-
×
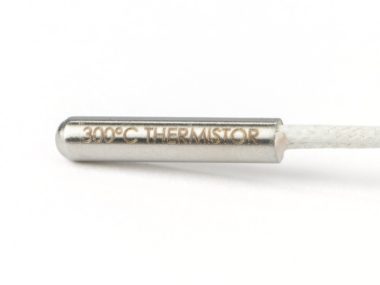 Slice 300°C Thermistor 1 × $31.24In stock


24
Nov
Nov
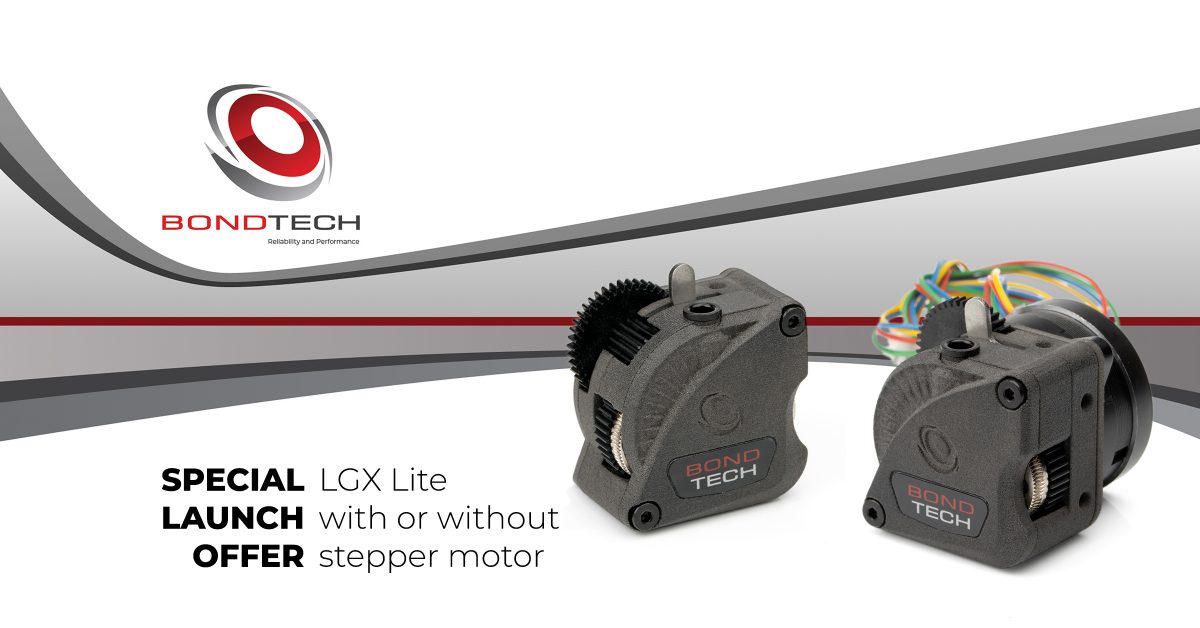
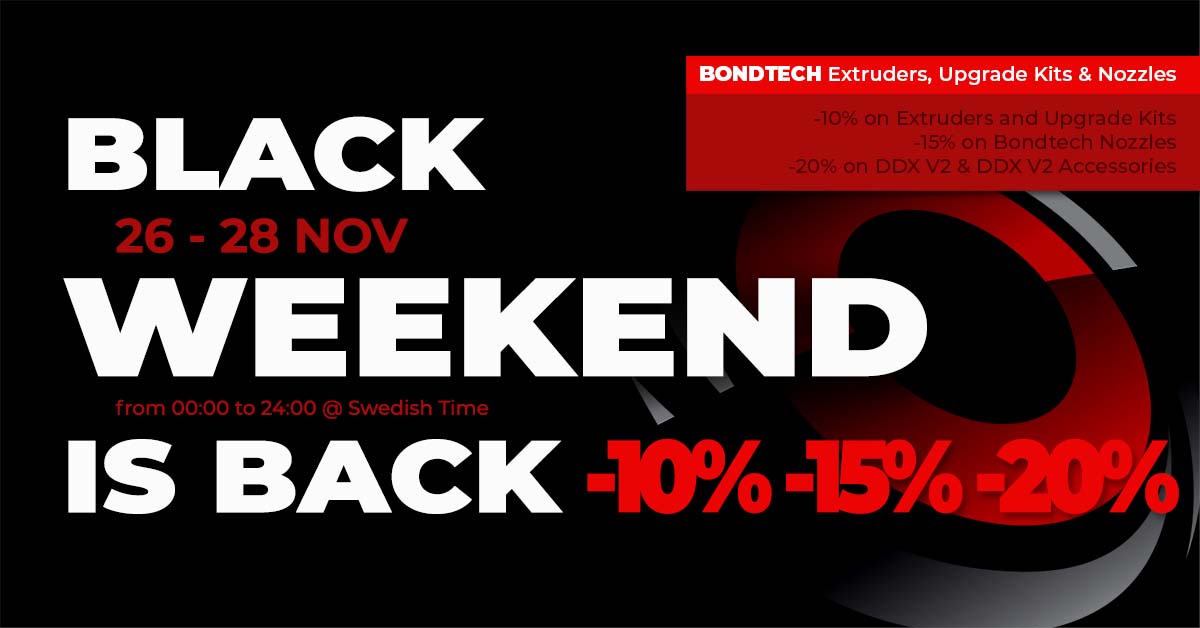
Take the opportunity To Pay Less
Bondtech Black Weekend lasts for 3 days. This year again from Friday to Sunday, 26th till 28th November.
Campaign starts
00:00 Friday
ends
24:00 Sunday,
CET (Swedish) time.
This time we have 3 different level of discounts.
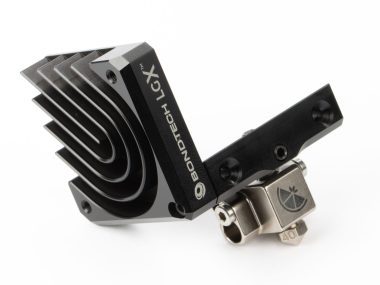
- 10% on all Bondtech extruders and Upgrade Kits;
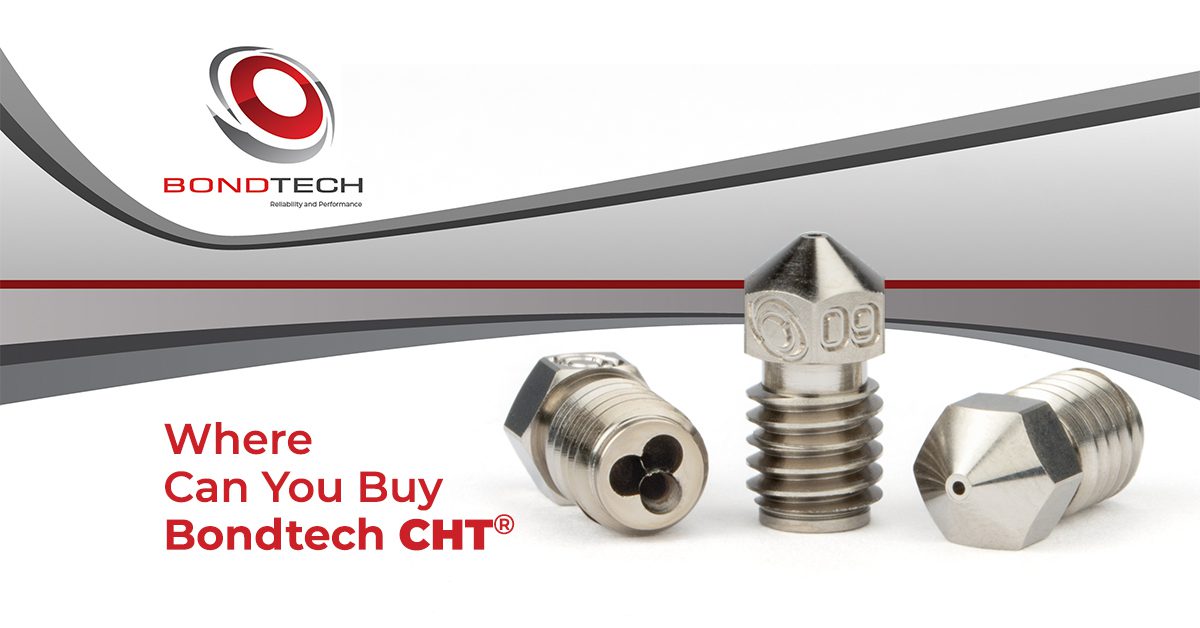
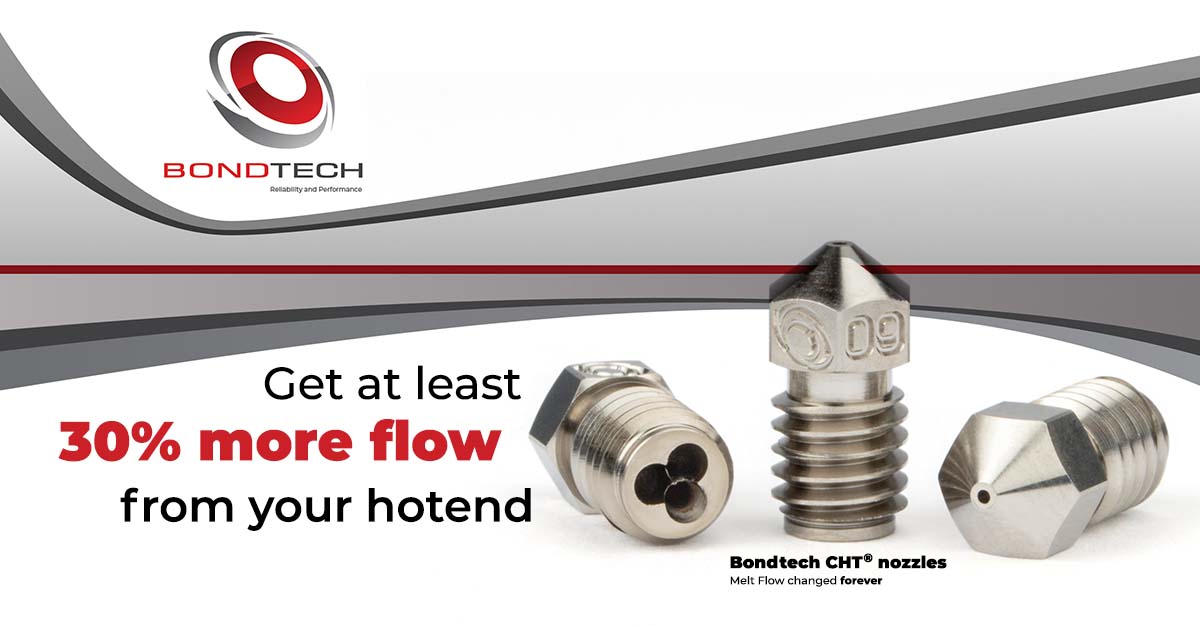
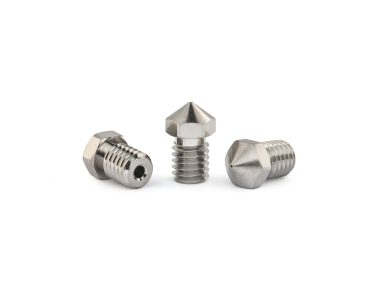
- 15% on all Bondtech nozzles, including Bondtech CHT®;
- 20% on
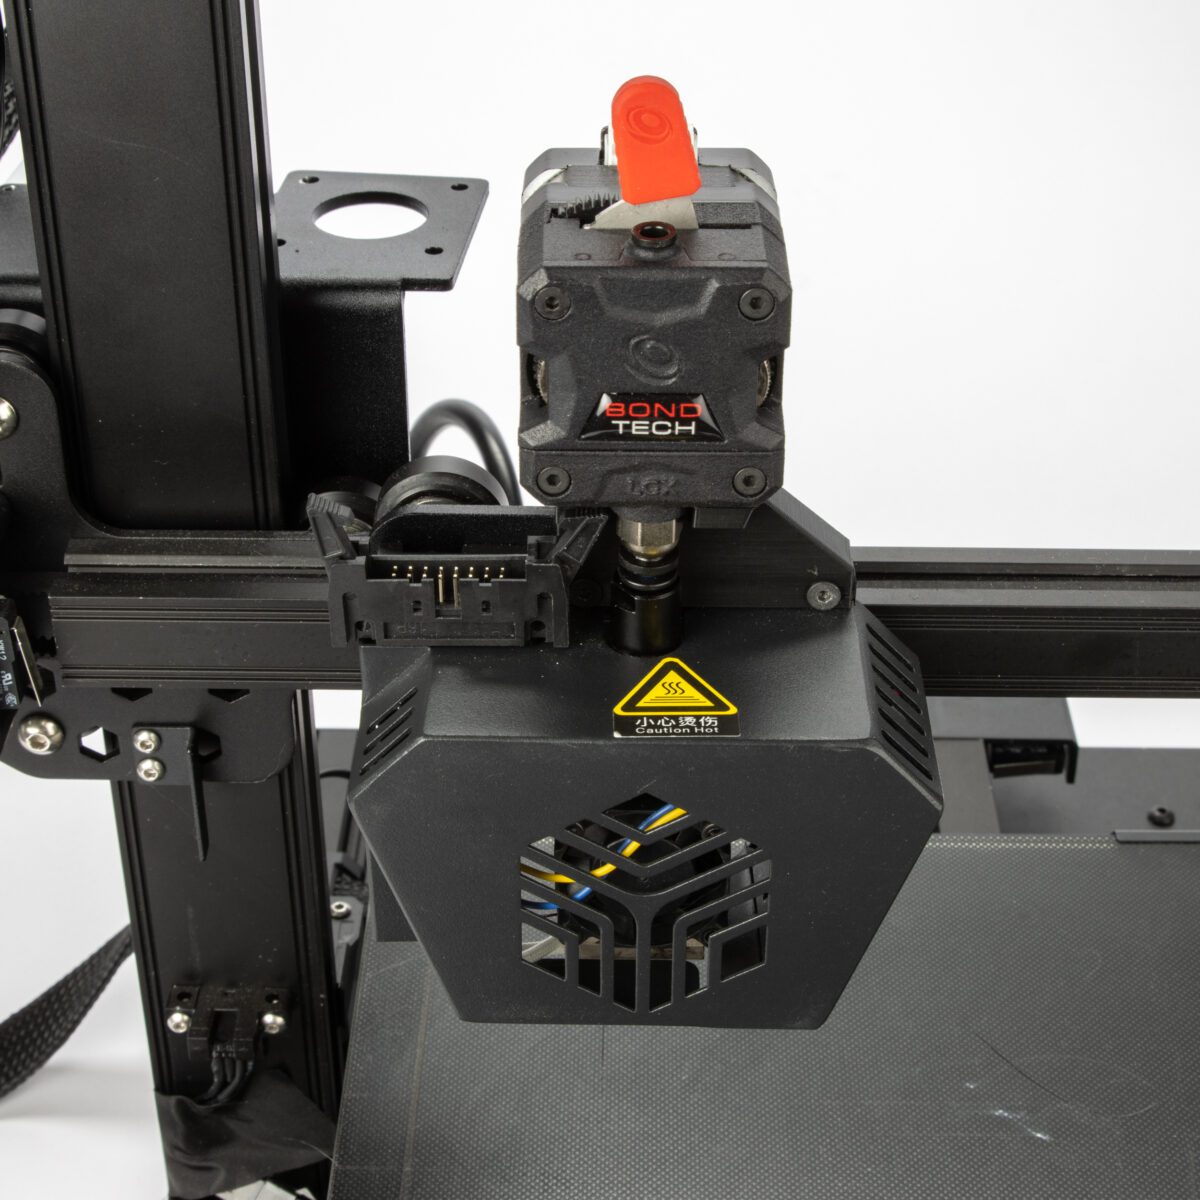
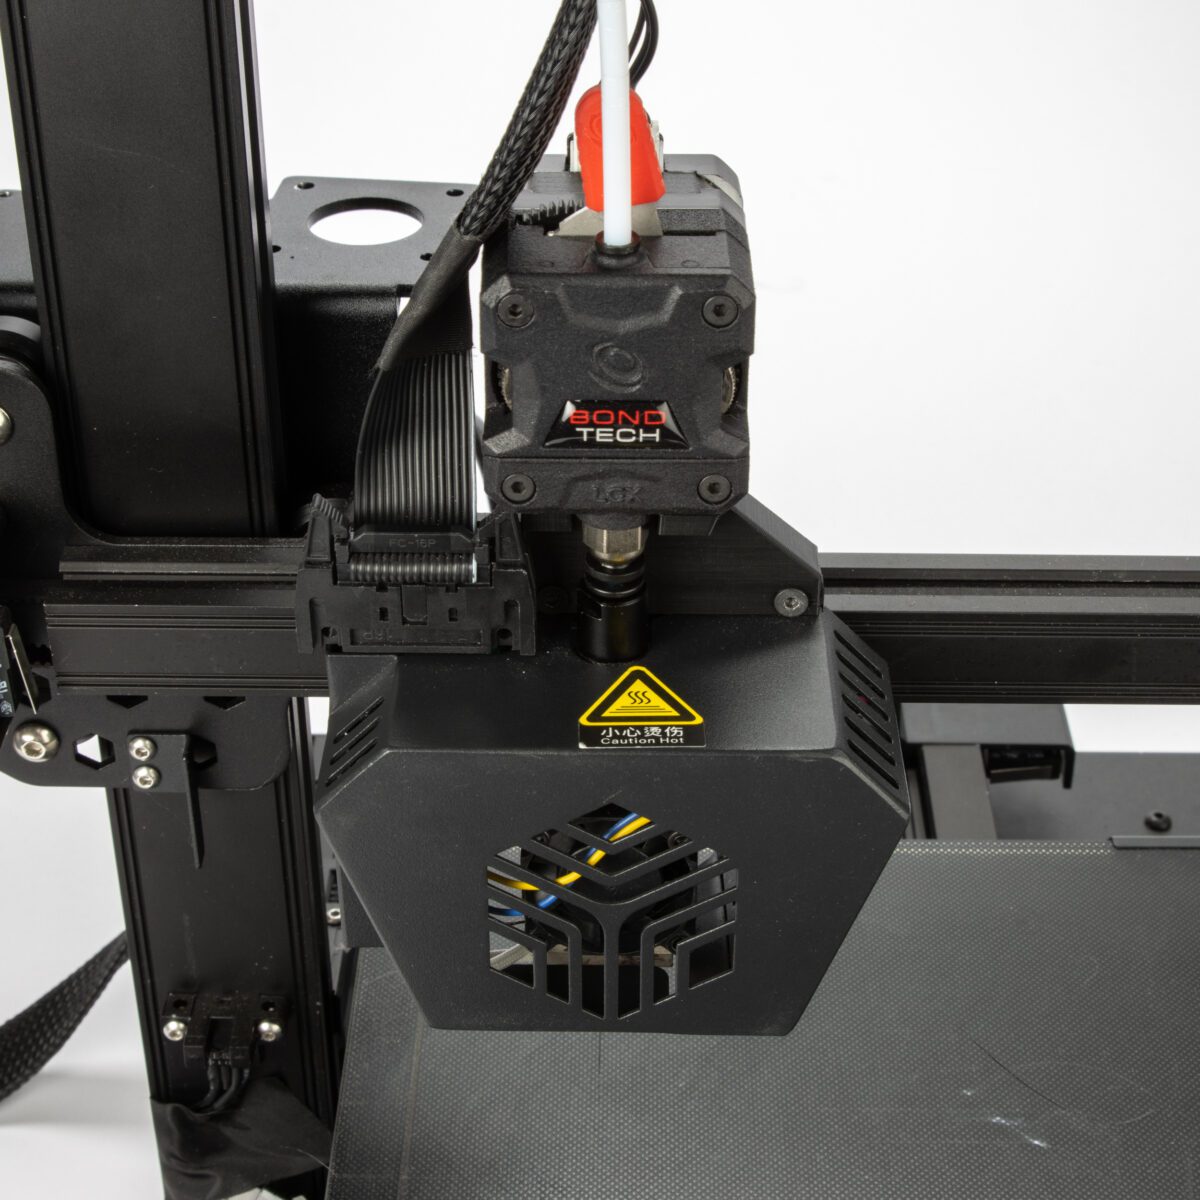
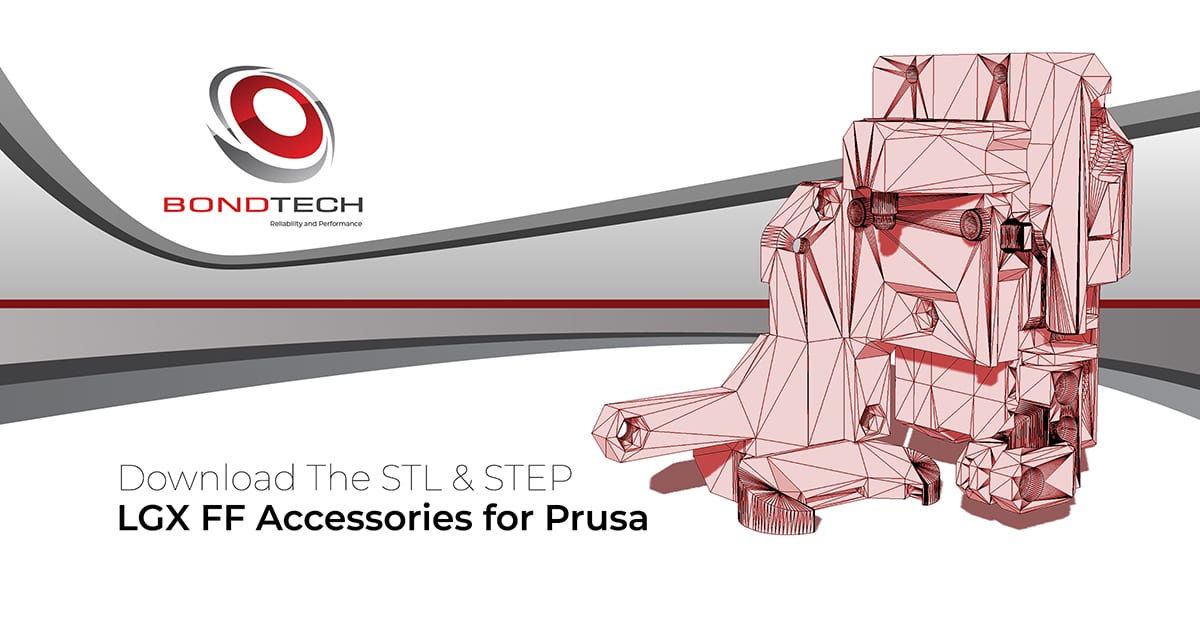
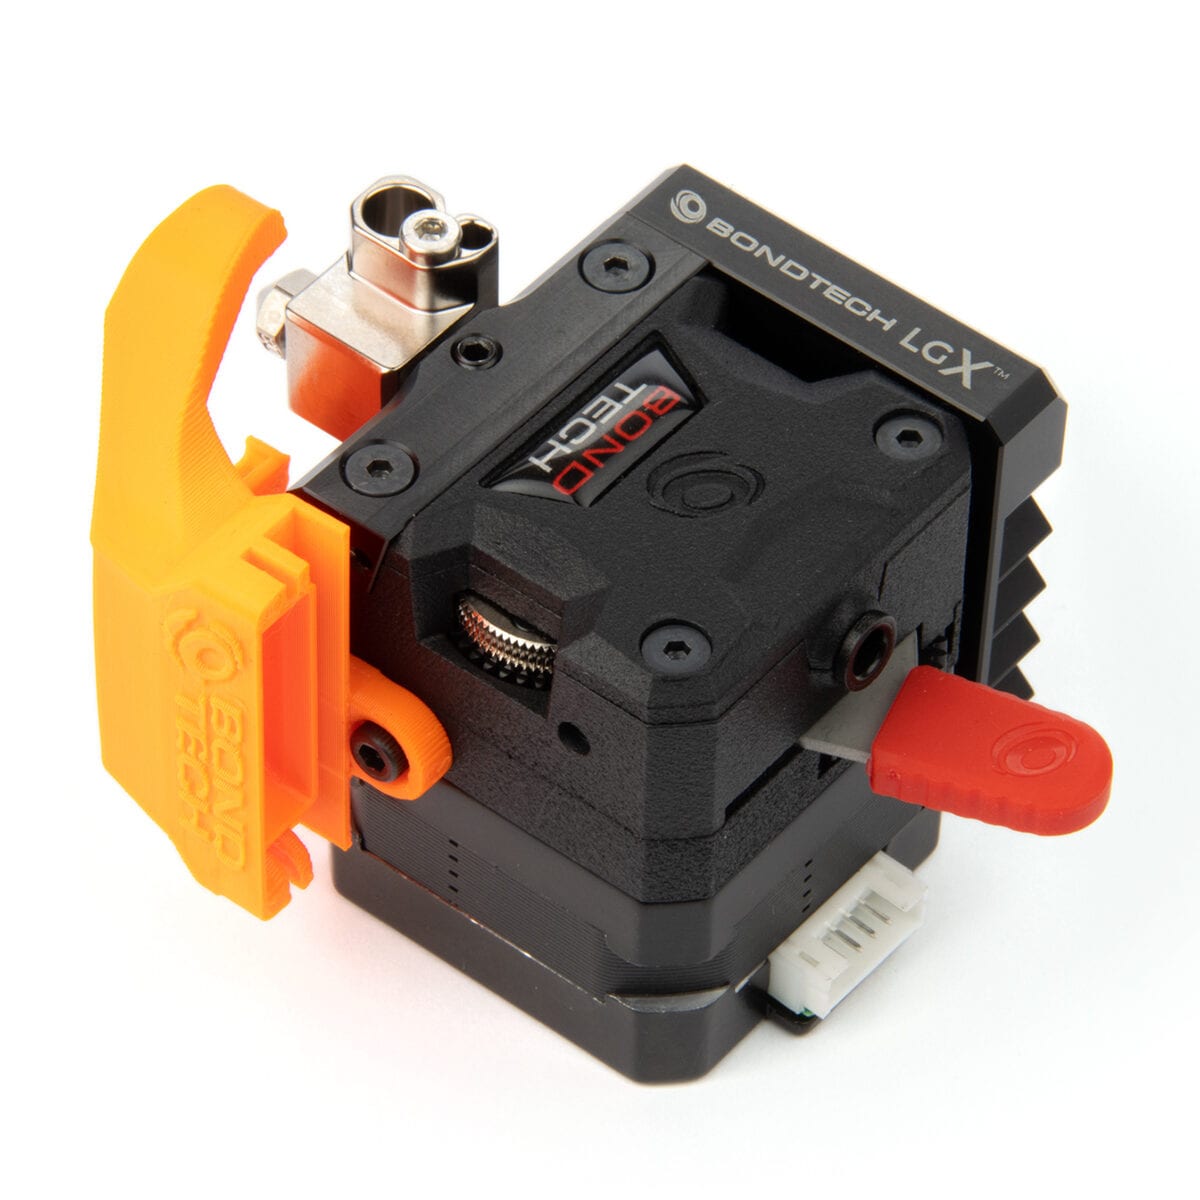
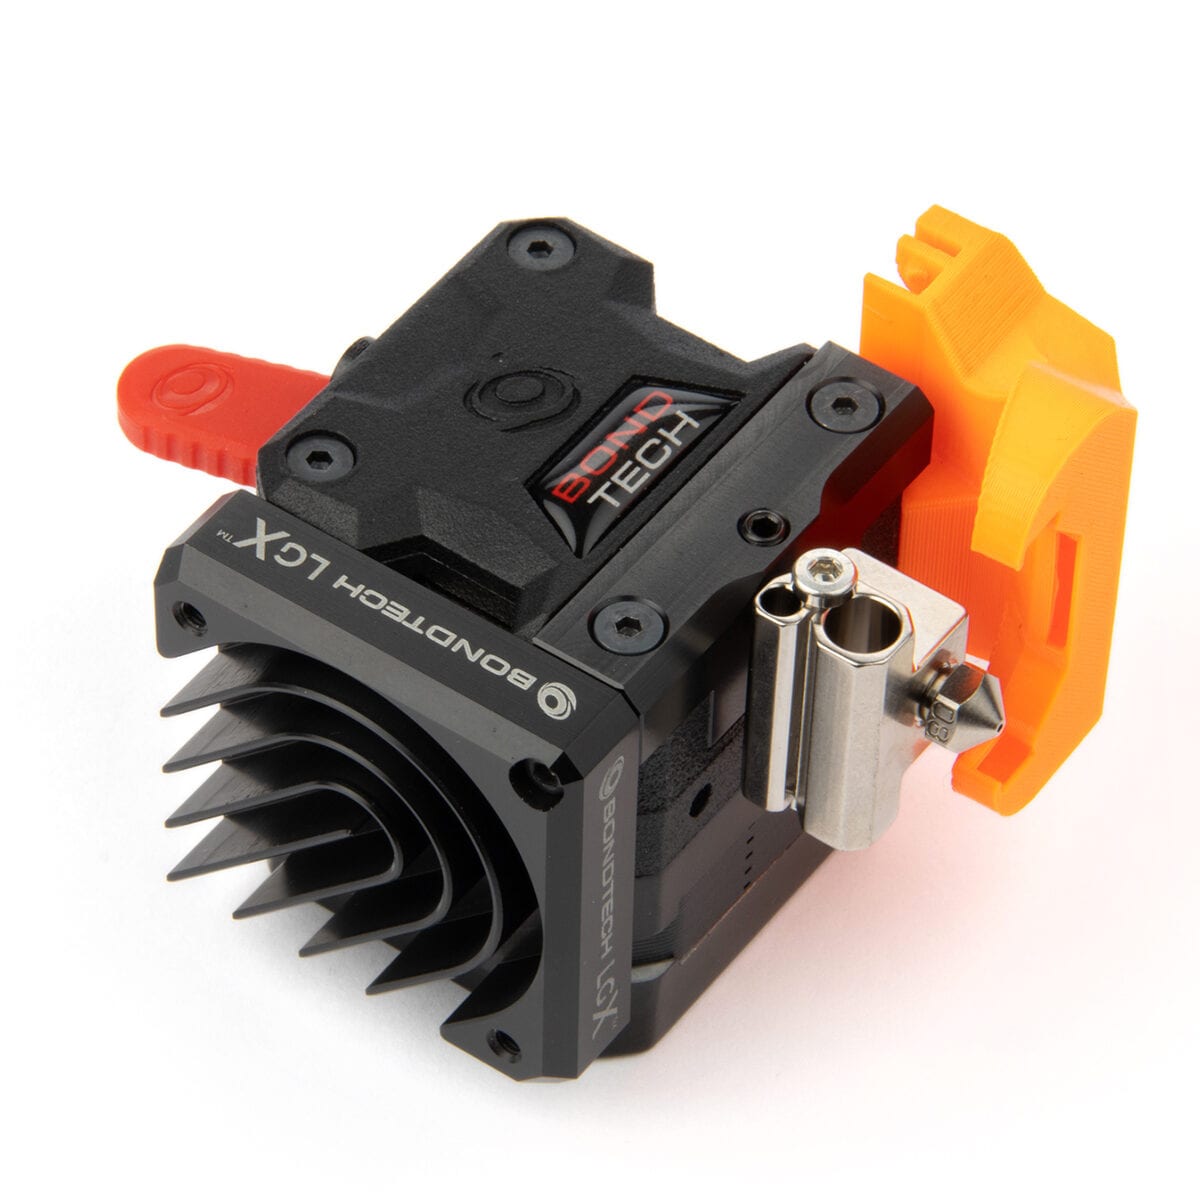
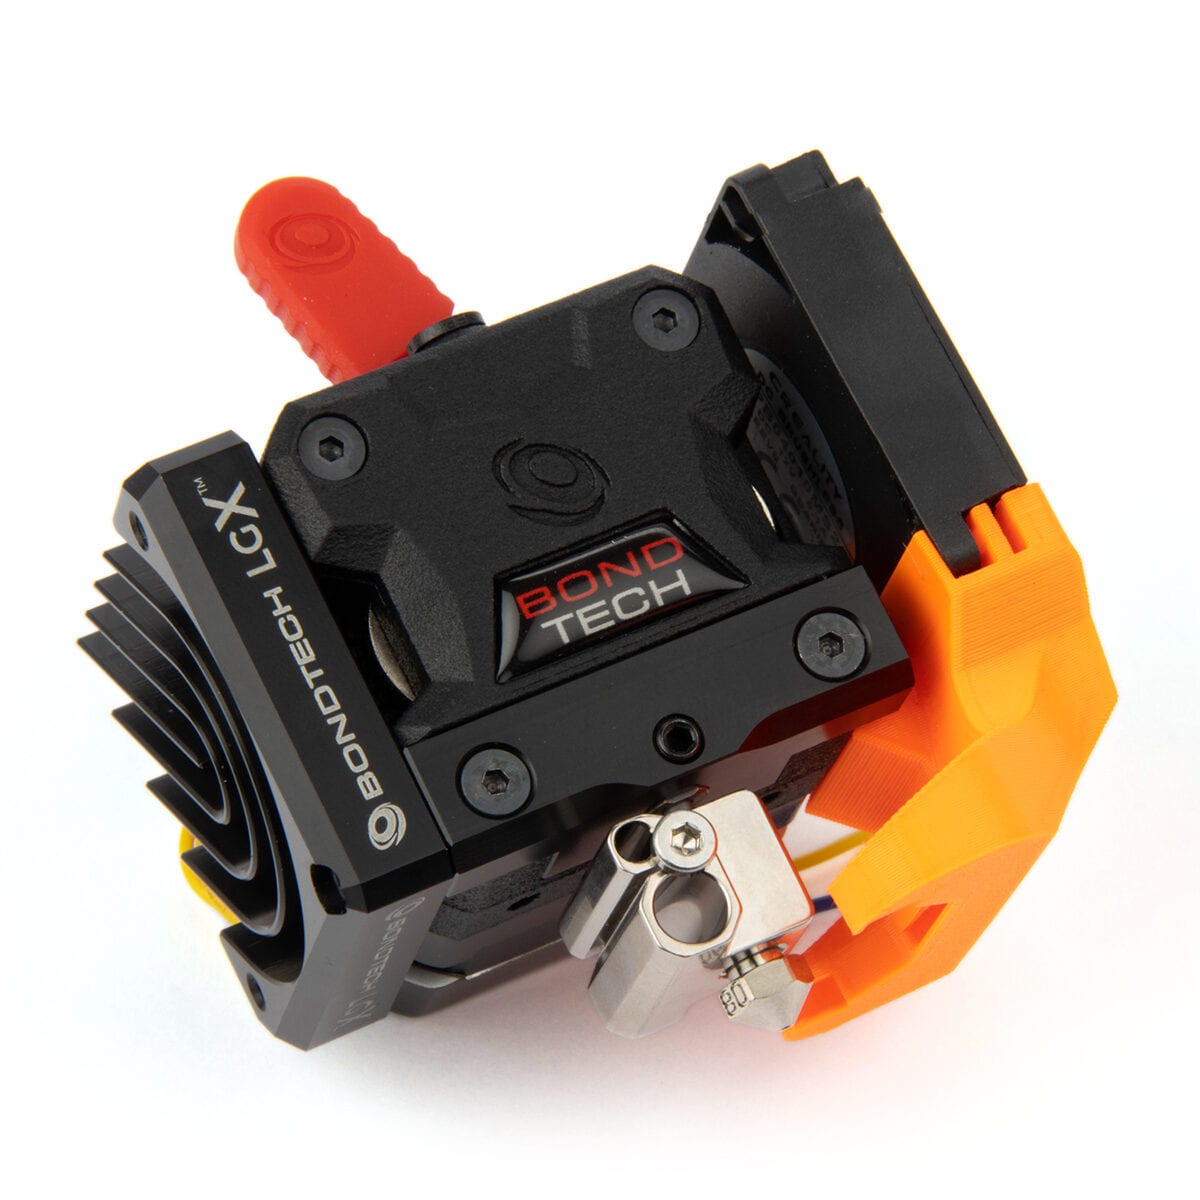
- Extruder Upgrade for Prusa Mini
- Bondtech DDX V2
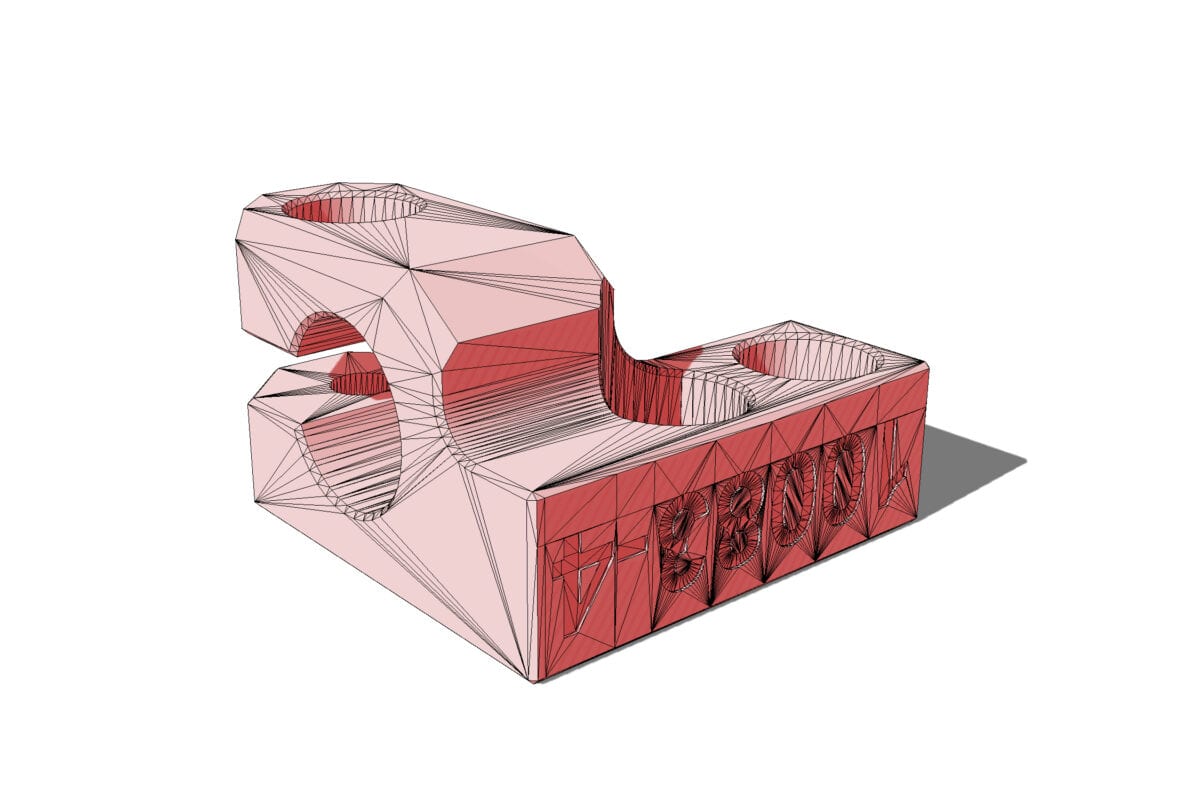
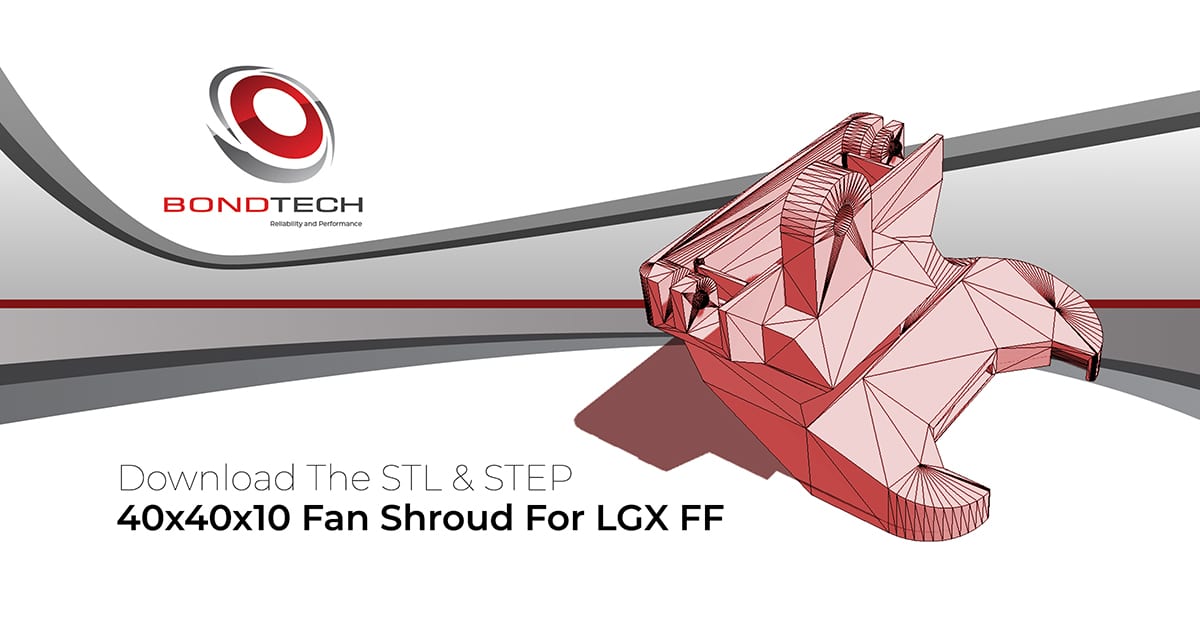
- DDX v2 accessories (mounts and fan shrouds),
The Black Weekend discounts on extruders, upgrade kits and nozzles are valid only for users that have Customer or Business accounts.
Guests only have access to the discounts already set for products on sale.
To have a Customer or Business account, guest users must register.
The Black Weekend discounts are applied on the cart.
Products On Sale With Extra Discount
These Products On Sale will suffer an additional 10% Black Weekend discount, after added to cart, to fulfill the advertised 20% discount.
Want to know more?
Register yourself or login to leave a Question, Reply or Comment in the section below.
If you didn't already, you can also subscribe to our newsletter to receive the short updates about our new products, updates or technology on your mailbox.
Thank you : )