Simple Measures To Prevent 3D Printing Issues From Happening
Find below simple advice on how to improve your 3D prints.

Find below simple advice on how to improve your 3D prints.
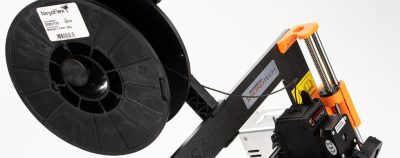
Bondtech is a small company based in Sweden with a growing legion of customers worldwide. We are known for our extruders and upgrade kits for desktop and professional 3D printers, enabled with our Dual Drive Technology.
We are also known for our comprehensive and multi-level customer support, much of it provided around the clock by Bondtech’s founder Martin Bondéus.
We serve a big and multi cultural community of filament 3D printer users, from all walks of life, from very diverse levels of academic or professional training, and with mixed knowledge and experience levels in 3D printing.
Because of our mixed audience there is a thin balance we want to achieve between supplying just enough information to allow a less experienced user to understand the matters, and simultaneous deep enough to be useful to more experienced members.
In this article we want to shine extra light on the more common issues our customers face, and on how important it is to act preemptively in order to avoid problems that may cause losses and/or frustrations easily avoidable.
We will focus the flow of information to the most relevant preventive measures, tweaks and fixes we hope will vastly improve the user experience with Bondtech products.
This is a living document that will be updated regularly according to what we see coming through the Customer Support requests.
The following are the most common sources of problems and hardships reaching our Customer Service that are easily preventable. Right below you’ll find what we recommend to focus on to avoid these and others, in what we call preemptive solutions for 3D printing problems.
Effects of using the wrong firmware may be over or under-extrusion; printer showing the incorrect temperature; and failing calibration tests.
Effects of using the wrong print settings may be small part defects; over or under-extrusion;but may also be major issues like clogs and jams.
When you experience bed adhesion issues, the visible effects may be part warping and/or detachment; and inconsistently laid first layers.
If the nozzle is not properly tight against the heat break, the effects may be material leaking; formation of blobs; and jams.
Bondtech business is based on adding value to the printers our customers use by improving their reliability and performance. Our extruders add-on to the hardware of the 3D printers we upgrade. Because of that hardware upgrade, we always need to update the printer’s software as well.
Find below descriptions and links to Bondtech documents that will help you do the correctment adjustments to the firmware. This is an important step to avoid extrusion problems and prevent hardware damage.
We have a very good content where you can check all the required tweaks on firmware of 3D printers upgraded with Bondtech.
< Click this image to visit our Bondtech firmware page.
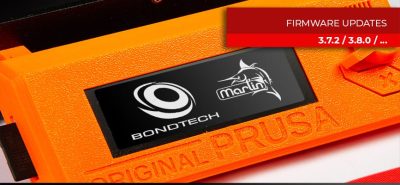
We have a very good content where you can check all the latest Prusa firmware versions updated by Bondtech.
< Click this image to visit our Prusa firmware page.
After downloading the right firmware for your machine
click this image to visit our Prusa Firmware setup guide >


We have a very good content where you can check all the latest Creality firmware versions updated by Bondtech.
< Click this image to visit our Creality firmware page.

We have a very good content where you can check all about Ultimaker firmware updates by Bondtech.
< Click this image to visit our Ultimaker firmware page.
It’s not a mandatory requirement to change the print profiles used before upgrading a 3D printer with Bondtech extruders.
But, if the capacity of the system is improved, shouldn’t the settings be adjusted to the new possibilities?
Find below descriptions and links to profiles that were tweaked by our Product Development Department to take advantage of all the skills and features our extruders provide.
We’ll be adding profiles to this list. Come back later if you didn’t found what you were looking for.
… that profiles are highly material dependent. Slight shifts in composition or in conditions like room temperature and moisture may require profile tweaks.
Different materials, manufacturers, ambient conditions, and hardware setup may impact in the performance of the profile it self.
Bare in mind a printing profile is many times a sum of personal choices. The profiles available here should be taken as a starting point to be adapted by everyone to his personal preferences, materials availability, ambient conditions, and hardware setup (nozzles, hotends, …).
Click the icon to download the .zip archive with the print profile.
Click the icon to download the .zip archive with the print profile.
Click the icon to download the .zip archive with the print profile.
Click the icon to download the .zip archive with the print profile.
Click the icon to download the .zip archive with the print profile.
Click the icon to download the .zip archive with the print profile.
Click the icon to download the print profile.
Click the icon to download the print profile.
For this slicer no print profiles are available to download. Come back later. The print profiles will be updated regularly. Thank you.
The print bed is not only the base where the 3D printer will lay down the part, it is more the anchor surface that holds the part in place until printing is finished.
Forces like inertia (from bed movement), drag (from tip of nozzle), or contraction (from material cooling down) will counteract that stability along the whole printing process, and if these forces rise above the holding force, they will cause the part detachment.
There are several origins for part detachment:
We will discuss each in more detail later in this article, but in what regards to bed adhesion solutions, it is important to know:
Even if the bed is properly levelled, you’ll still need a proper adhesion solution. Not all surfaces are adhesion-ready but all of them, ready or not, need to be clean.
Below you can see what the manufacturers recommend you to use with the print beds they supply.
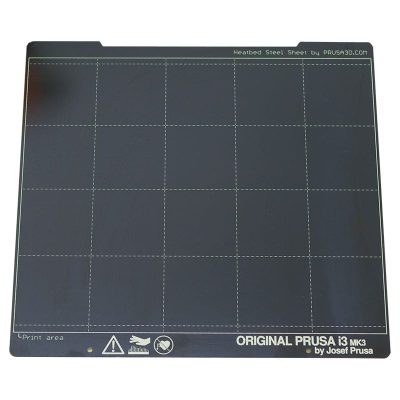
The Prusa i3 MK2/MK3 3D printers use magnetic heatbeds with replaceable PEI spring steel print sheets. You can know more about them here.
PEI is a very good bed adhesion solution to print ABS, PLA and many other materials. To be effective it must be well cleaned and greaseless. Isopropyl alcohol is a very good solution to degrease the print bed.
Clean your metal sheet before each print to avoid the issues related with bad bed adhesion.
Be aware that some materials stick too much to the PEI steel sheet. With these materials it is recommended to use an additional adhesion agent that will act as separator to protect your PEI steel sheet.
Use an adequate glue stick or spray if you will use TPU or other flexible filaments, PETG, XT, or CPH.
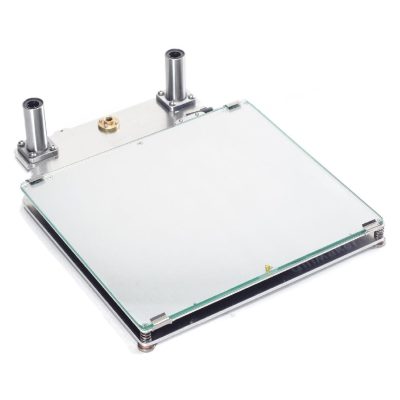
These Ultimaker 3D printers use a removable borosilicate glass surface over a heated print bed. Borosilicate glass is known for its very low thermal expansion coefficient, making it more resistant to thermal shock than any other common glass.
Glass has many pros and cons as a print surface but like most other surfaces, to be effective it must be well cleaned and greaseless. Isopropyl alcohol is a very good solution to degrease the print bed.
Clean your glass before each print to avoid the issues related with bad bed adhesion or uneven print surface.
PLA, ABS and other materials adhere relatively well to a heated glass, but to have better results it is recommended to use an additional adhesion agent and apply a thin layer of glue or blue tape.
The glue acts as separation agent, and reduces the risk of chipping the glass when removing the print.
The nozzle is a bottleneck in the filament path.The heat brake lets 1.75 or 2.85mm thick solid material in, and the extruder lets 0.4mm thick molten material out. When the extruder is feeding material into the hotend, it has to exert pressure to push material through the nozzle.
Under pressure the molten material will travel through every escape route possible. If the nozzle is not properly tightened to the hotend, the gap becomes an alternative escape path, partially replacing the nozzle tip.
You can identify this issue when a brownish crud may be seen around the top of the nozzle and bottom of the heat block. Most common results are under-extrusion and model contamination. More severe effects can be felt if the printer is left unattended and working for many consecutive hours.
For these reasons, you should use a proper calibrated Torque Wrench. The Wrench should collapse when the maximum recommended torsion force is exerted, so the nozzle is tight and the hotend is not damaged.
Below you can see what the manufacturers recommend you to use with the hotends we are supplying.
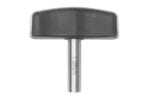
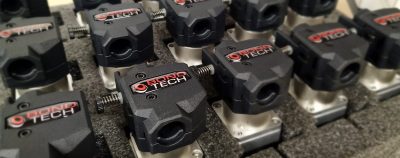
To proper install or change a nozzle in a Mosquito hotend, Slice Engineering recommends you use this 1.5Nm torque wrench.
Click here to visit product page
E3D recommends to use 3Nm torque force to tighten the nozzle. They recommend this one you can find in the Thingiverse page of the Fixed Torque Wrench Handles designed by Andreas B.
You will also need a bitholder and tool bit
Click to visit Thingiverse pageWe created a Bondtech Customer Support platform where you can find many Step by Step Guides and other support content from which you can learn even more.
Click Here To Browse The PlatformWe use Facebook to engage and interact with our community. Like our page and be deeper into our community by joining our Bondtech Extruders group.
Click Here To Visit Our FacebookSubscribe to our newsletter or visit our news page regularly to know about all things Bondtech, tips and tricks, OEM integration partners, and much more.
Click Here To Check the NewsAlthough we have many available channels to interact with our customers and community, the fastest way to get support is to create a support ticket.
Click Here To Submit a Ticket
Here you can find some solutions for extrusion and extruders related issues.
Click the image to visit the page.

Here you can find some solutions for stepper motors related issues.
Click the image to visit the page.
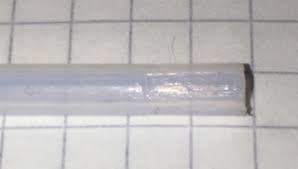
Here you can find some solutions for bowden tube related issues.
Click the image to visit the page.

Here you can find some solutions for hotend related issues.
Click the image to visit the page.
Here you can find some solutions for filament related issues.
Click the image to visit the page.