-
Mosquito Silicone Boot
-
×
 Mosquito Silicone Boot1 × $12.49In stock
27
Dec
Dec
SHARING
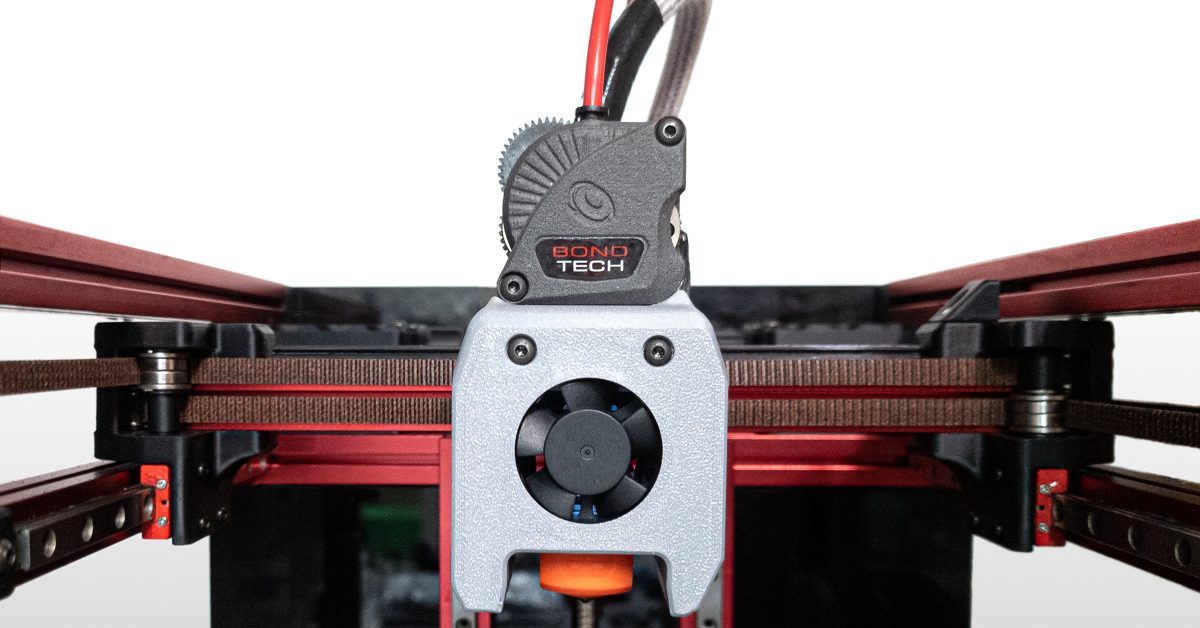
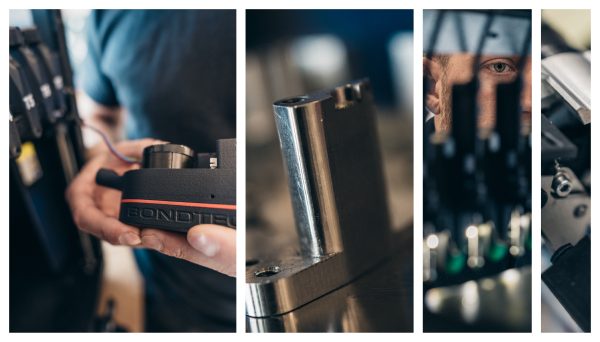
LGX Lite Toolhead Setup For Voron V0.1
An alternative to the Voron original setup
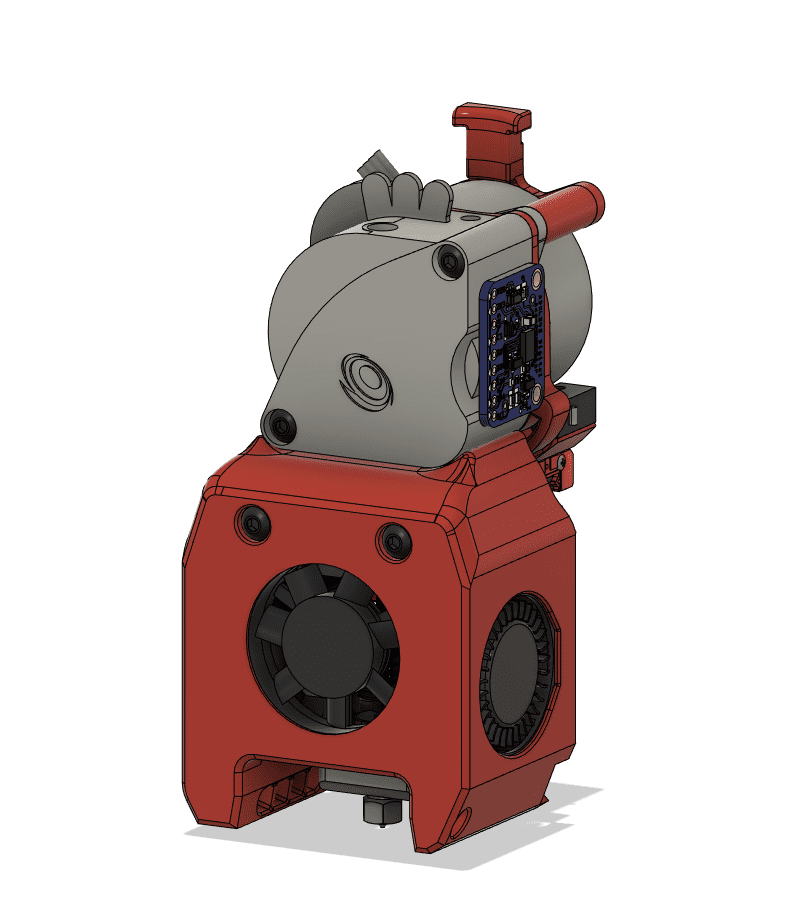
The Mini After-LGX-Lite
We are expecting Nemgrea to publish soon an official Voron V0.2 toolhead release to support the LGX Lite in the Future.
Meanwhile, Olof Ogland designed and tested already an alternative setup that you can use or adapt right now.
The main difference of this setup lies on the cowling. Olof’s cowling keeps the LGX Lite fully visible and accessible.
This project also includes:
- Mounts for several hotends;
- AdaFruit and Generic ADXL345 accelerometer mounts – for Klipper’s input shaping tuning;
- Z-axis Bed Adjustable Y offset set – to allow the print bed to move back and forth from -1 up to +3.5 mm.
- Klicky – a z-probe mount that attaches with magnets
License and Credits
License:
https://github.com/VoronDesign/Voron-0/blob/Voron0.1/LICENSE
Original source:https://github.com/VoronDesign/Voron-0
Credits:
Nemgrea, DaveR, JosAr
Source for Klicky integration:
https://github.com/jlas1/Klicky-Probe
Click the button below to send us a message. Let us know if you would buy this
Find all the forked files below.
Most screws required to perform the installation should be already on your kit. You may need some additional sizes and types. The following list identifies them:
- 2x M3x6 BHCS for belts
- 2x M3x30 BHCS for lgx lite
- 4x M2.5×6 low profile for copperhead


Because the Download STL File buttons are pointing to STL files, and not to ZIP archives,
right-click the blue buttons and use “Save Link As” to download the STL files.
Cowling Universal
Roll back and forth to zoom in and out.
Click and drag to rotate the view.
X-Carriage
Roll back and forth to zoom in and out.
Click and drag to rotate the view.
Roll back and forth to zoom in and out.
Click and drag to rotate the view.
Strain Relief
Download STL File
Roll back and forth to zoom in and out.
Click and drag to rotate the view.
Strain Relief Spacers
Download STL File
To use with Bondtech M3x4.1 thread inserts
Roll back and forth to zoom in and out.
Click and drag to rotate the view.
Download STL File
To use with Trisert-136 thread inserts
Roll back and forth to zoom in and out.
Click and drag to rotate the view.
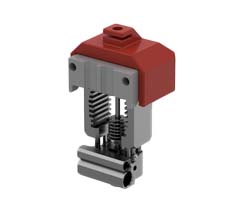
Hotend Mount MOSQUITO 3007 Fan
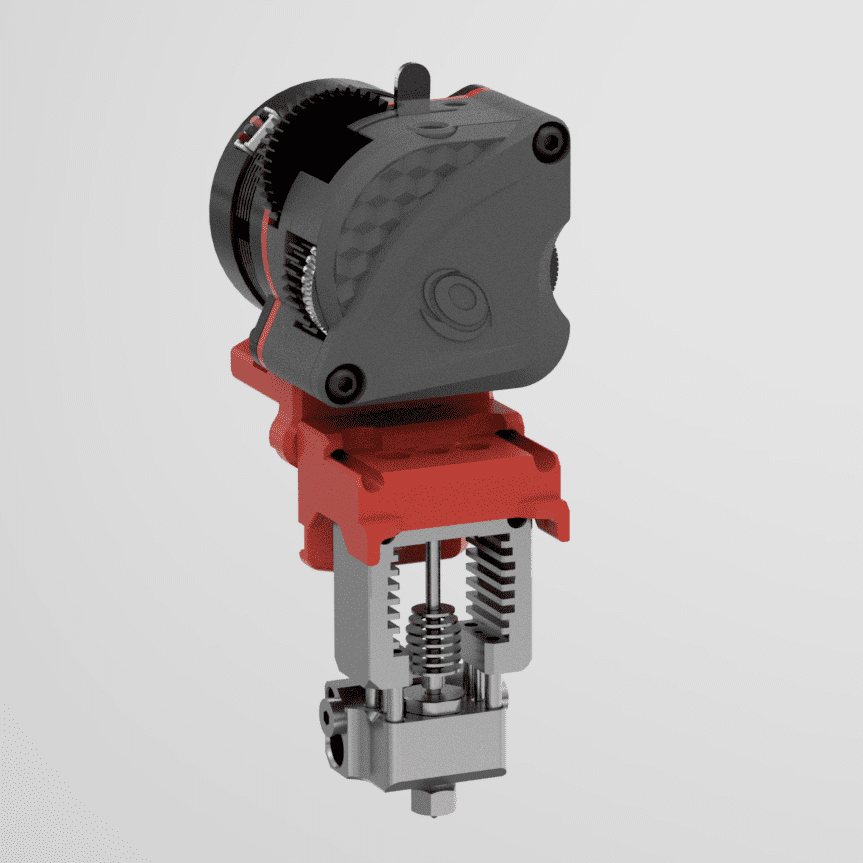
Roll back and forth to zoom in and out.
Click and drag to rotate the view.
Hotend Mount MOSQUITO 3010 Fan
Roll back and forth to zoom in and out.
Click and drag to rotate the view.
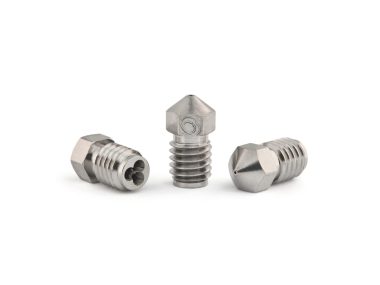
Hotend Mount COPPERHEAD Screw Mount 3007 Fan
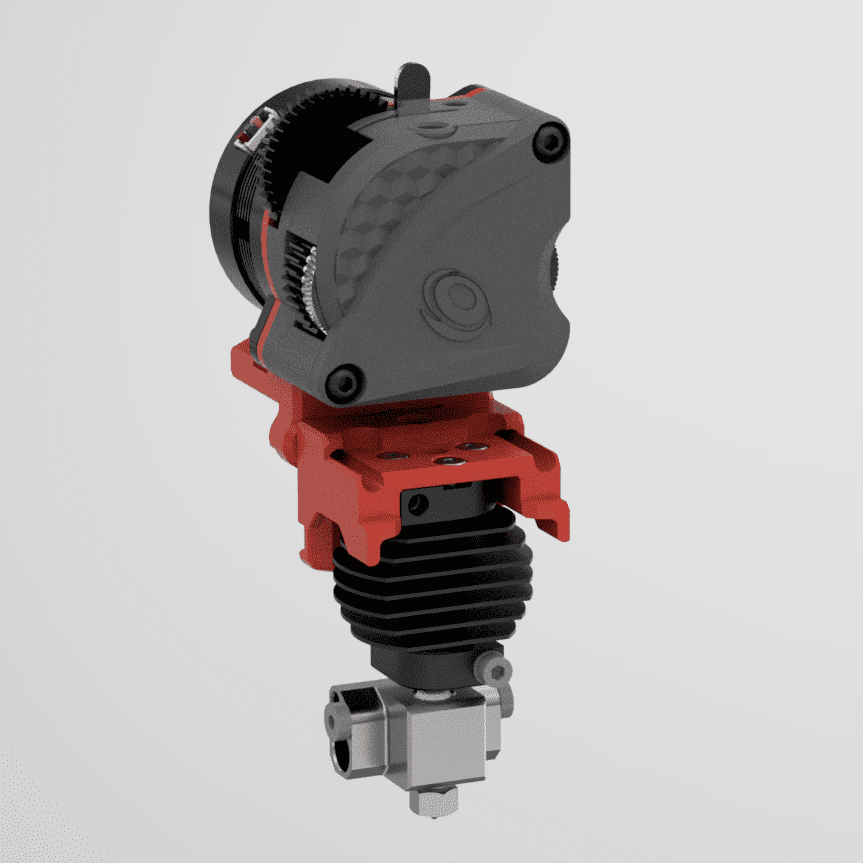
Roll back and forth to zoom in and out.
Click and drag to rotate the view.
Hotend Mount COPPERHEAD Screw Mount 3010 Fan
Roll back and forth to zoom in and out.
Click and drag to rotate the view.
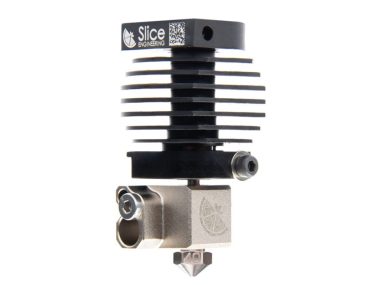
Hotend Mount DRAGON 3007 Fan
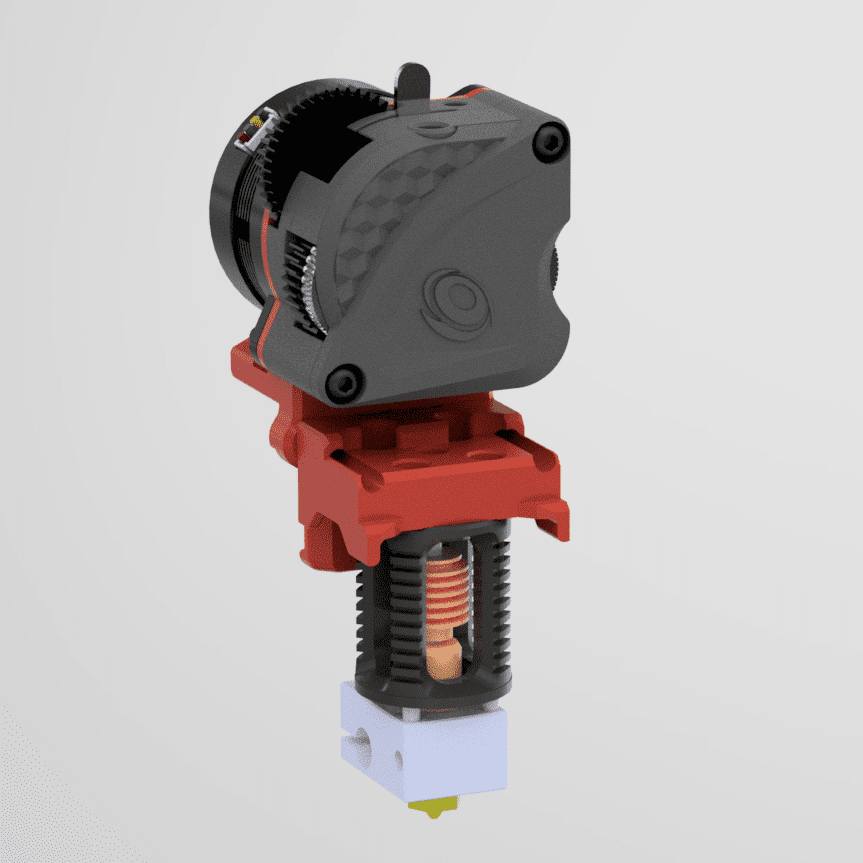
Roll back and forth to zoom in and out.
Click and drag to rotate the view.
Hotend Mount DRAGONFLY 3007 Fan
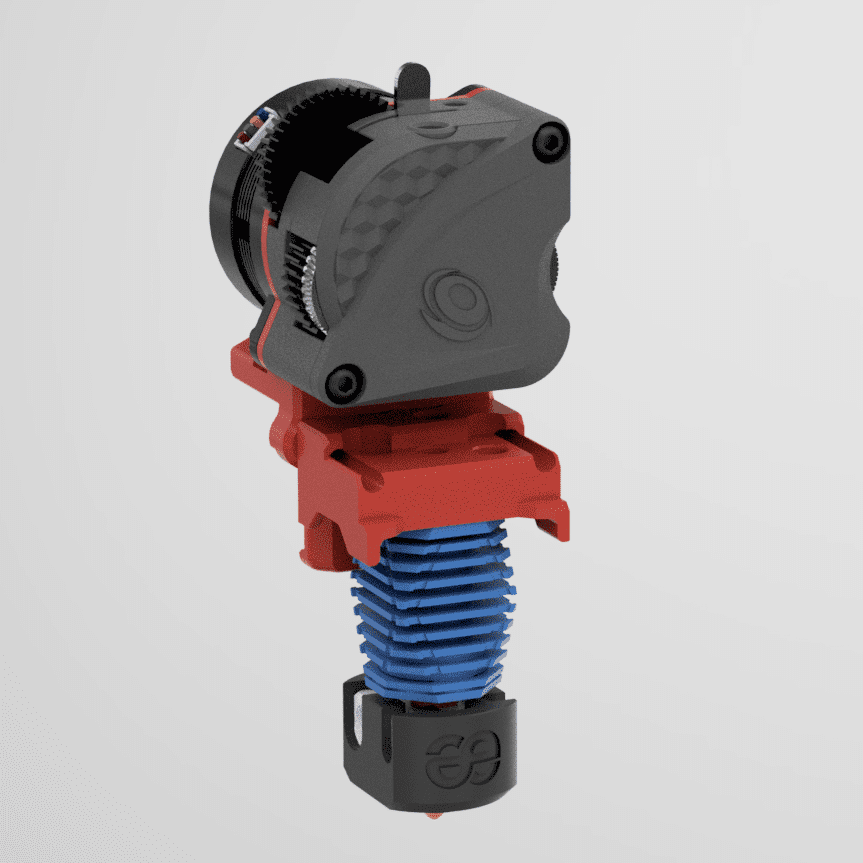
Roll back and forth to zoom in and out.
Click and drag to rotate the view.
Hotend Mount DRAGONFLY 3010 Fan
Roll back and forth to zoom in and out.
Click and drag to rotate the view.
Klicky
Download STL File
Roll back and forth to zoom in and out.
Click and drag to rotate the view.
Because the Download STL File buttons are pointing to STL files, and not to ZIP archives,
right-click the blue buttons and use “Save Link As” to download the STL files.
AdaFruit ADXL345 Adapter
Download STL File
Roll back and forth to zoom in and out.
Click and drag to rotate the view.
Generic ADXL345 Adapter
Keep in mind that the ADXL345 generic mount is experimental and your model may vary. Use the step file to adjust this to your requirements.
Download STL File
Roll back and forth to zoom in and out.
Click and drag to rotate the view.
PTFE Cutting Jig
Download STL FIle
Roll back and forth to zoom in and out.
Click and drag to rotate the view.
Because the Download STL File buttons are pointing to STL files, and not to ZIP archives,
right-click the blue buttons and use “Save Link As” to download the STL files.
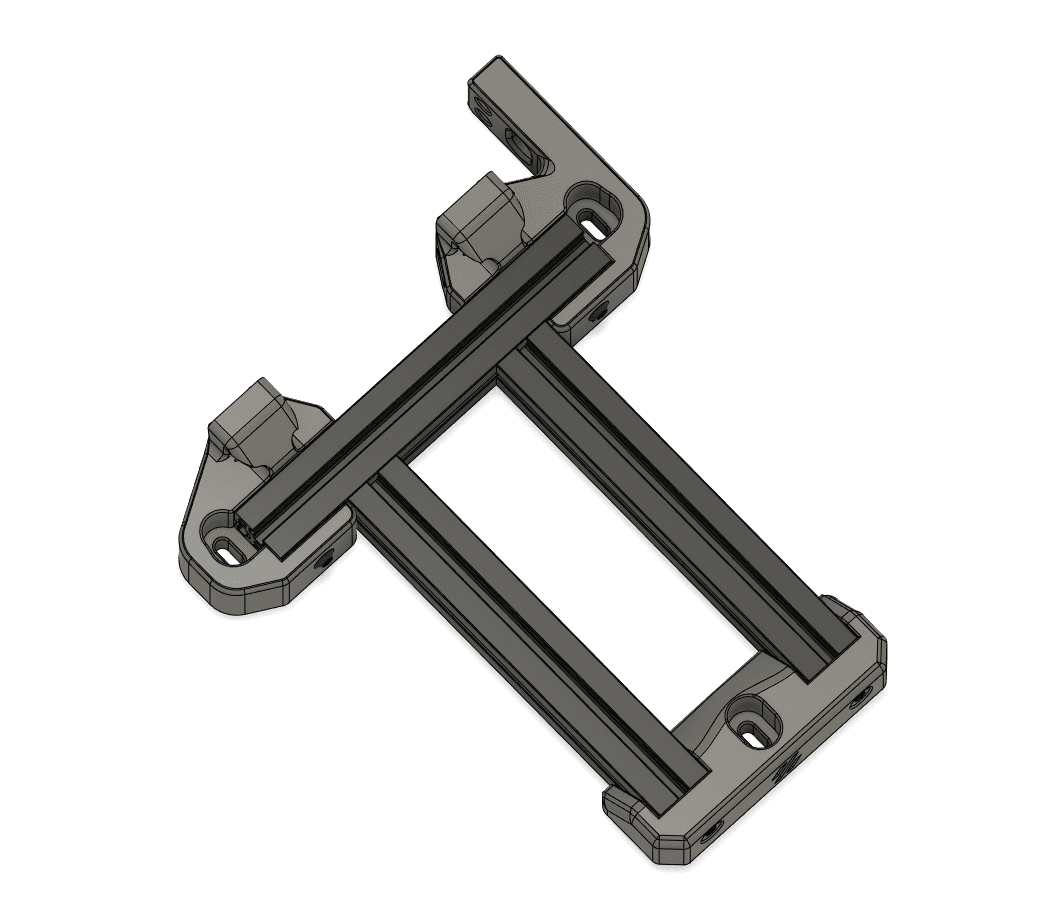
Front Bed Mount
Download STL File
Roll back and forth to zoom in and out.
Click and drag to rotate the view.
Rear Bed Mount Left
Download STL FIle
Roll back and forth to zoom in and out.
Click and drag to rotate the view.
Rear Bed Mount Right
Download STL File
Roll back and forth to zoom in and out.
Click and drag to rotate the view.
Front Bed Mount LGX Lite Spacer
Download STL File
Roll back and forth to zoom in and out.
Click and drag to rotate the view.
Rear Bed Mount Left LGX Lite Spacer
Download STL File
Roll back and forth to zoom in and out.
Click and drag to rotate the view.
Rear Bed Mount Right LGX Lite Spacer
Download STL File
Roll back and forth to zoom in and out.
Click and drag to rotate the view.
Recently Mikael Levin expanded this project by creating a variation to be used with MGN9 rails.
You may find his contribution here: Cowling For Voron V0.1 With LGX Lite
Setting Up the Mini After LGX Lite
01 Preparation
Disassemble current extruder. Some screws and the hotend will be reused.
Add hotend of your choice to the hotend adapter
(click here to check all available models).
Insert PTFE a bit too deep in the PTFE cutting jig
(click here to download STL file).
Feed the hotend adapter and hotend up from below, pushing the PTFE to the right length and cut it.
You may use a drill bit to ream the top part of the insert for easier filament loading.
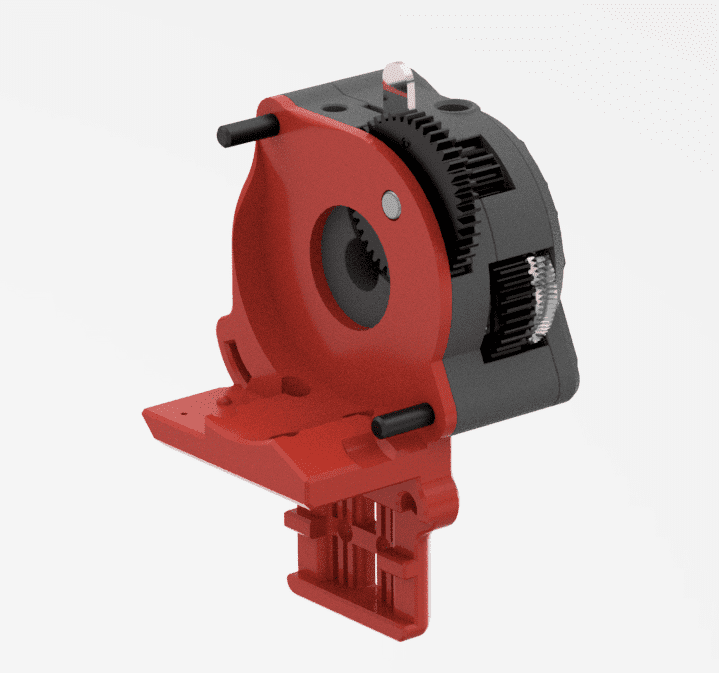
02 X-carriage and Belts
Remove the two screws in the LGX lite and remove motor and front plate.
Insert square nuts in the side slots if you want to use those mounting points for ADXL345.
Insert two square nuts to the front pockets.
Reattach front plate and LGX lite screws and add two m3 nuts to the screws in the back to keep the extruder from losing parts.
03 LGX Lite Preparation
Attach belts to new X-carriage like on the stock machine, but make sure to use M3x6 button head. If needed, you can remove the top extrusions and loosen front idler assemblies a bit in order to get more belt slack. Take care to not lose any inserted nuts in the extrusions.
When that’s done you may attach the X-carriage to the MGN7H.
This is a good time to add a small zip tie to the right zip tie loop and then the X-endstop. On the Mini After-LGX lite we use an inverted orientation for this microswitch and using a pair of needle nose pliers you may remove the steel arm as an optional step.
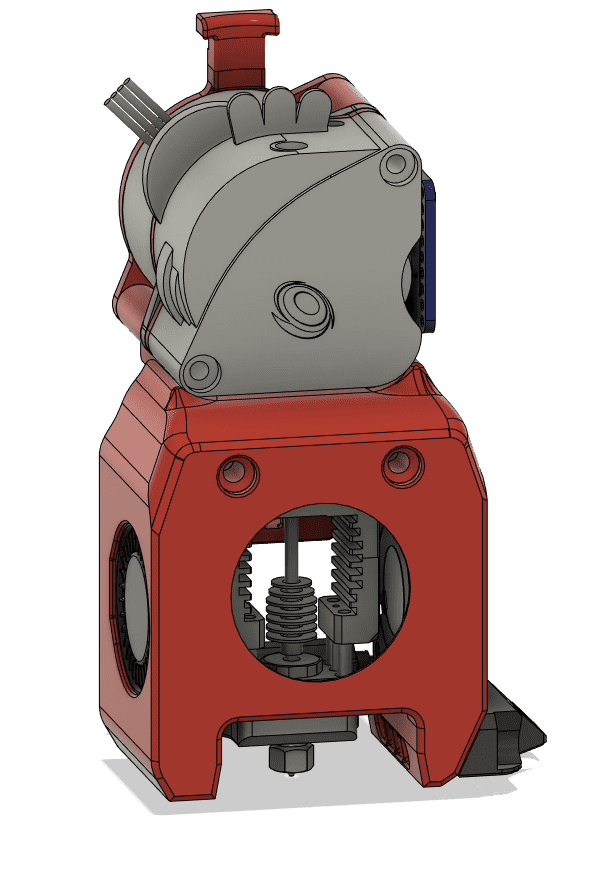
04 Install Extruder and Hotend in the Cowling
Use two M3x10 button head to attach LGX lite to cowling.
Insert fans like on the miniAB.
Gluing the wires to the front of the left fan with some CA glue might help to keep it in the right spot for assembling it with more ease.
Slide hotend up from the bottom and take care with the right fan wires, since it may poke out a bit from the fan and could rip if not careful.
Insert two M3x35 in the front holes.
05 Assemble
Remove M3 nuts from the back of the LGX lite and remove the back spacer plate.
Attach the assembly to the X-carriage using two M3x30 with the motor and tightening down the front M3x35.
$12.49
Want to know more?
Register yourself or login to leave a Question, Reply or Comment in the section below.
If you didn't already, you can also subscribe to our newsletter to receive the short updates about our new products, updates or technology on your mailbox.
Thank you : )


Pingback: Voron 0.1 Formbot - GAB 3D
We are working on having it available for purchase.
Some trouble sourcing a few components have delayed the process.
Currently only available to download and print your self here:
https://www.bondtech.se/2021/12/27/voron-v0-1-toolhead-setup-for-lgx-lite/
Hi, I’d really like to use this setup, but with a V6 Revo Micro hot end. Is there any chance you’ll design a mount for the Revo Micro?
Hi,
Yes, there will be an adapter ready to use soon.
Probably before the end of the month.
Thank you for your interest in our products.
Thank you. If you need a beta tester, I’m happy to help.
Do we have an update on this yet?
I’d be interested in this as well, is there any progress ?
Hi Luca,
The product launched a few weeks ago.
We informed our newsletter subscribers the day it was made available.
You can find what we have for the V0 here:
https://www.bondtech.se/product-category/upgrade-kits/voron/voron-v0/
Thank you for your interest in our products.
Hi will there be an adapter for the Revo voron heatsink released by E3D?
Hi Stian,
We have no plans at the moment to design such adapter, but we are sure if conditions allow, we will work on it.
Not in the short run though.
Thank you for using Bondtech.
well i’ll hope its not in the too distent future 🙂
Is there a Voron Revo or Revo Micro version yet?
Hi,
No, at least not yet from us.
The author though, Olof Ogland, published 2 adapter models for the Revo Voron on the Voron Design GitHub.
You can find the files here:
https://github.com/VoronDesign/VoronUsers/tree/master/printer_mods/Bondtech/Mini-After-LGX-Lite
Thank you for using Bondtech.