-
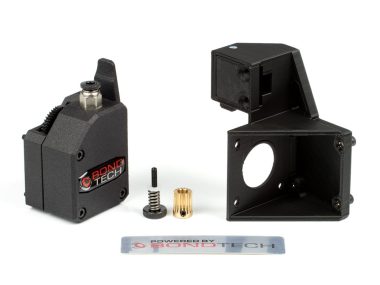
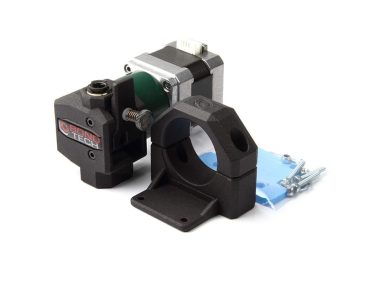
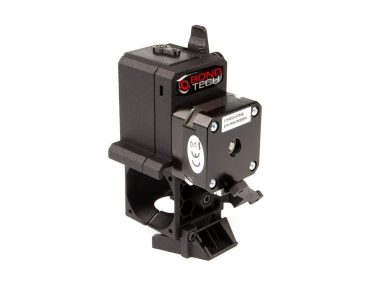
DualDirect Extruder for Raise3D N Series
-
×
 DualDirect Extruder for Raise3D N Series 1 × $250.00In stock

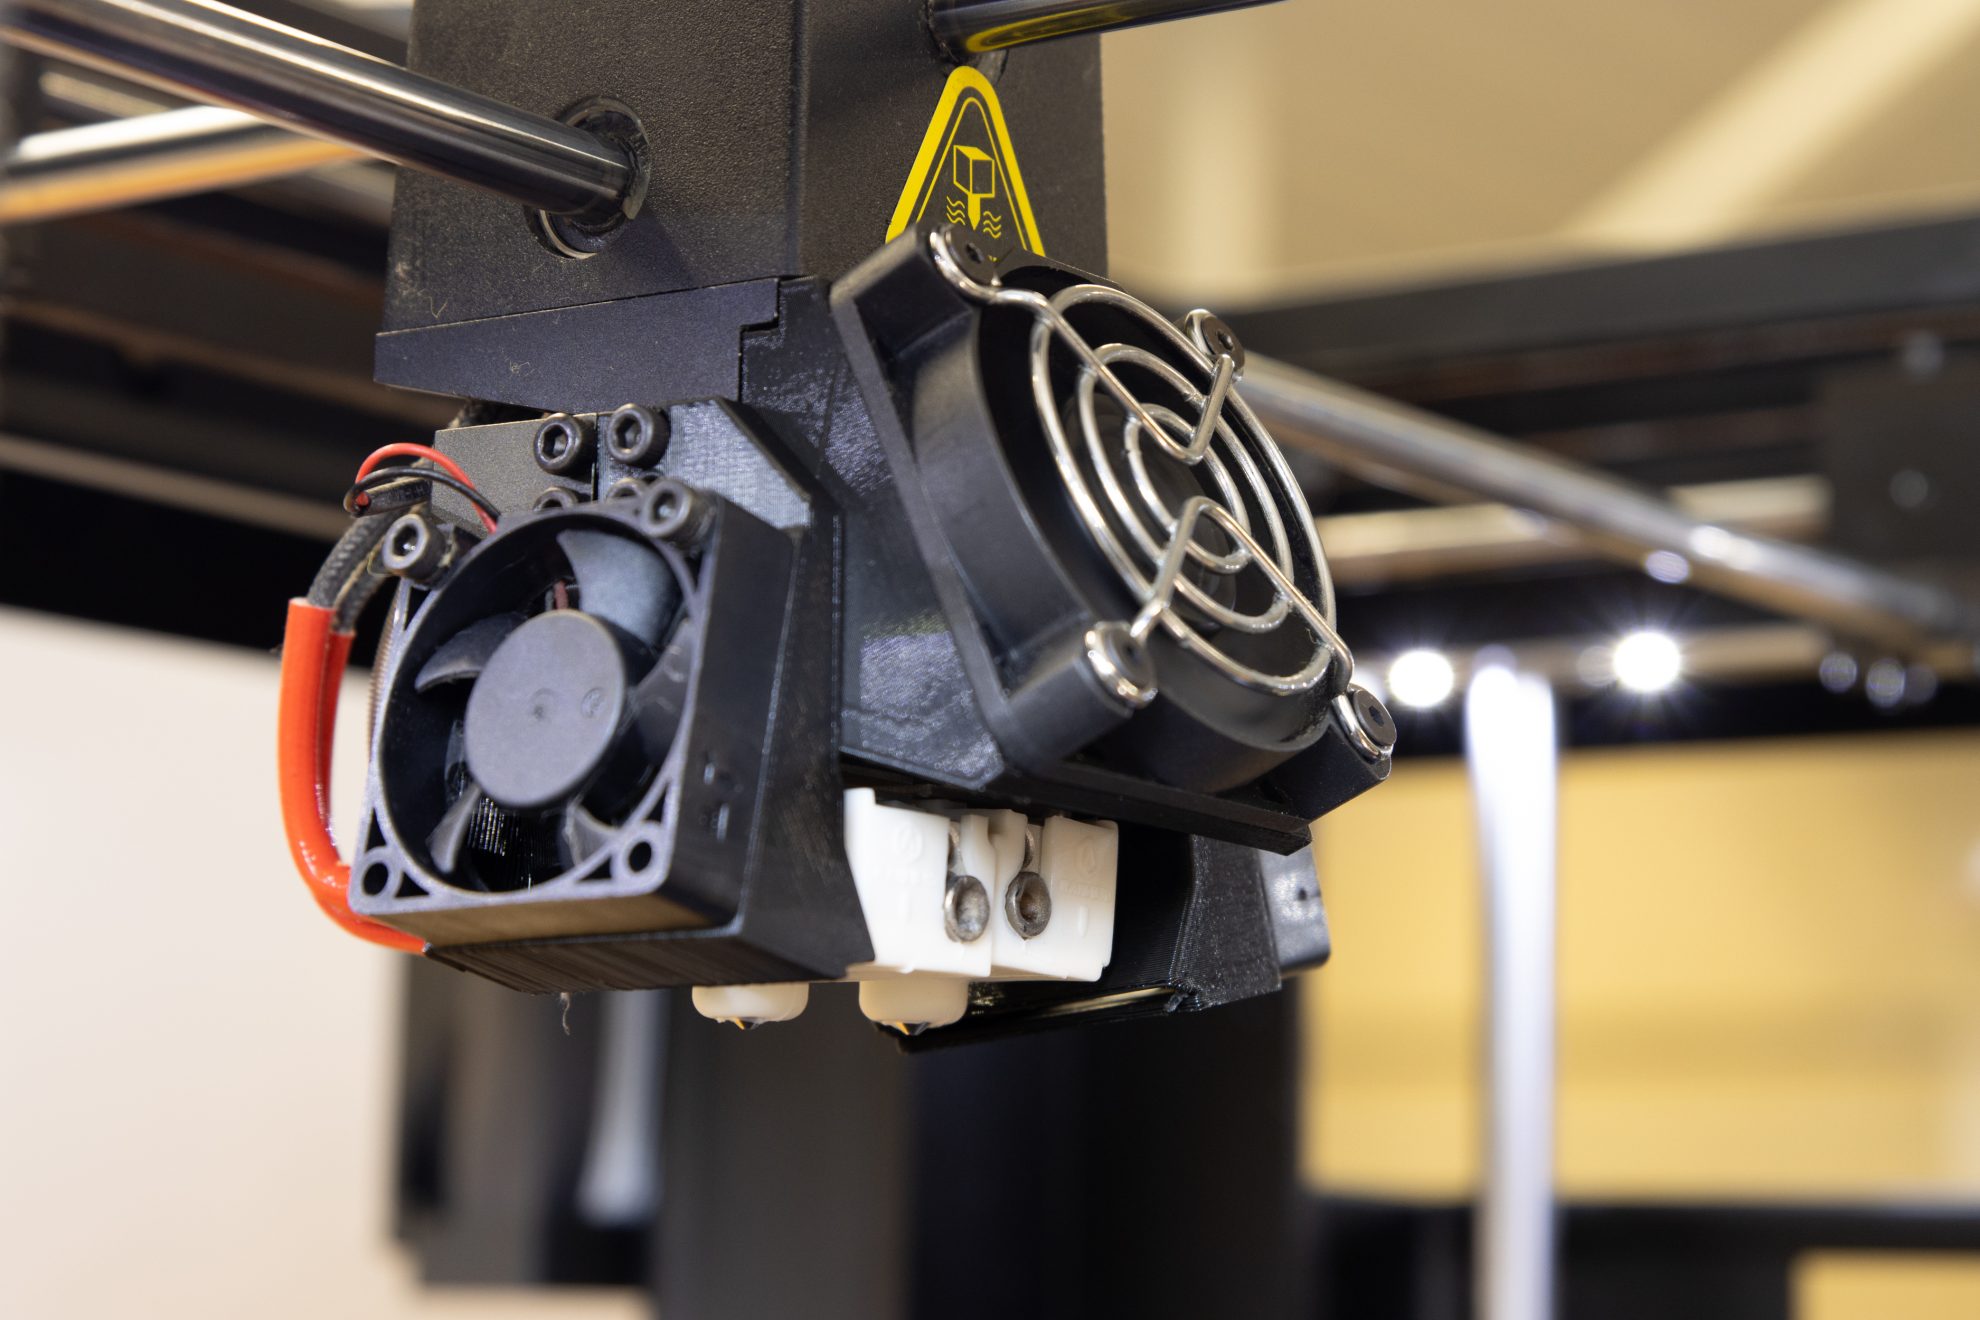


Bondtech Hotend Fix for Raise3D Pro2
Your Raise3D Pro2 is failing on those big PLA prints you bought it for? We have the fix.
The Raise3D Pro2 can actually be a very good 3D printer if you use this.
Raise3D Pro2‘s common heat-creep, clogs and under-extrusion problems have a very simple fix. Upgrade the hotends with bimetallic Copperhead and CHT technology.
Price:
$174.88
Only 18 left in stock (can be backordered)
Chose Currency / Country
Select Currency
Select Country
Description
Bondtech Hotend Fix for Raise3D Pro2 Advantages
- Affordable with a great value for cost;
- Heat creep is minimized by Copperhead’s thermal performance;
- Better layer bonding from the Bondtech CHT nozzles…
- … and higher flow with PLA and other non-abrasive materials;
- Compatible with RepRap nozzles;
- Easy and quick to install process…
- … that includes a gauging tool to achieve optimal hotend setup.
Why Was The Bondtech Hotend Fix for Raise3D Pro2 Created
Many users contact us to buy extruder upgrades for the Raise3D Pro2.
These frequently repeated reports were evaluated by our Engineering team.
We found out most issues reported come from the hotend, not from the extruder.
The Raise3D Pro2 has a serious heat creep problem.
Print jobs using low Glass Transition Temperature materials are the most affected.
The longer PLA or TPU prints go over 2 hours, the higher the probability of failing due to under-extrusion or even clogging. Prints fail, or the parts made are very fragile.
For this serious problem we designed a simple and effective solution.
- The solution's core is the Copperhead Heat Break, that enhances heat dissipation and separates hot and cold side of the heat break more effectively;
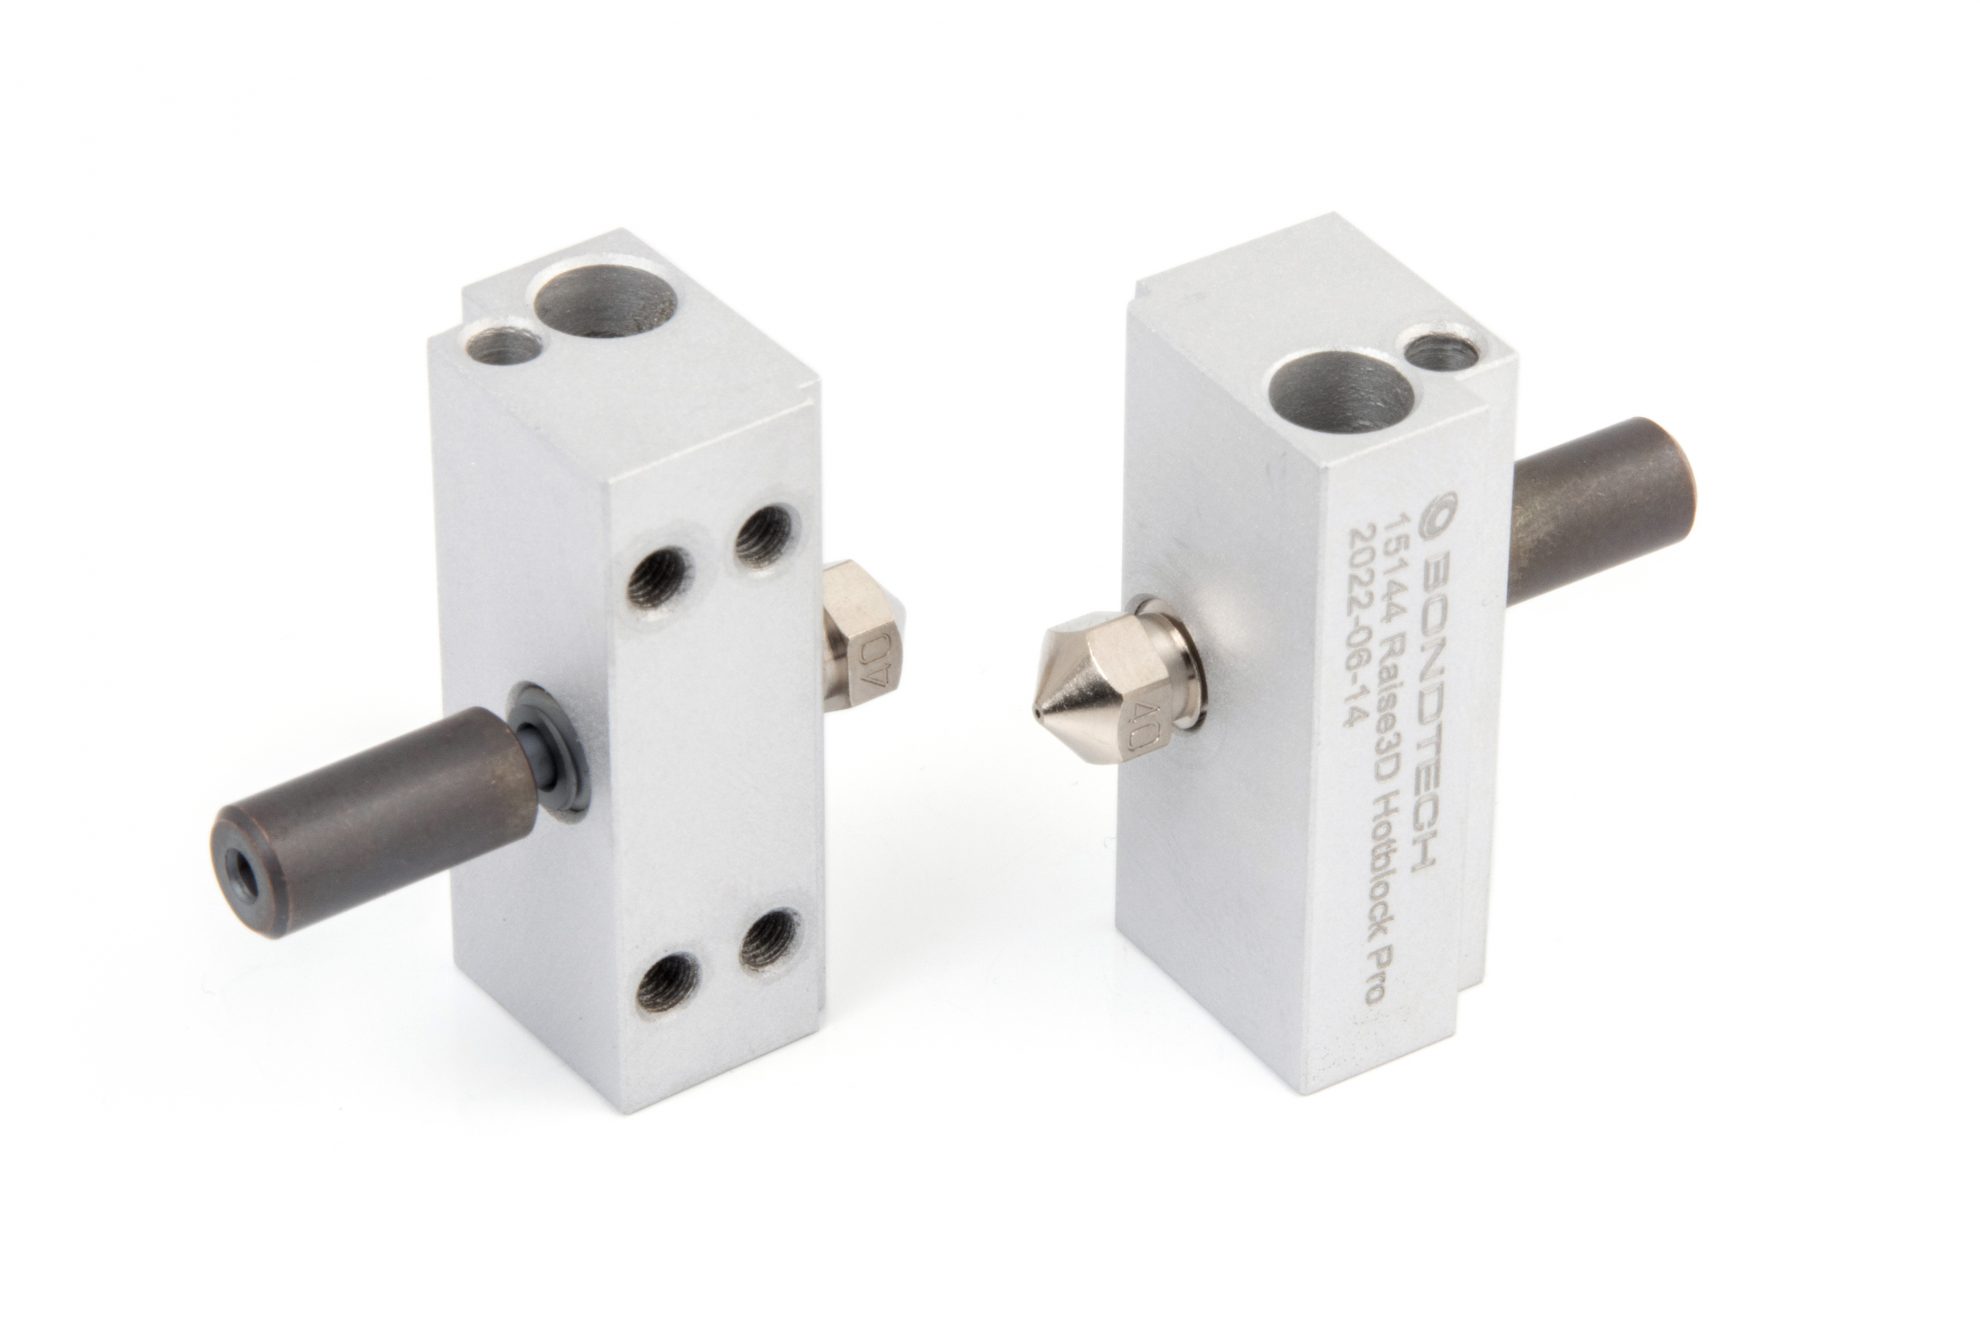
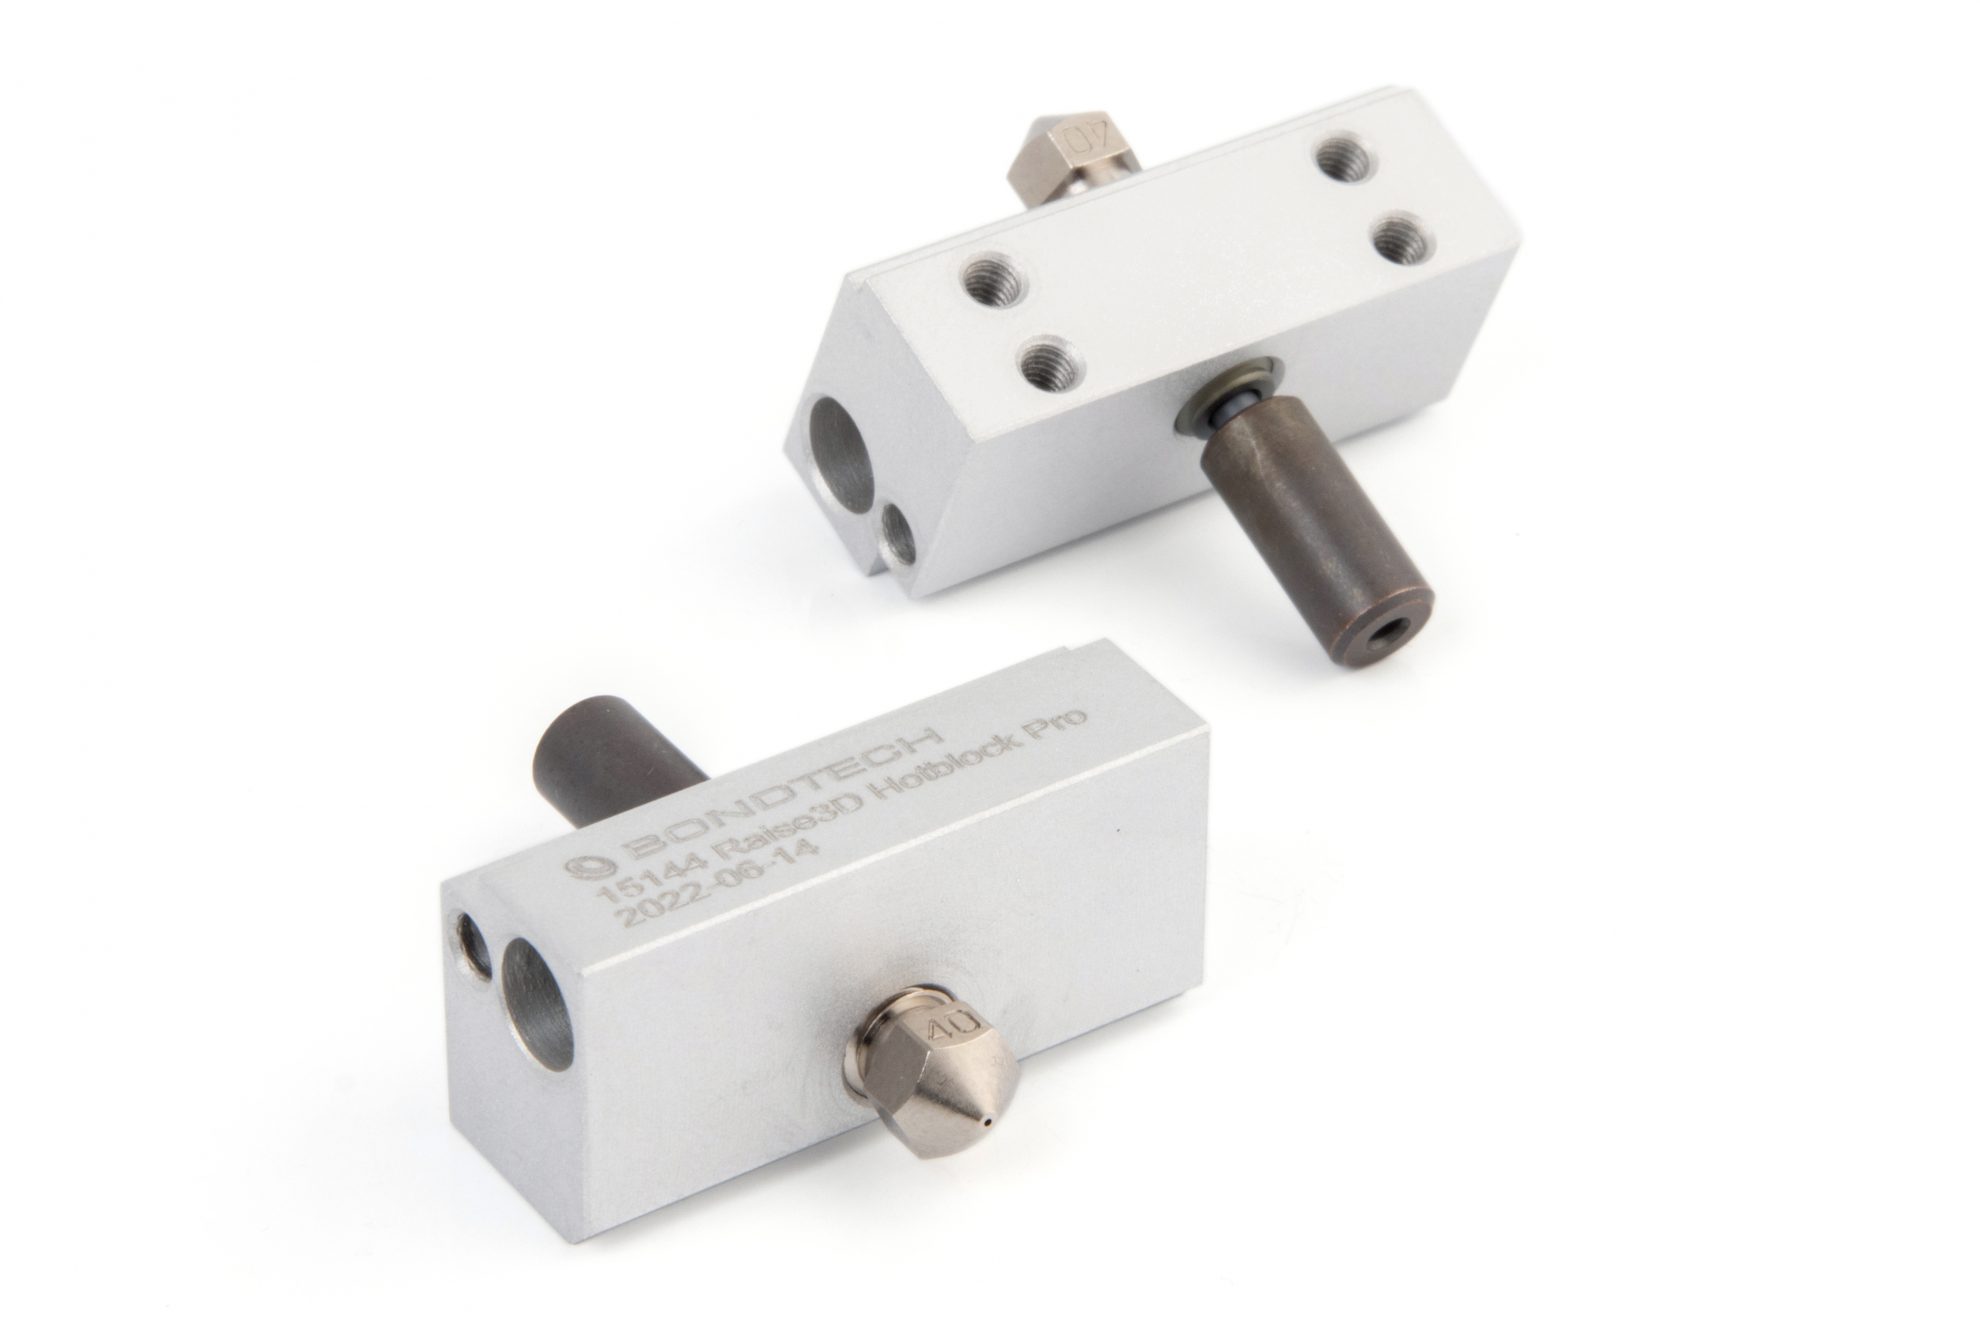
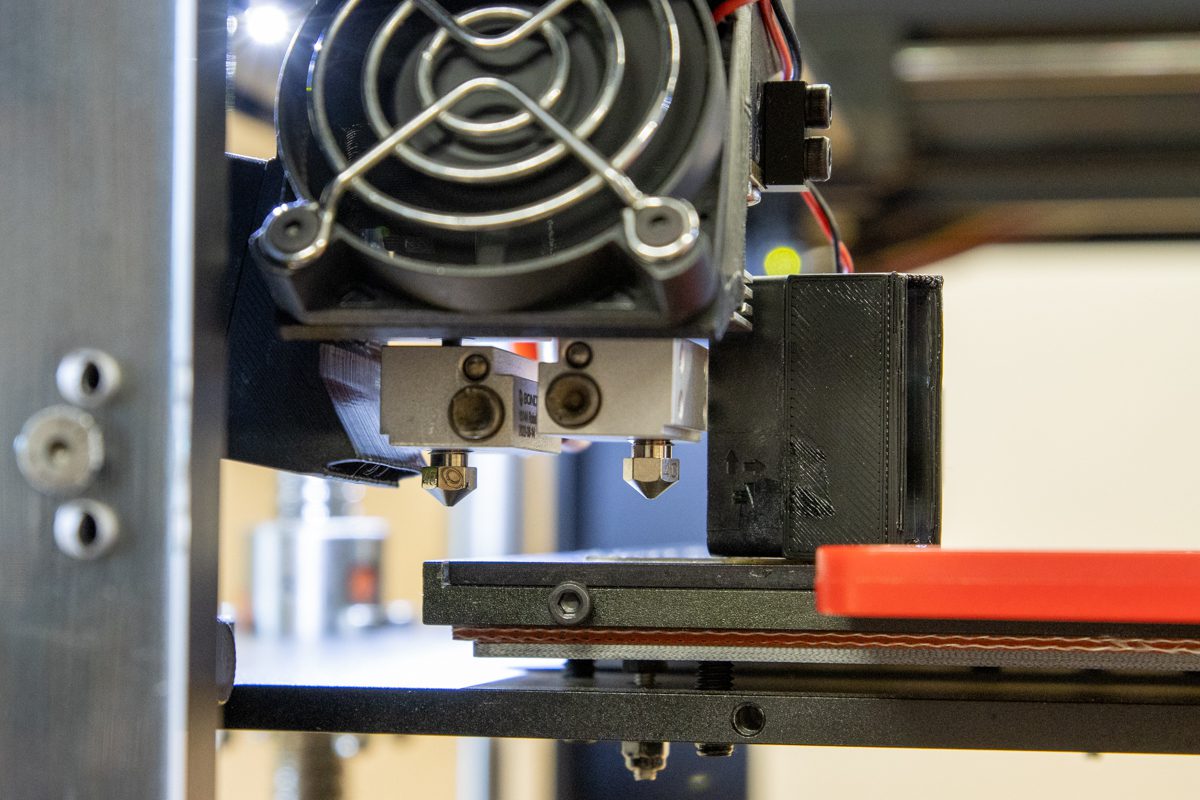
- A new heat block was designed and machined by Bondtech to provide compatibility with the stock heaters, thermistors and silicone socks while enabling the Copperhead heat breaks and wide standard RepRap nozzles;
- To wrap it up, a pair of Bondtech CHT nozzles increase the flow capacity and improve layer adhesion, or enable the possibility of running the nozzles at lower temperatures.
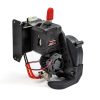
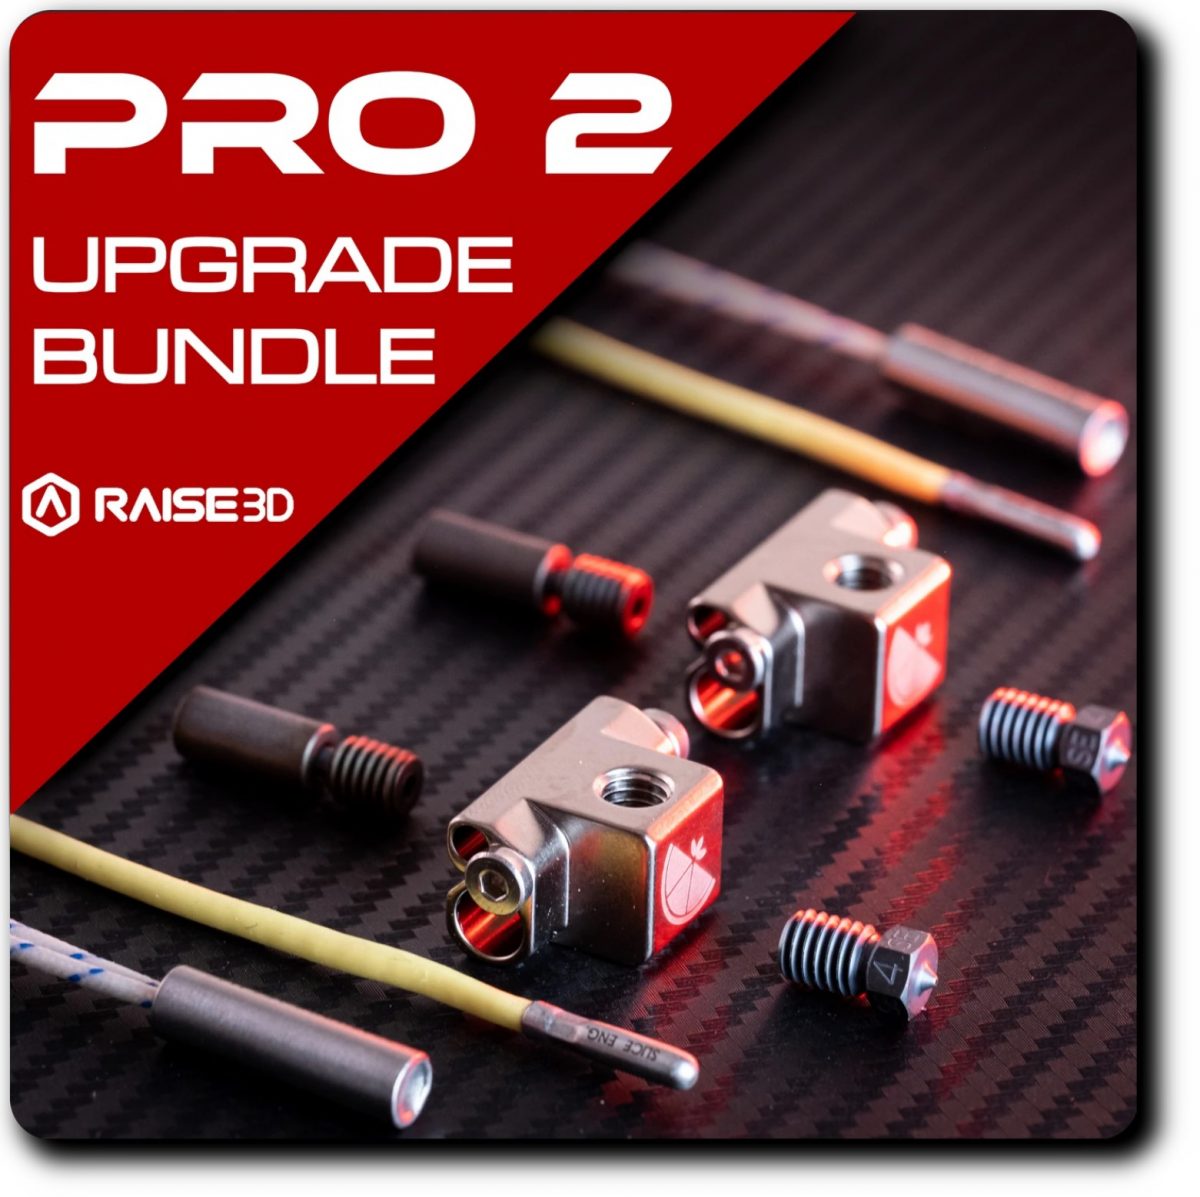
Using Engineering grade or composite/abrasive materials?
If so, the PRO 2 Upgrade Bundle is the best choice for you.
Click the image or the button below to open the product page.
Additional information
| Freight Weight | 60 g |
|---|---|
| Dimensions | 10 × 8 × 4 cm |
Product Video
Product Video
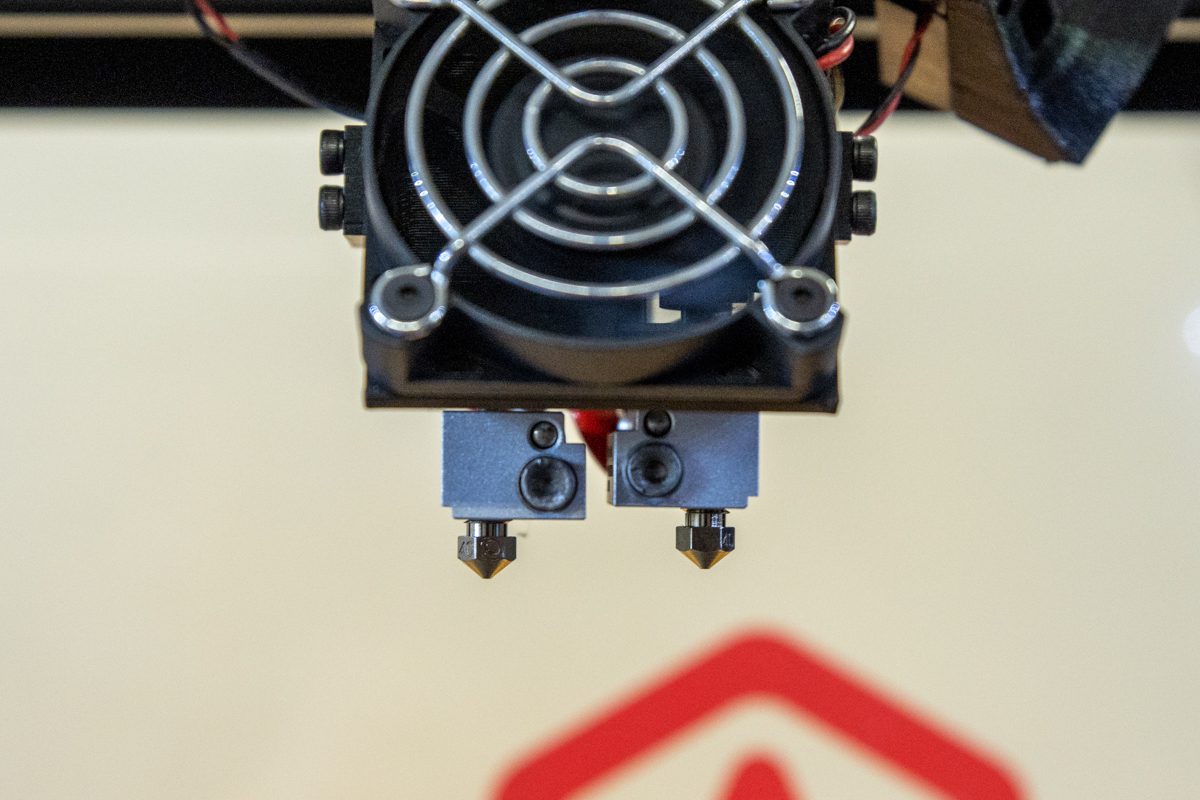
Before And After Installing The Bondtech Hotend Fix
SETUP GUIDE
SETUP GUIDE
Setting Up the Bondtech Hotend Fix for Raise3D Pro2
The guide below shows how to install the Bondtech Hotend Fix For Raise3D Pro2.
The whole process is divided into 3 stages. Click each tab below to reveal the steps on each stage. This guide assumes you know how to operate the Pro2. If you don't, please refer to Raise3D Pro2's Documentation.
When we illustrate how to execute a step on extruder 1, the same procedure needs to be mirrored on extruder 2.
1/3 Disassembly
Step 1. Unload Filament
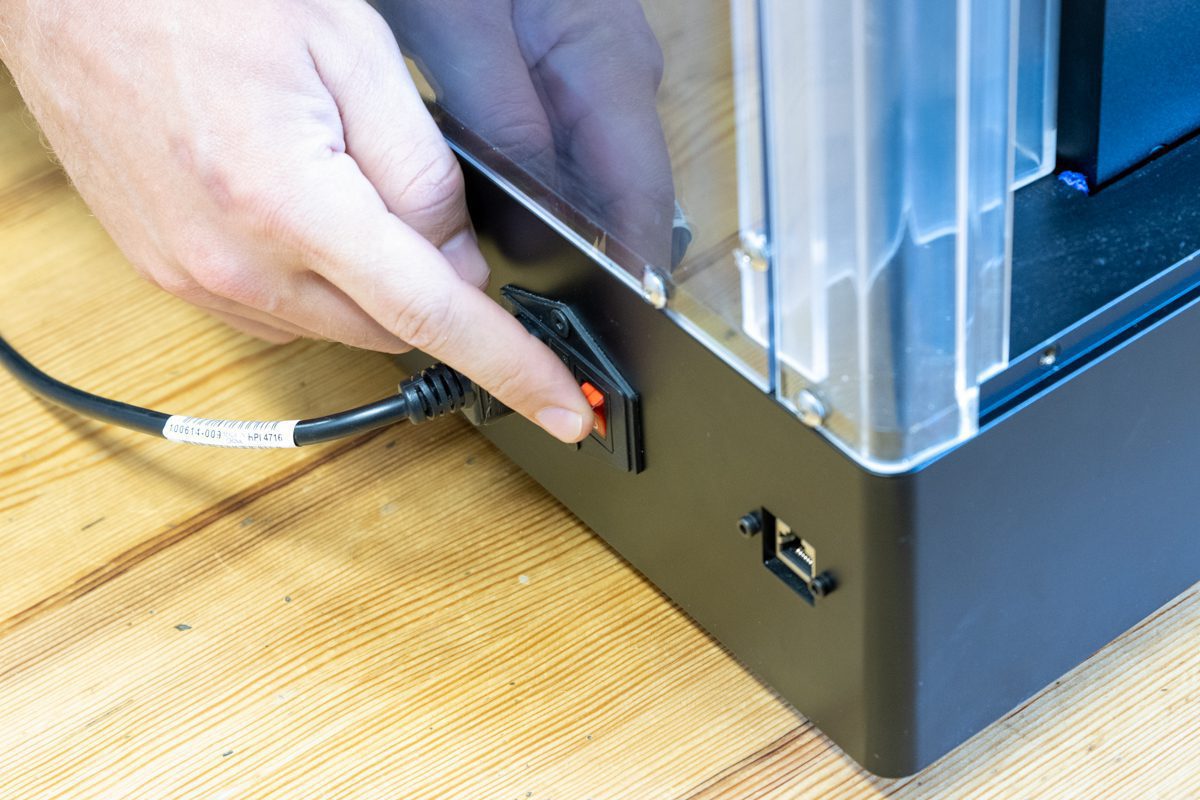
Turn your printer ON
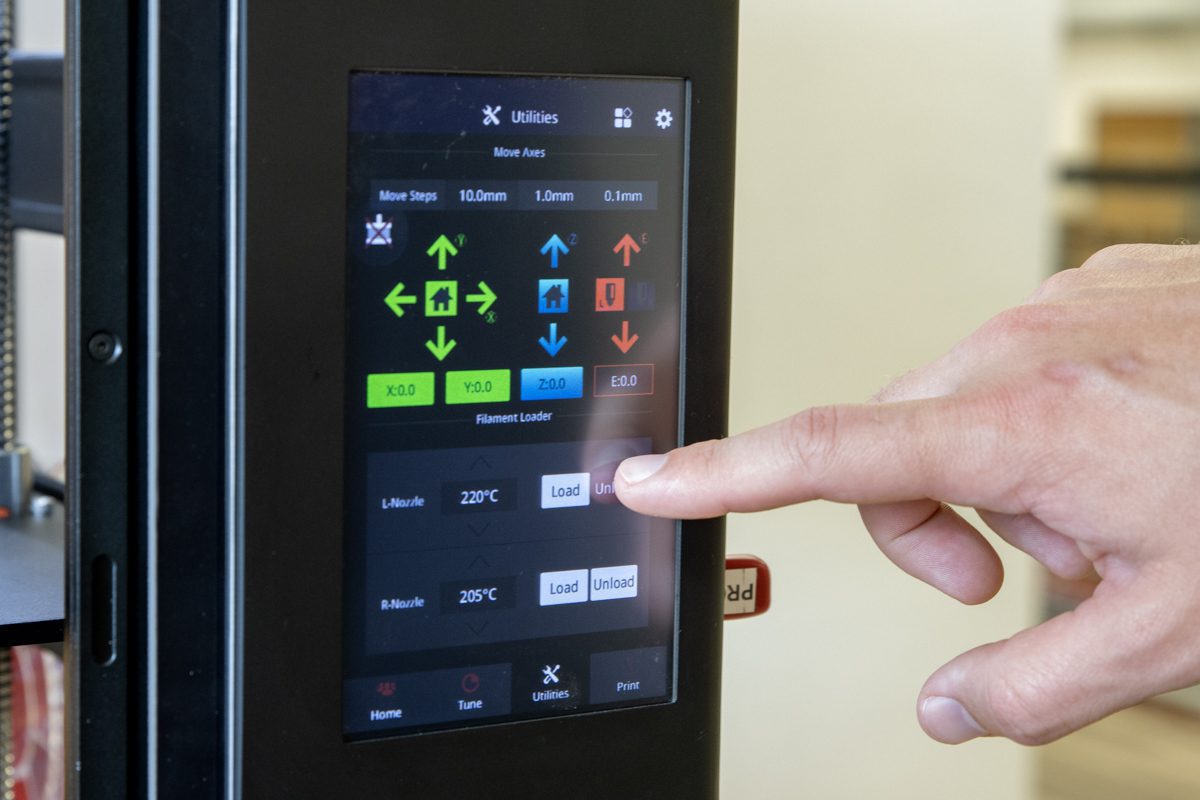
Unload filament on both extruders
Cool down hotends before continuing
Step 2. Remove Fan Shrouds
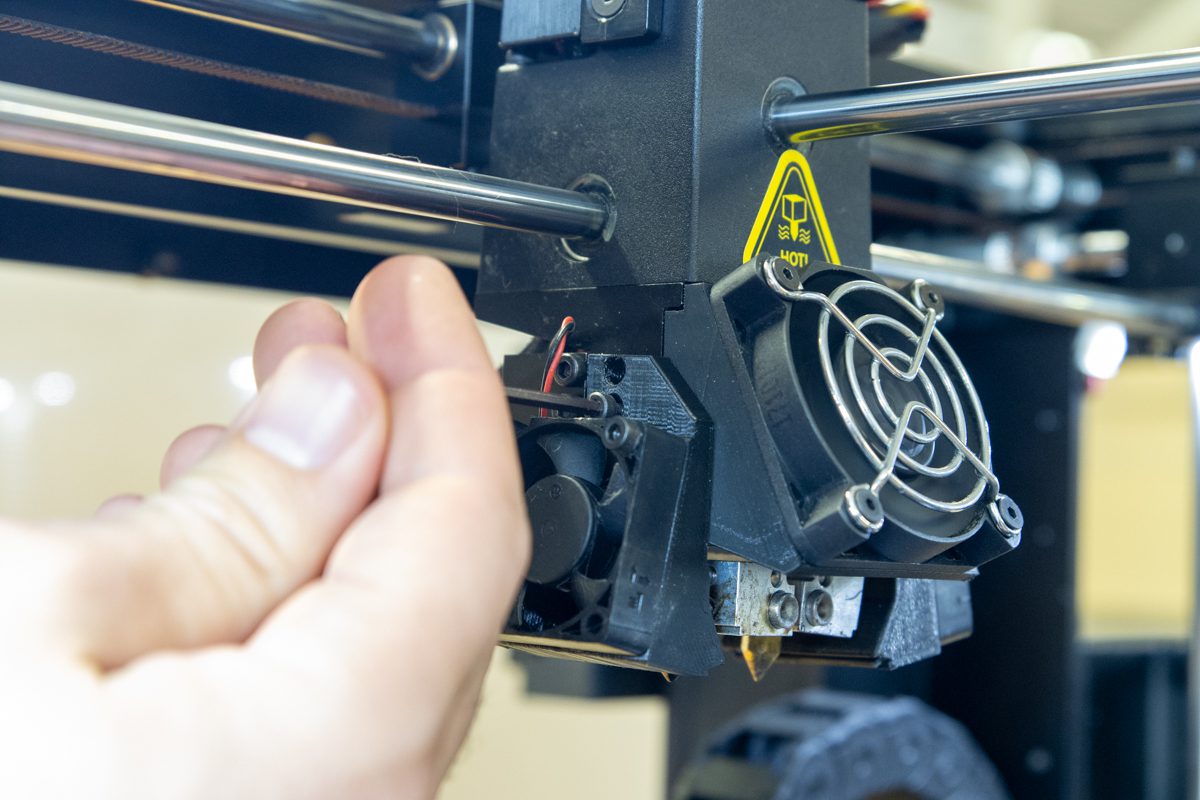
Remove and save these 2 screws
Release the fan and fan shroud
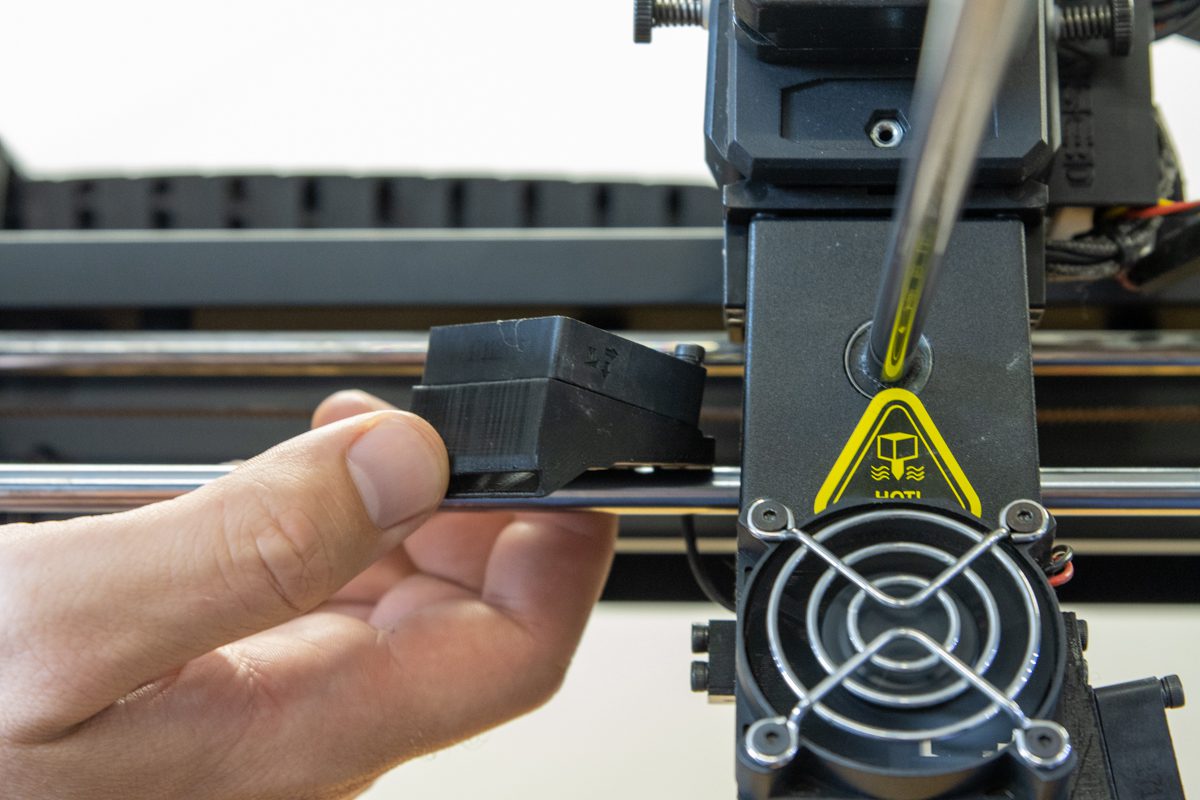
Tuck it away to give you clearance
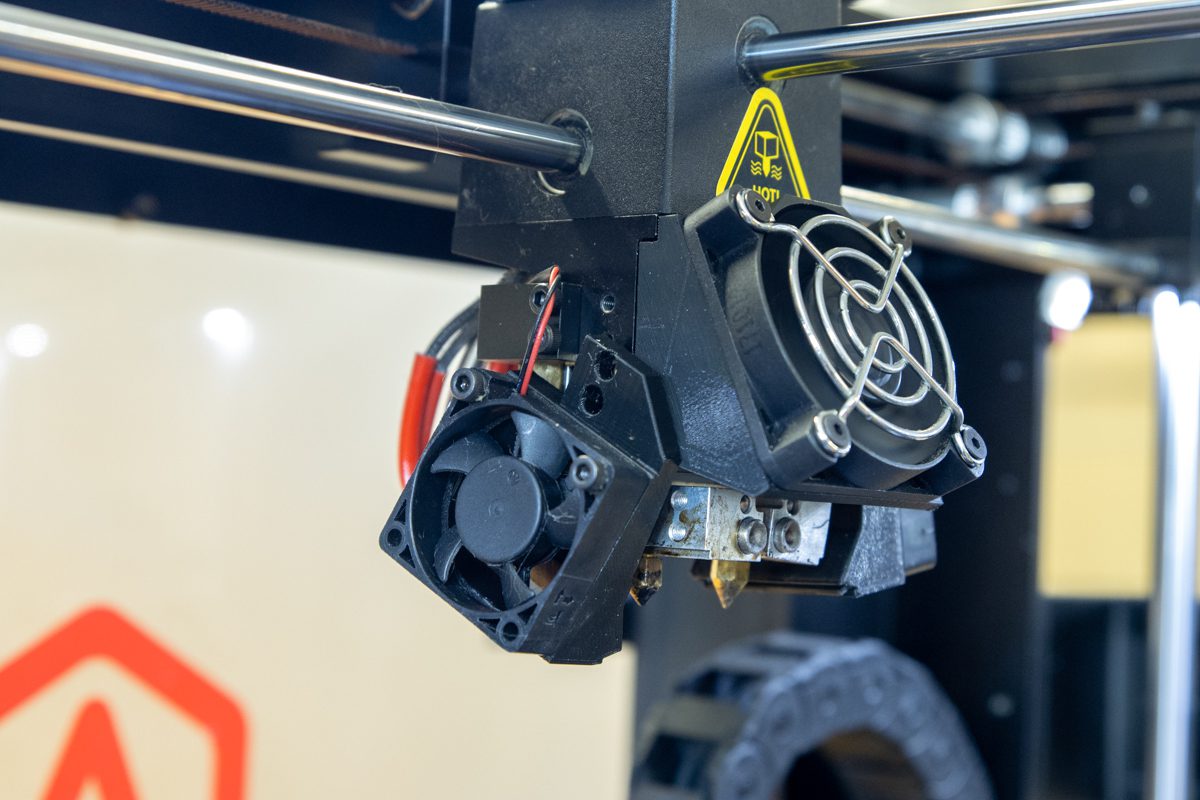
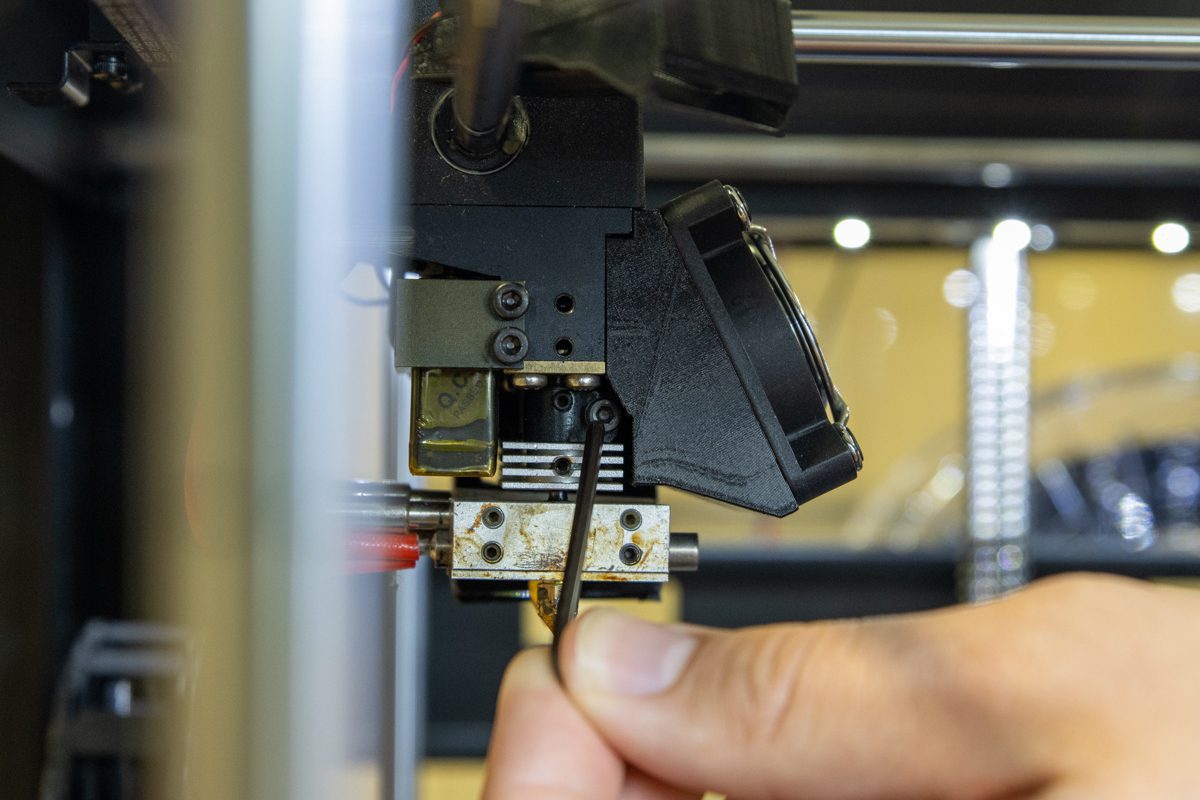
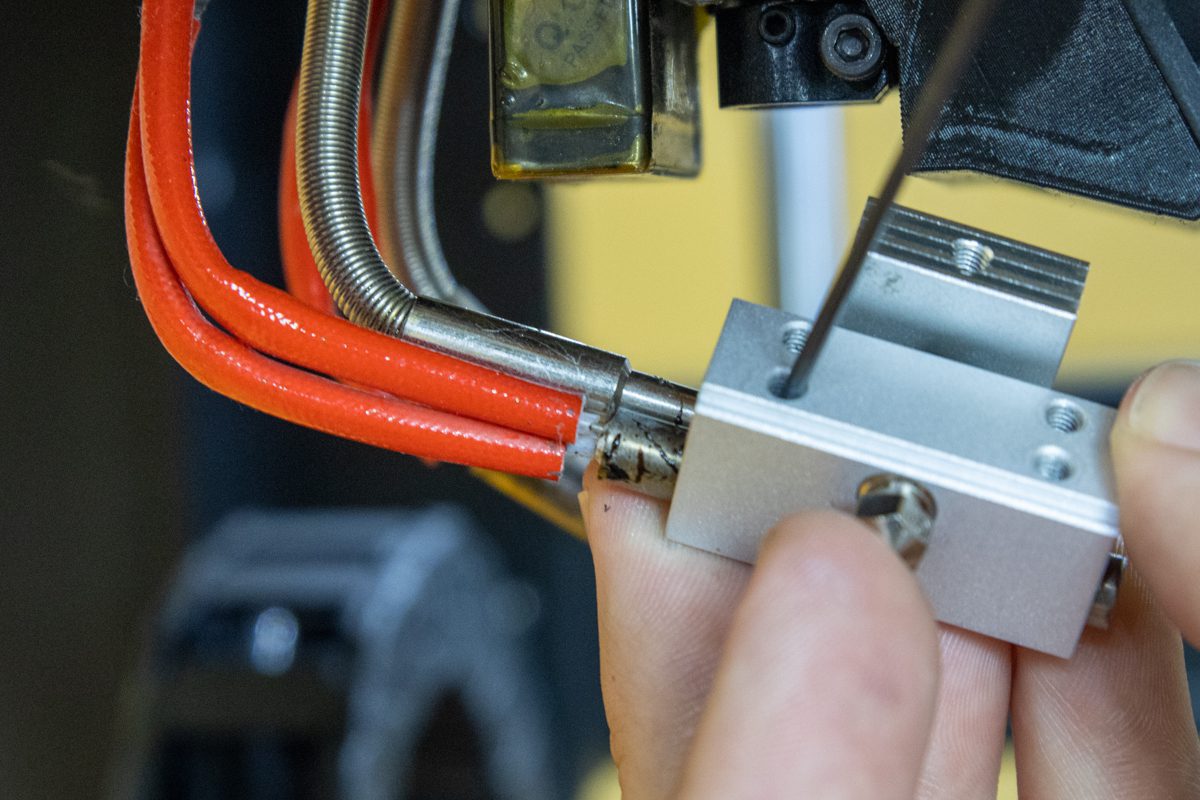
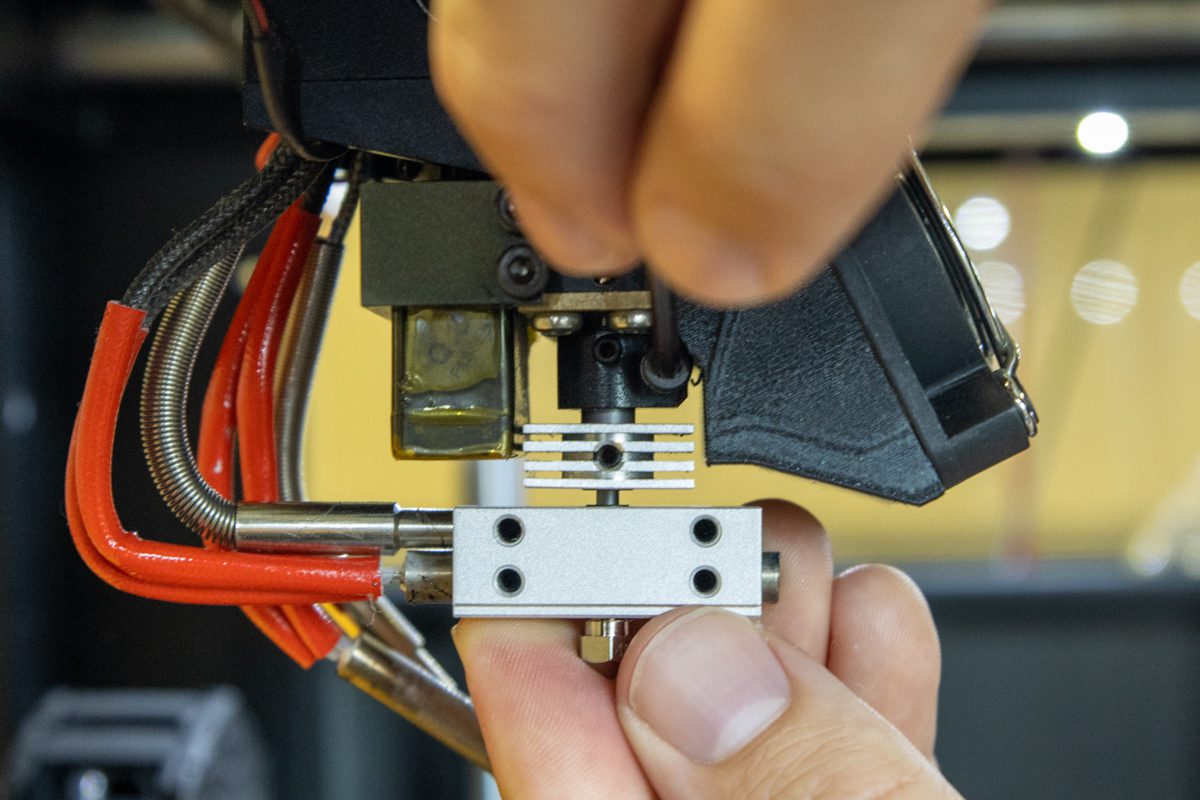
Step 3. Release The Heaters And Thermistors
Release the cartridges' set screws
Check if the cartridges are loose
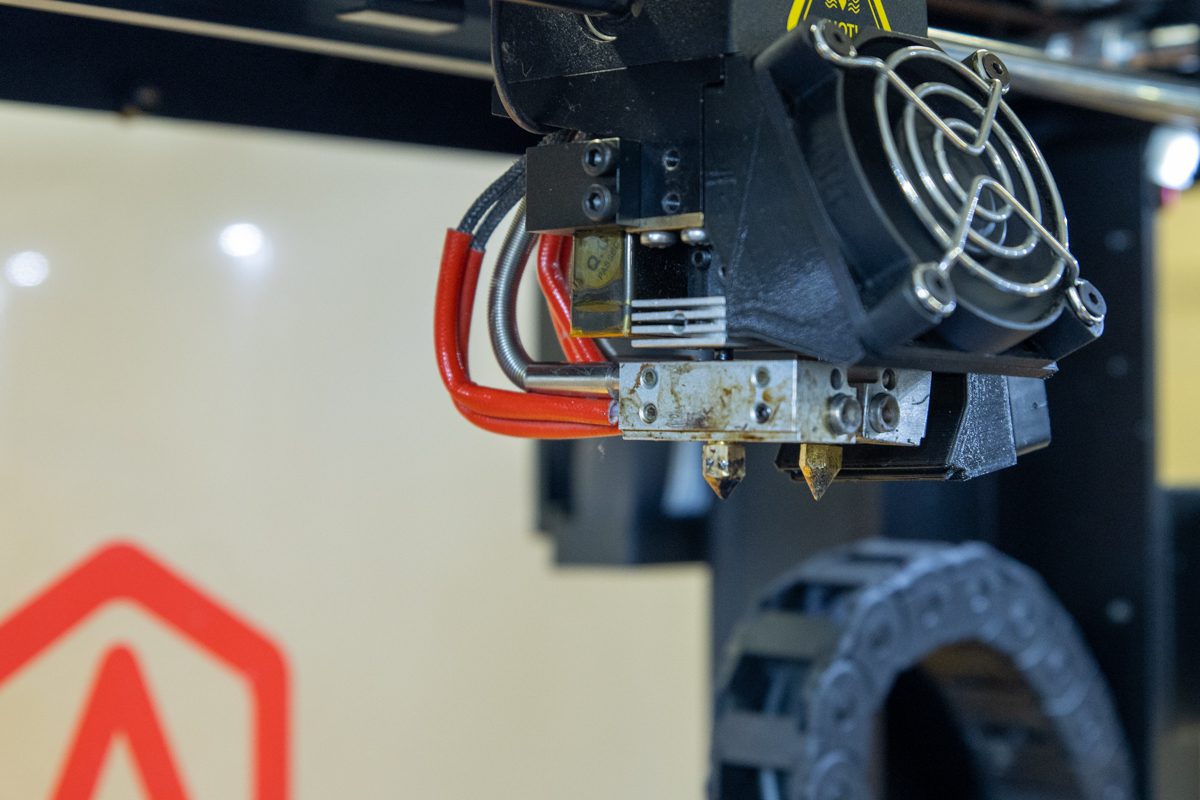
Keep them in place for now
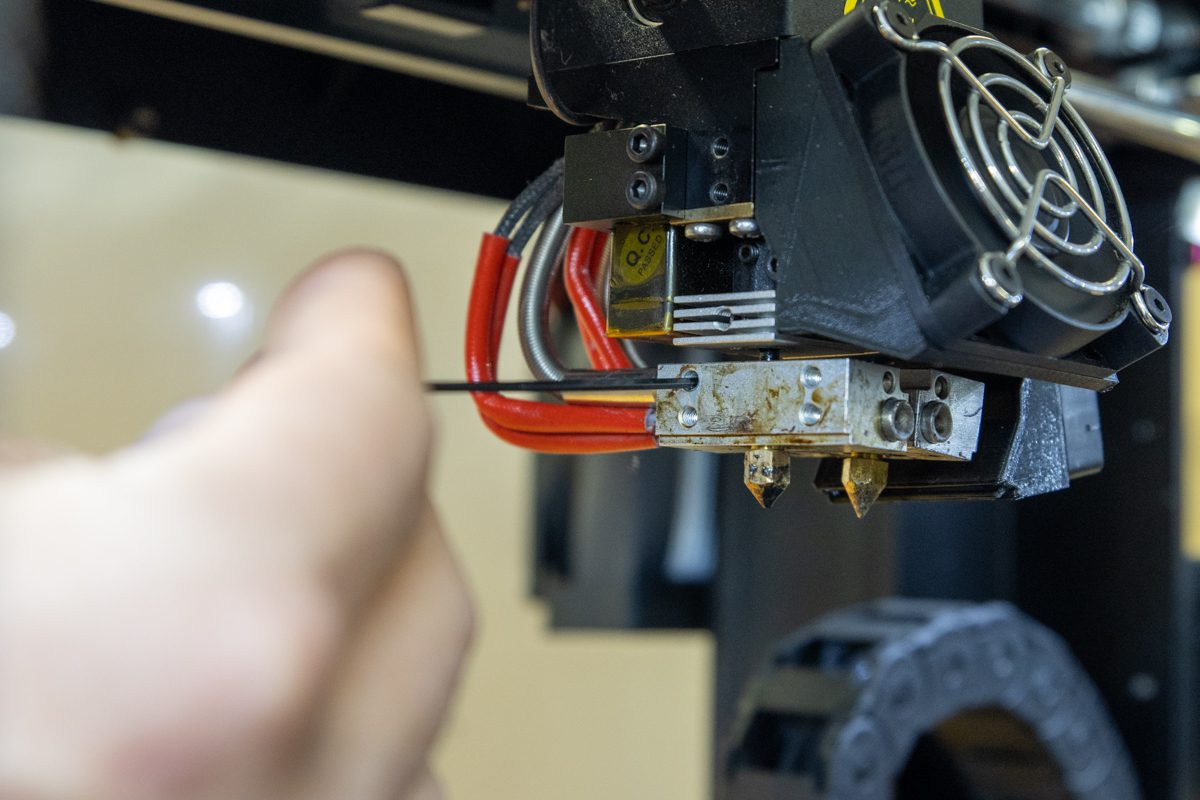
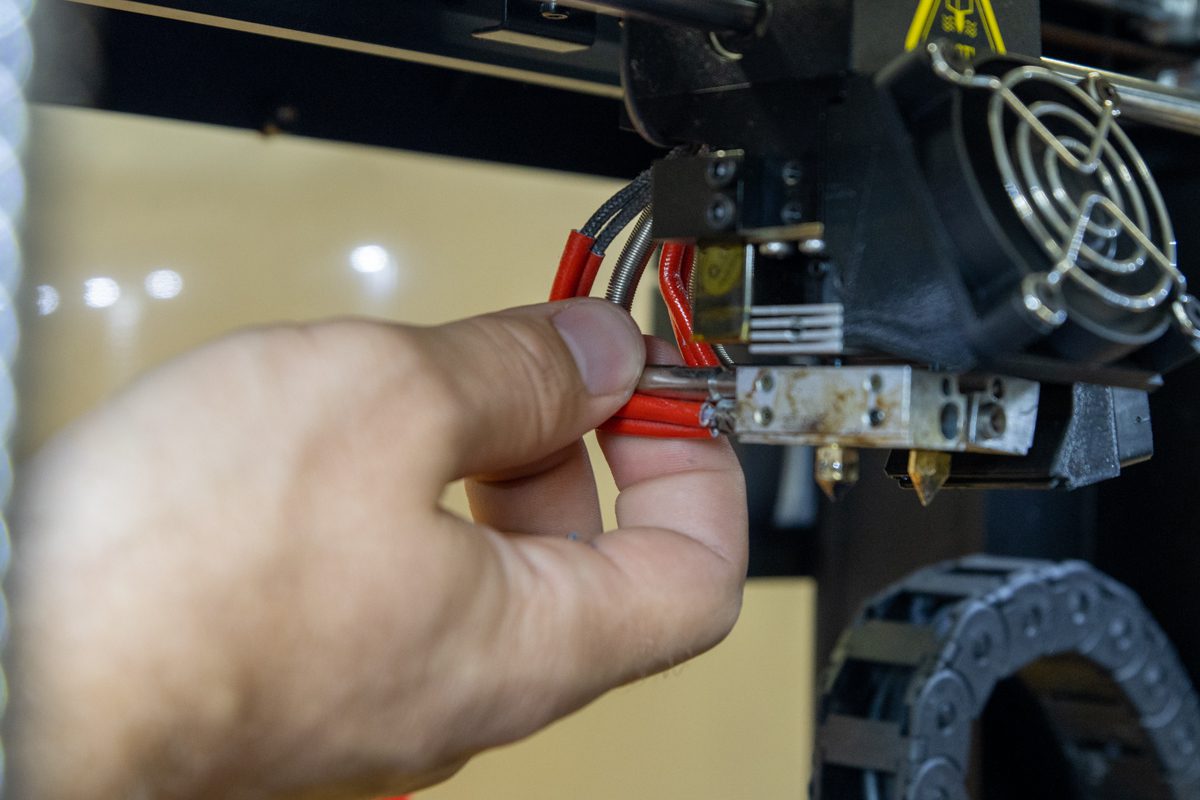
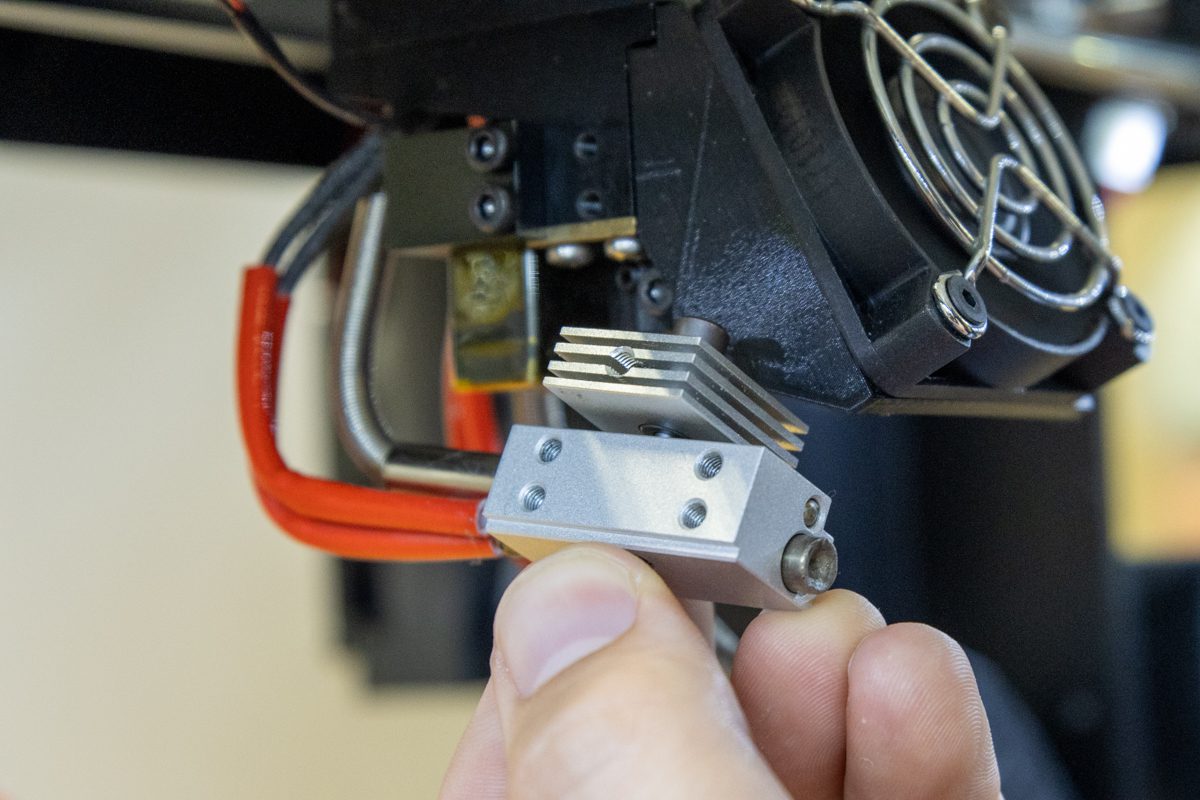
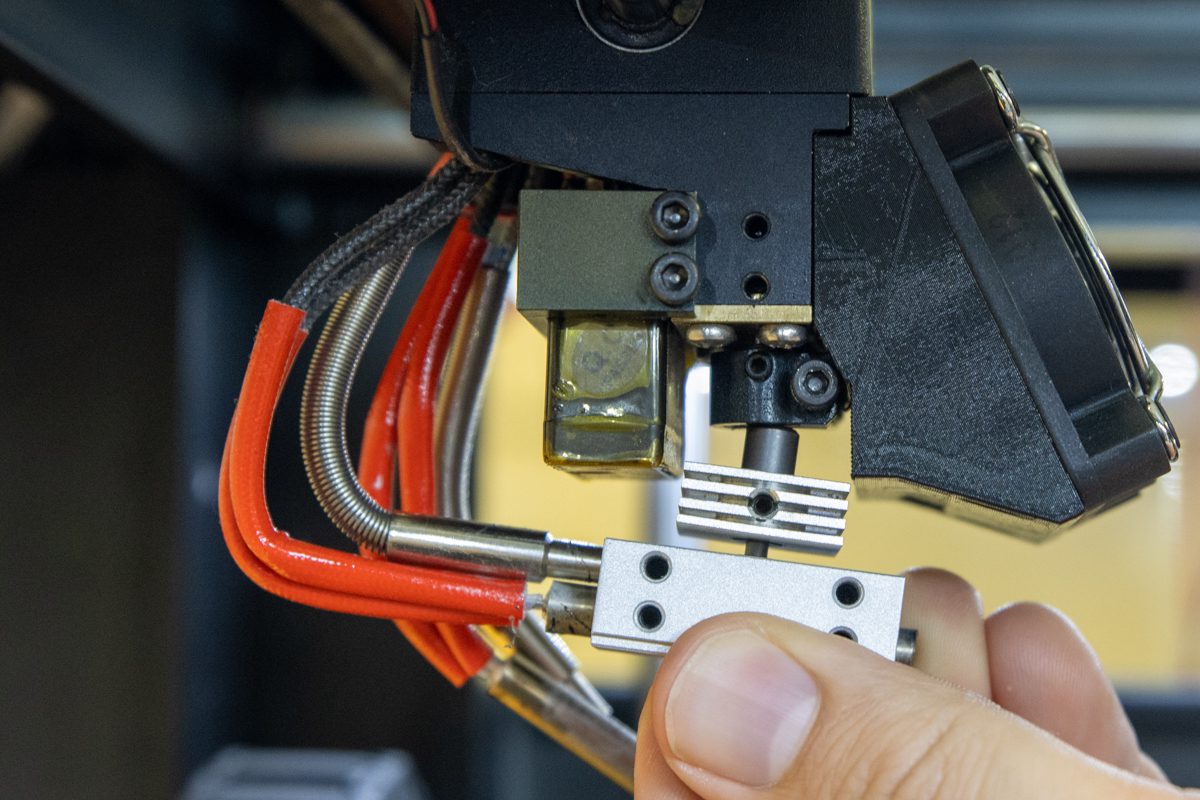
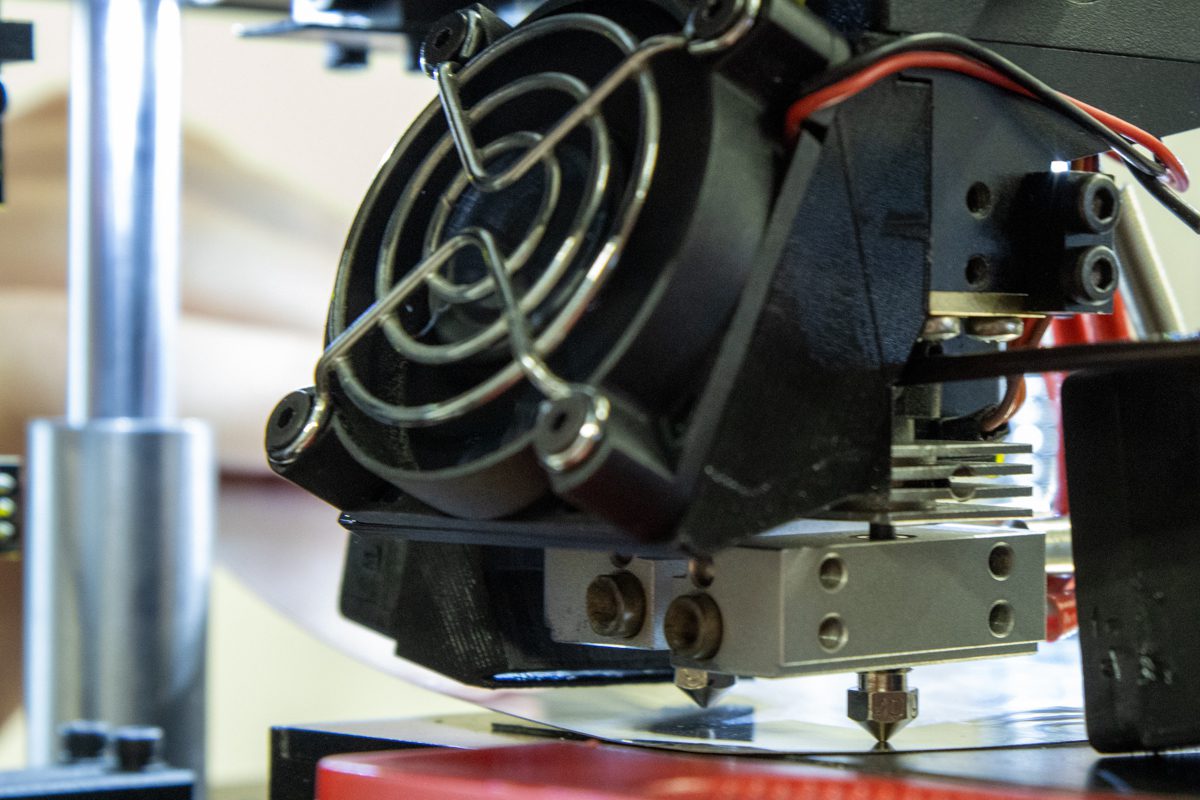
Step 4. Remove The Hotends
Release the hotends' holding screws
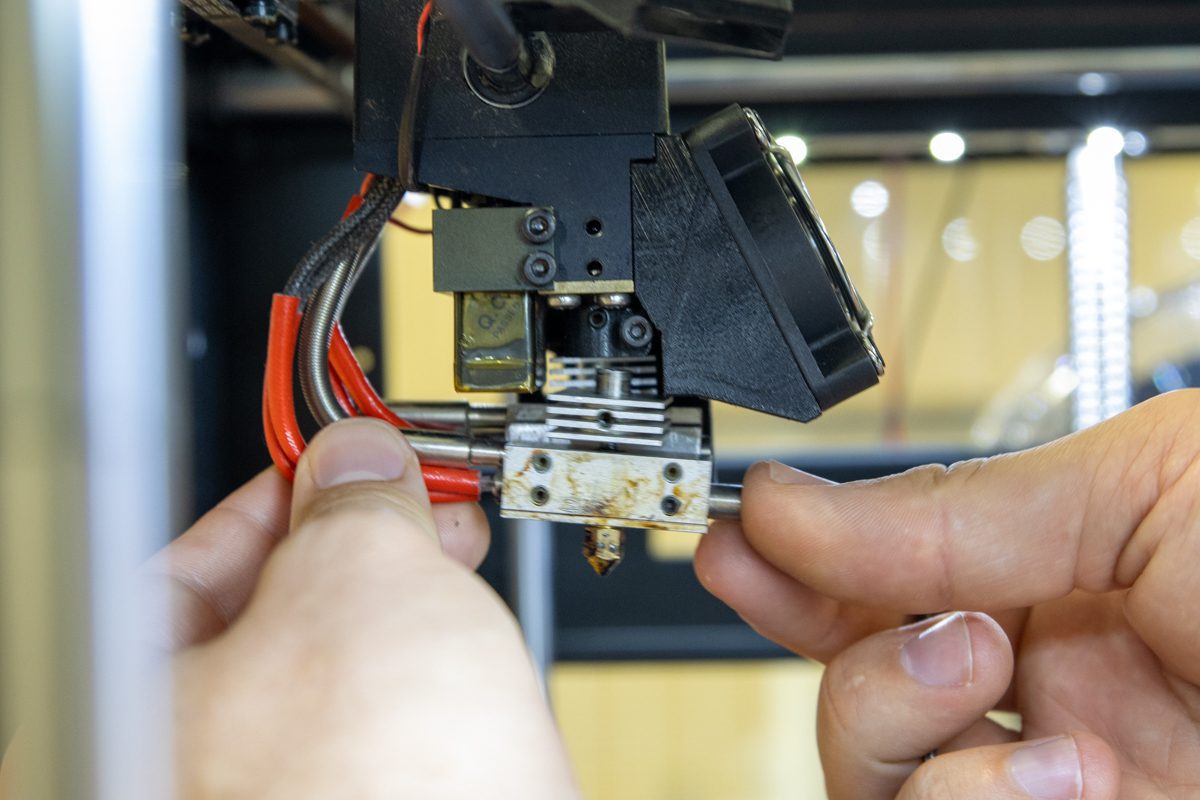
Hold the hotends
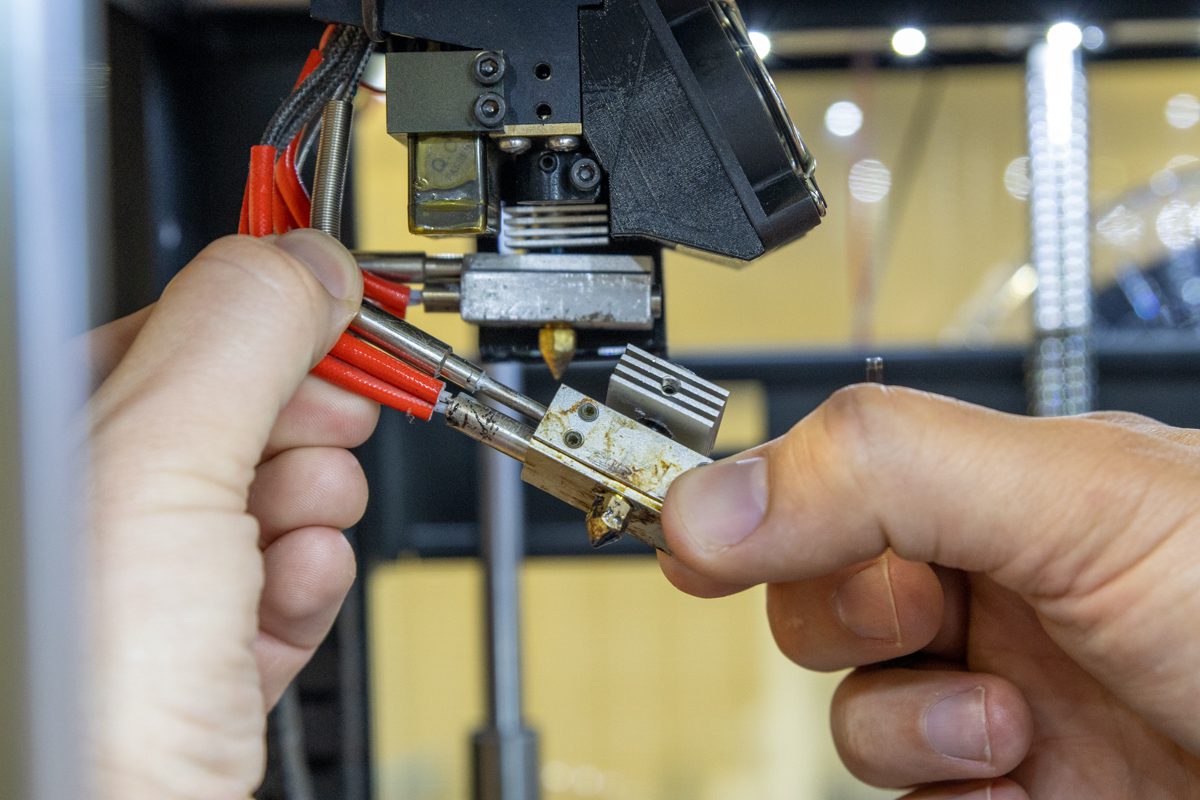
Remove the cartridges from the hotends
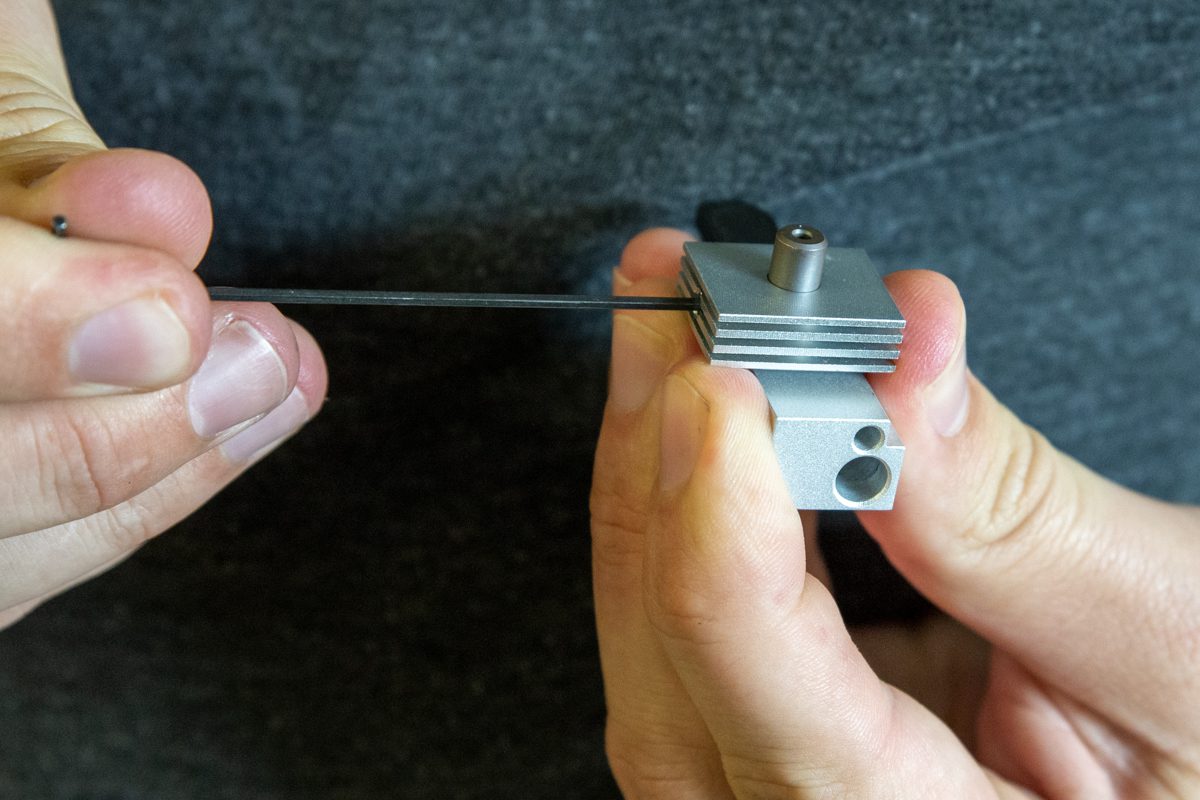
Step 5. Separate The Heatsinks
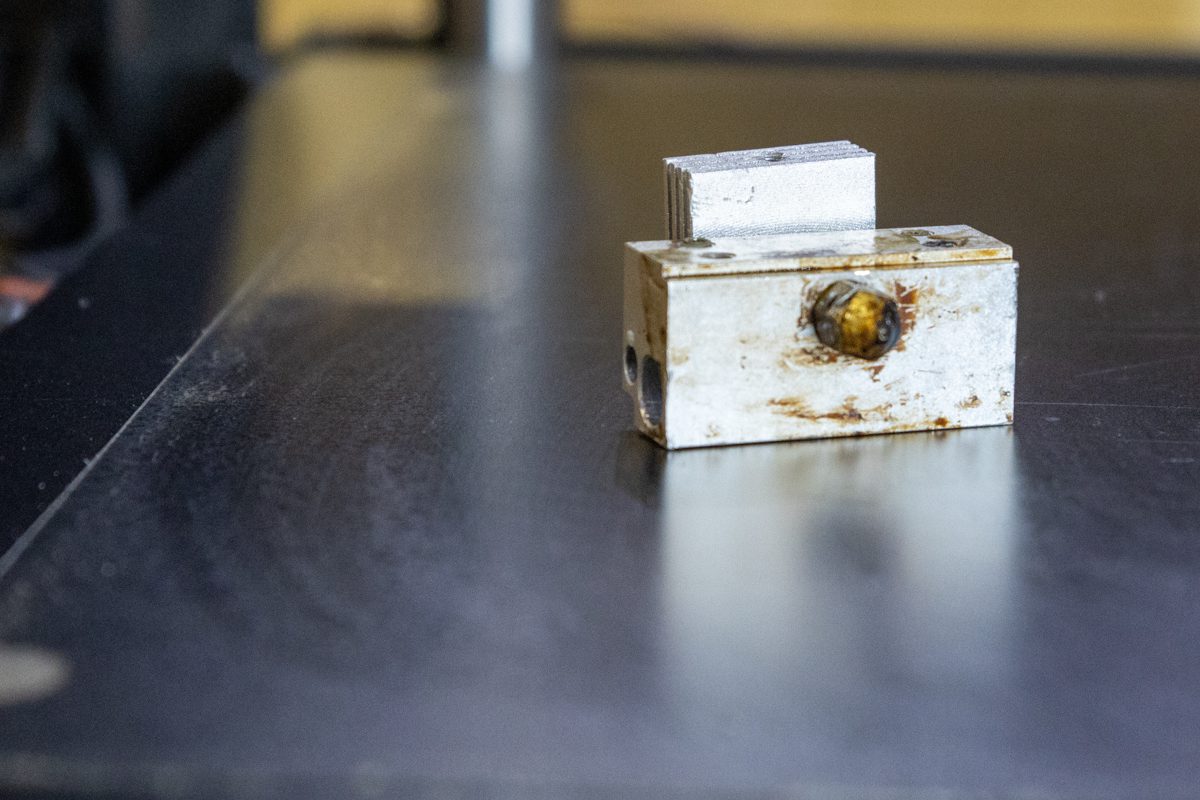
From the stock hotends
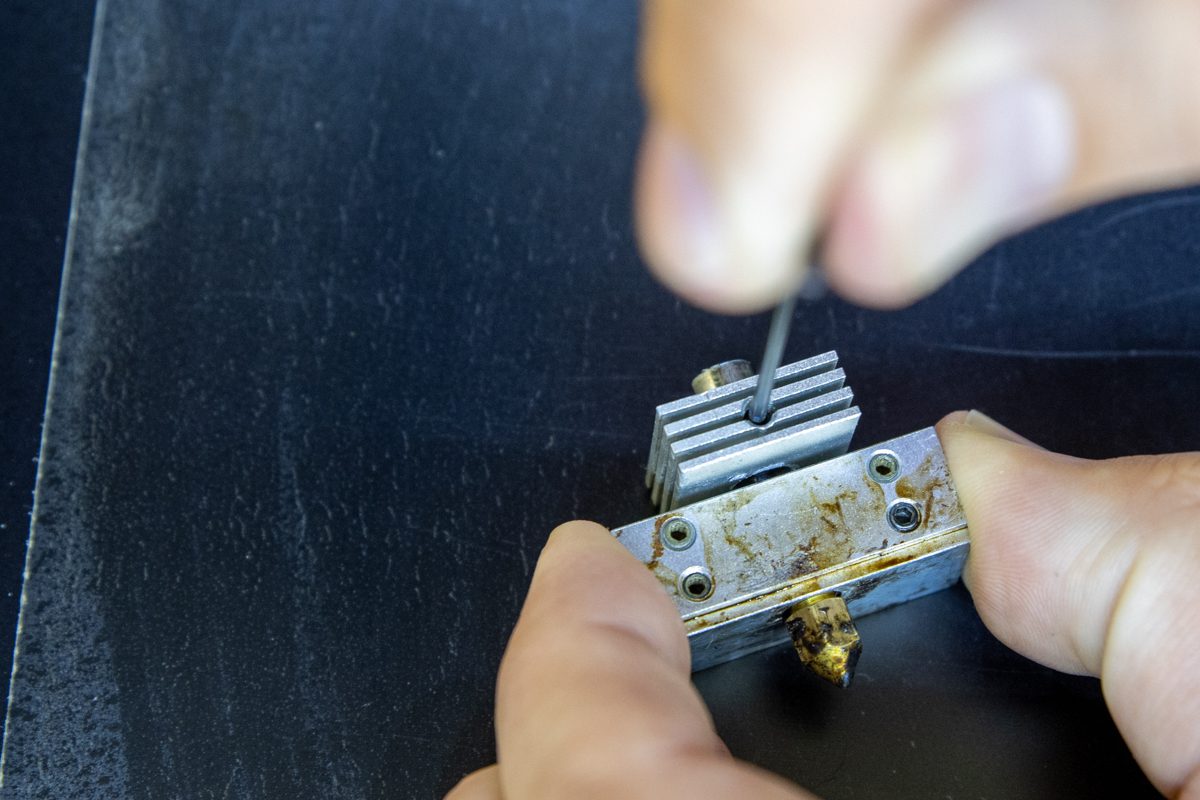
Remove the heat sink's set screw
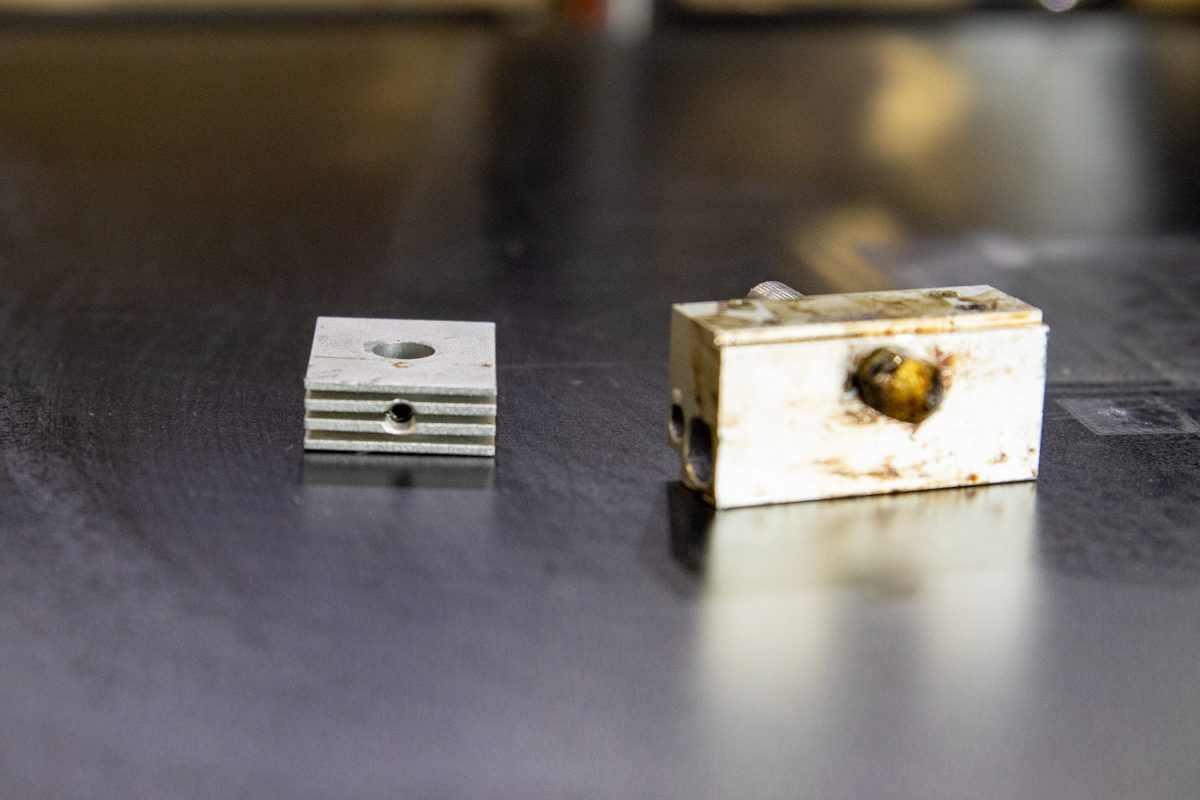
Reserve the heat sinks and set screws
2/3 Assembly
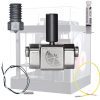
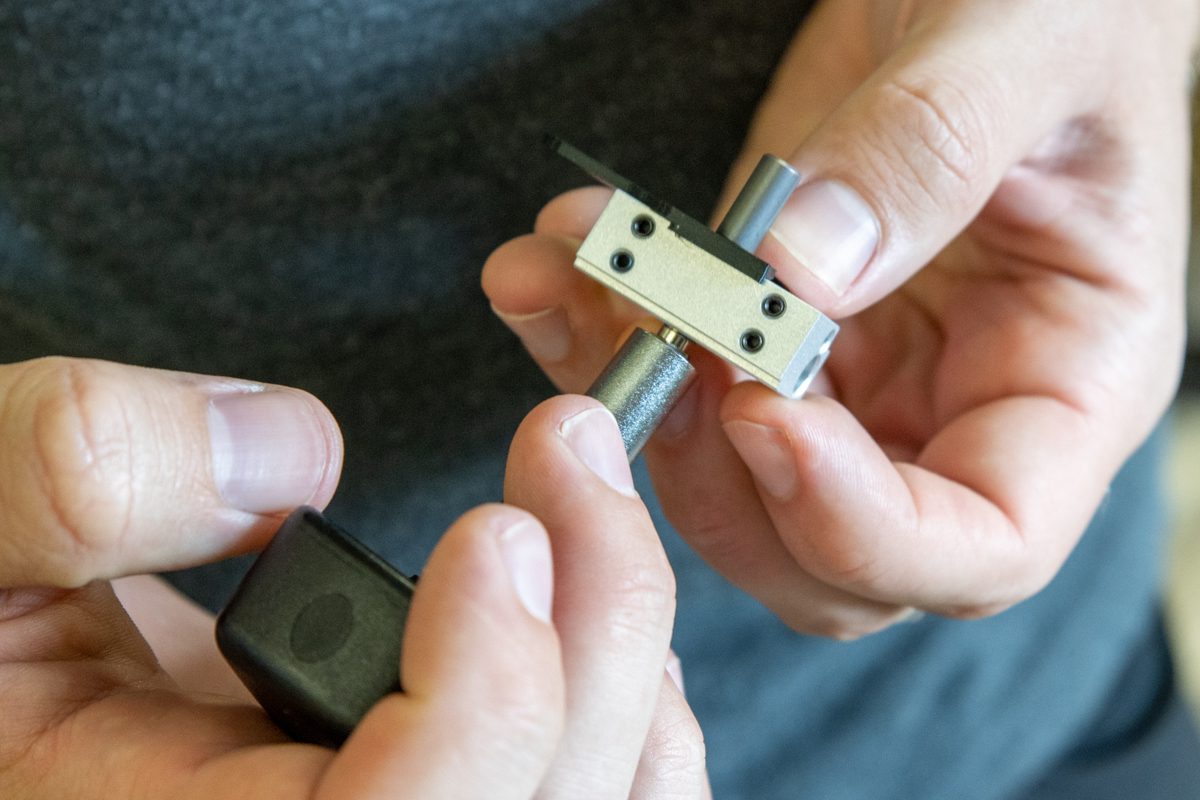
Step 1. Prepare The Hotend Fix For Installation
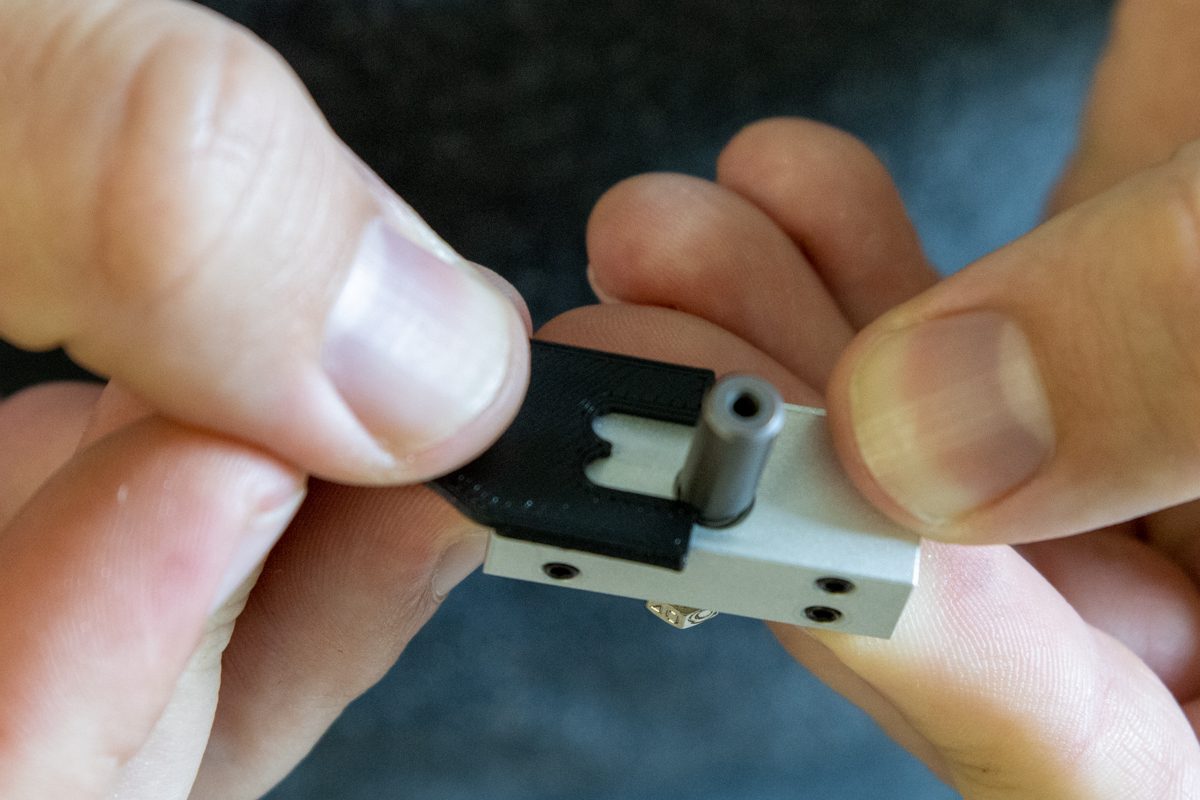
Push it until it touches the heat sink
Tighten the heat break
Step 2. Cold Tighten The Nozzle
Tighten the nozzle by hand
Use a 1.5Nm Torque Wrench
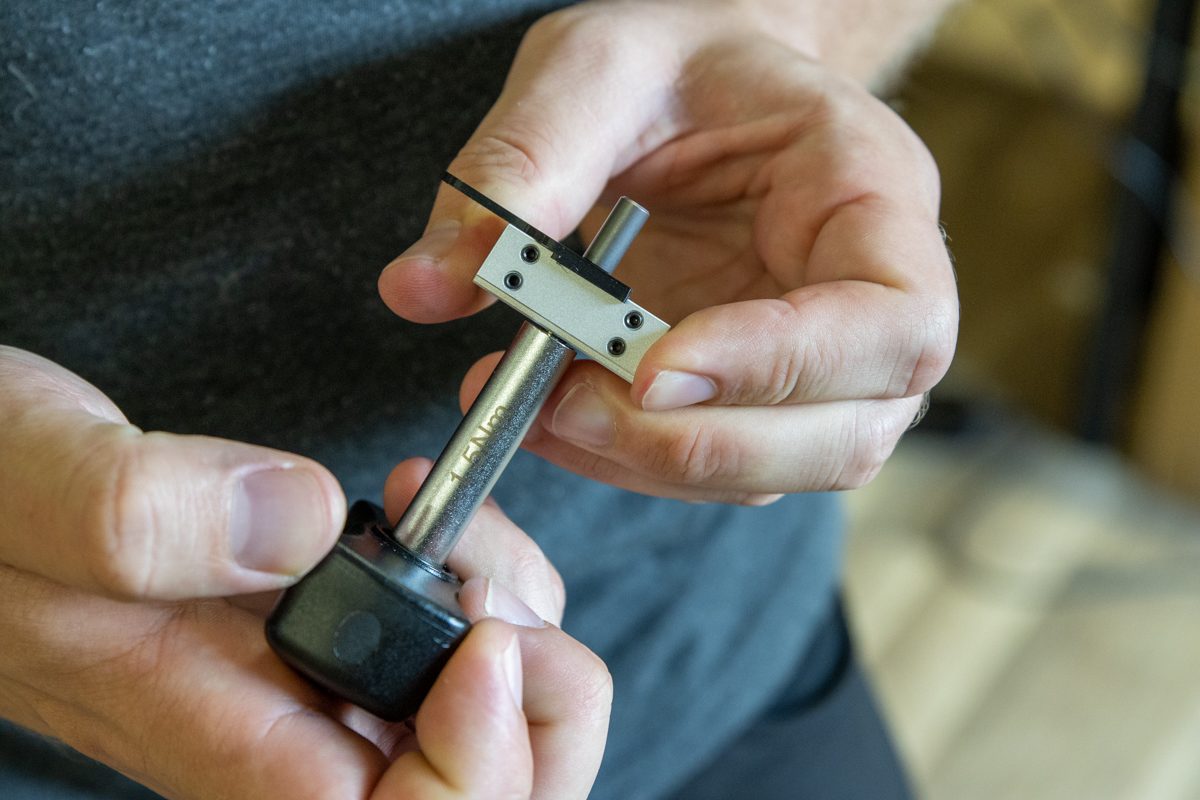
Tighten the nozzle until it snaps
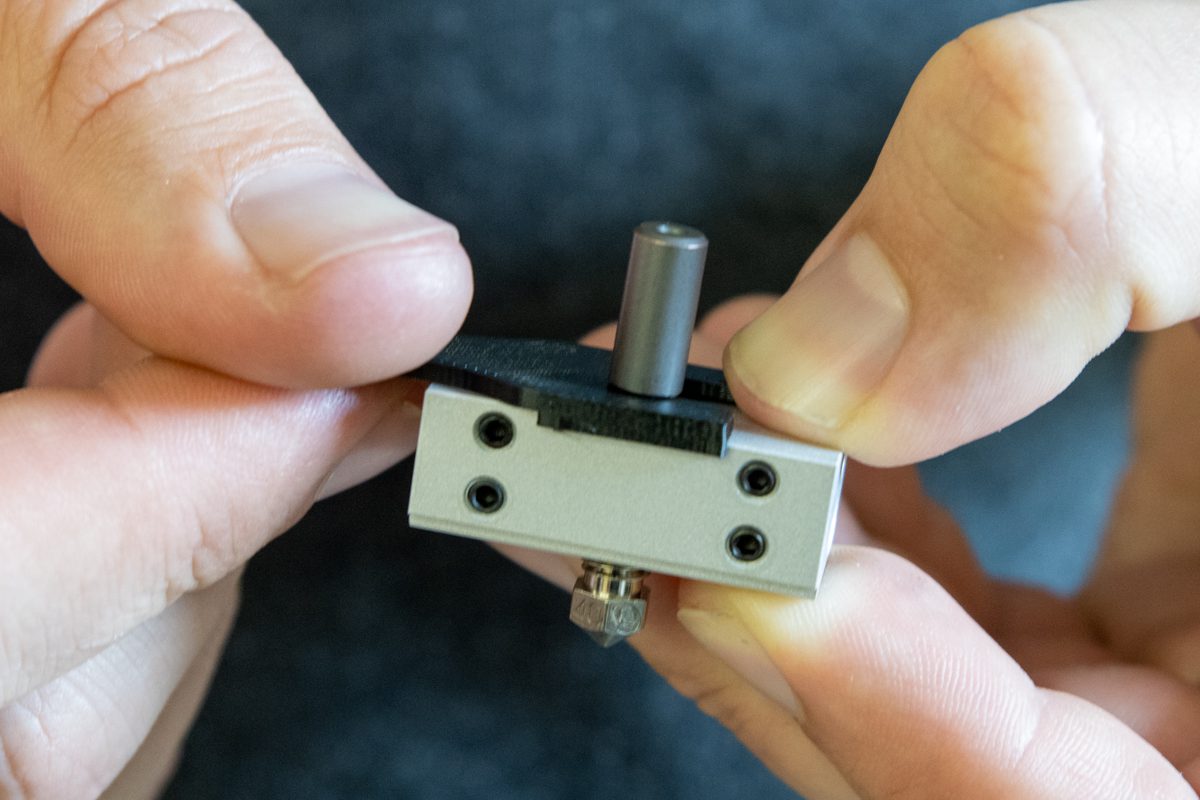
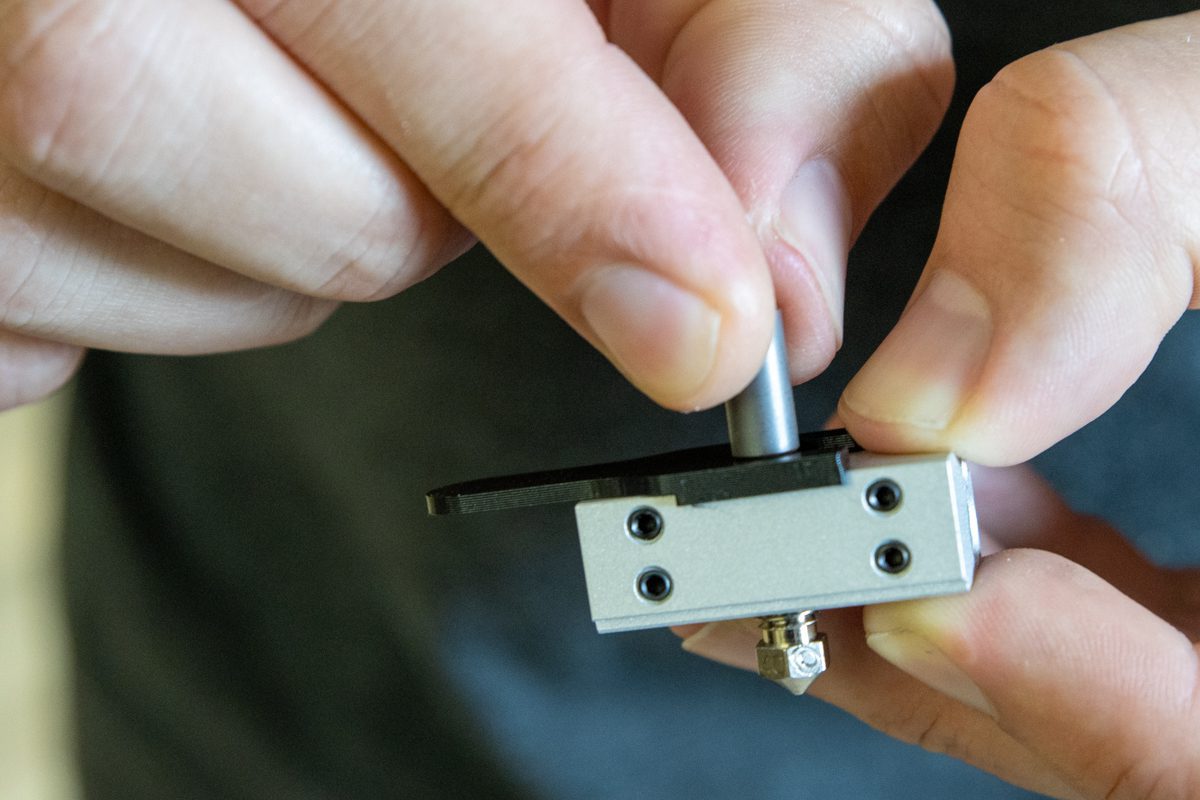
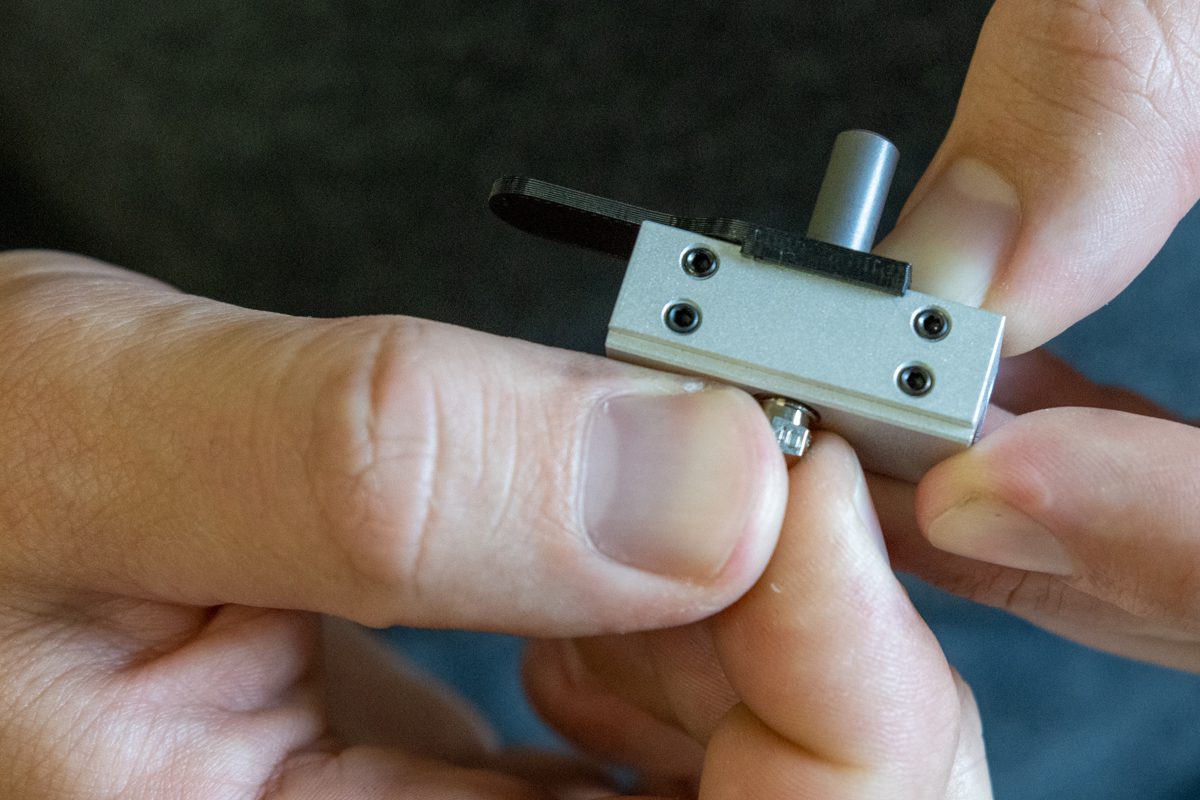
Step 3. Apply The Heat Sink To The Hotend Fix
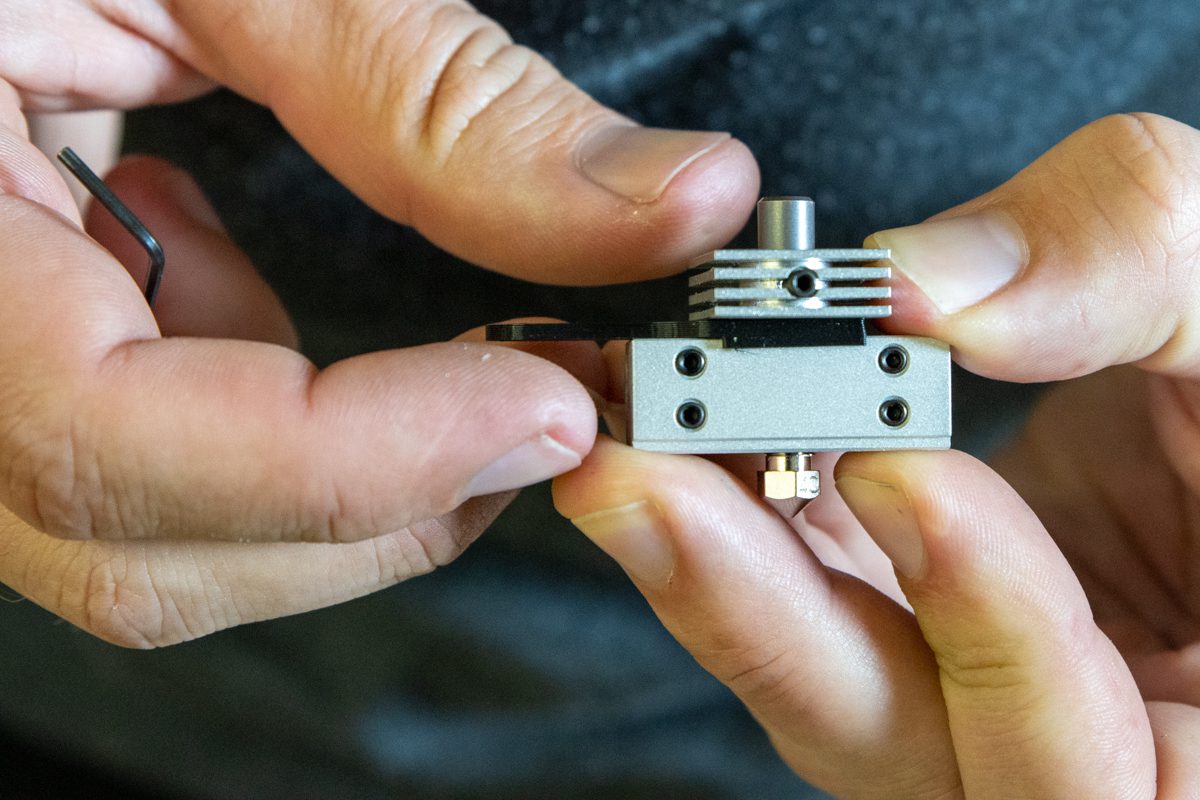
Slide the heat sink on the heat break
Tighten the heat sink's set screw
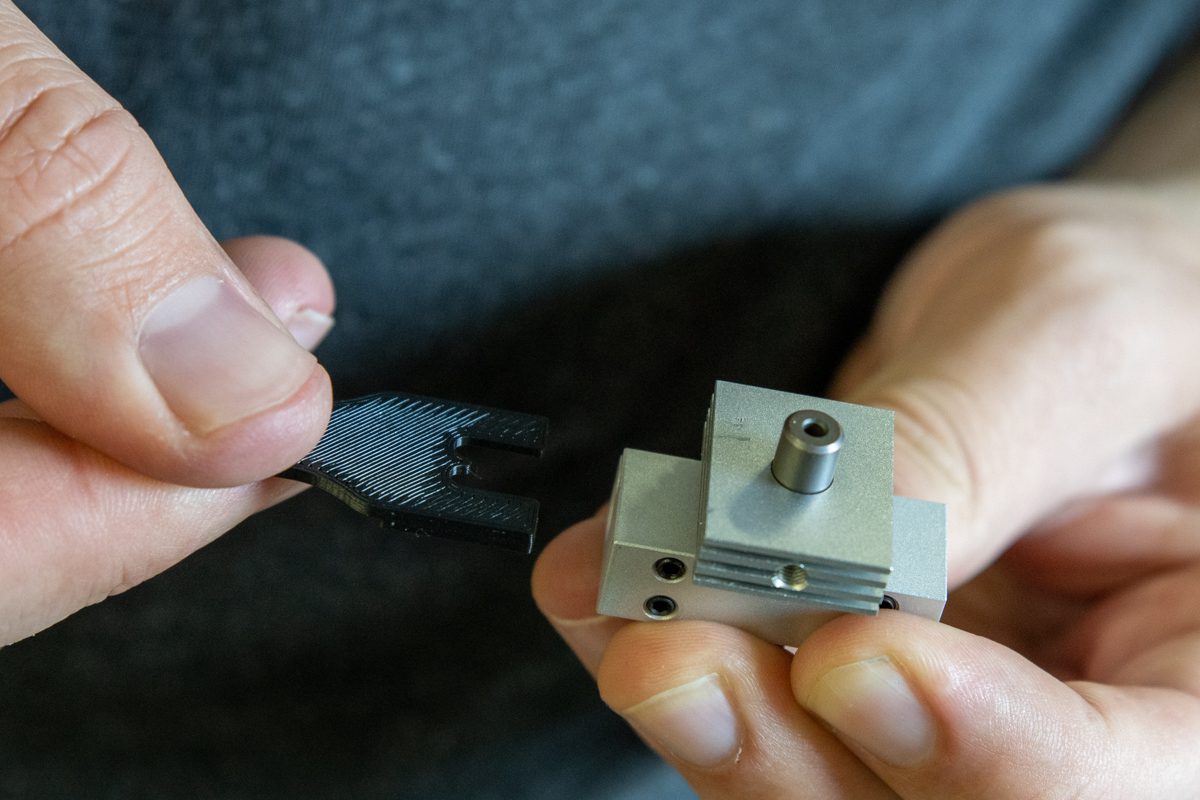
Remove the spacer after
Step 4. Insert Heater and Thermistor
Insert heaters and thermistors
Align the cartridges. Tighten the set screws
Check heater and thermistor's outstanding
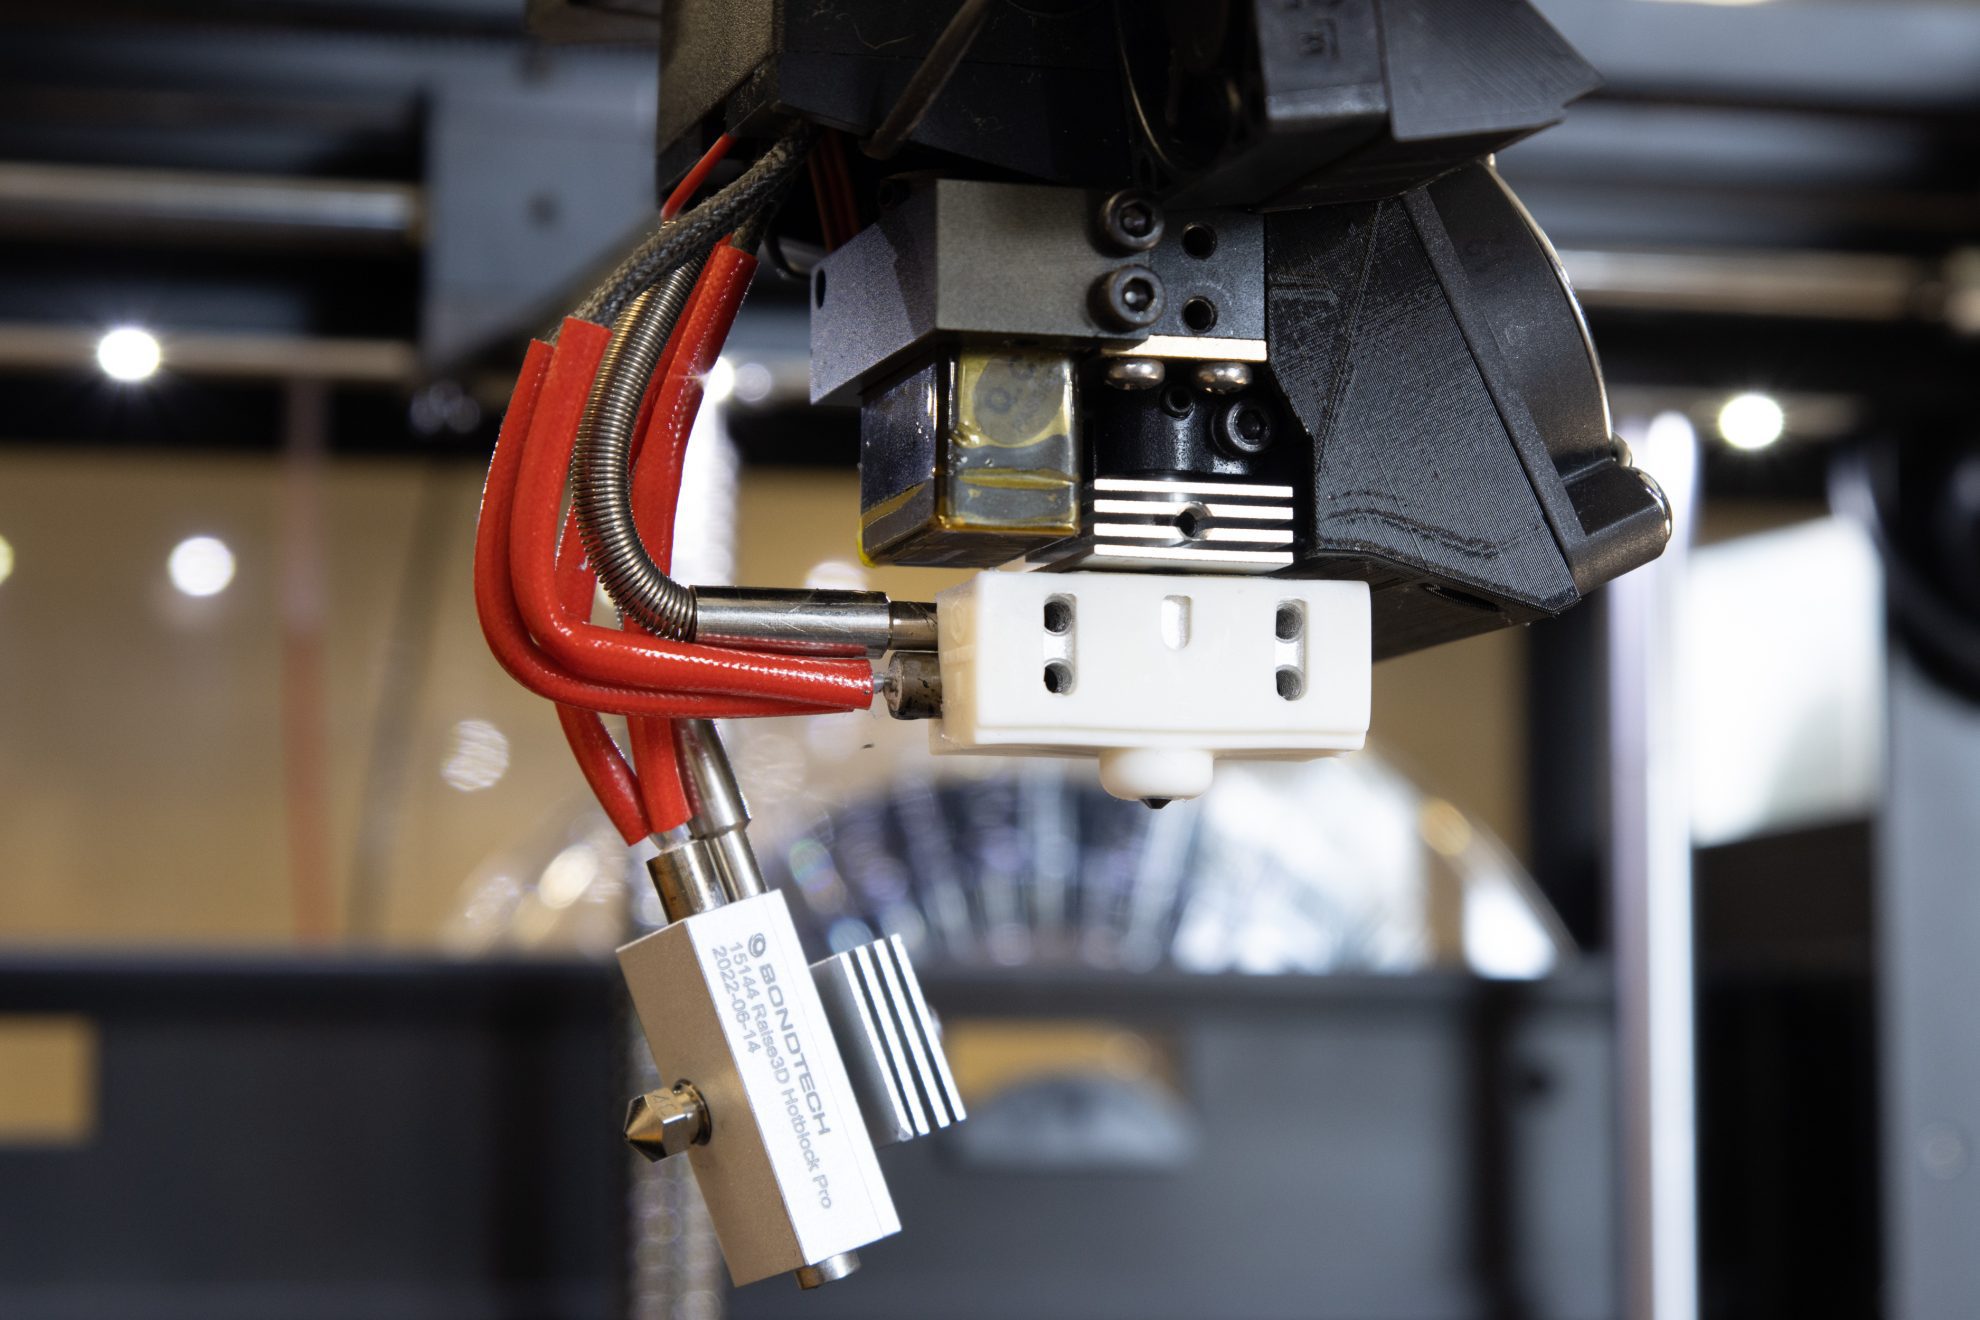
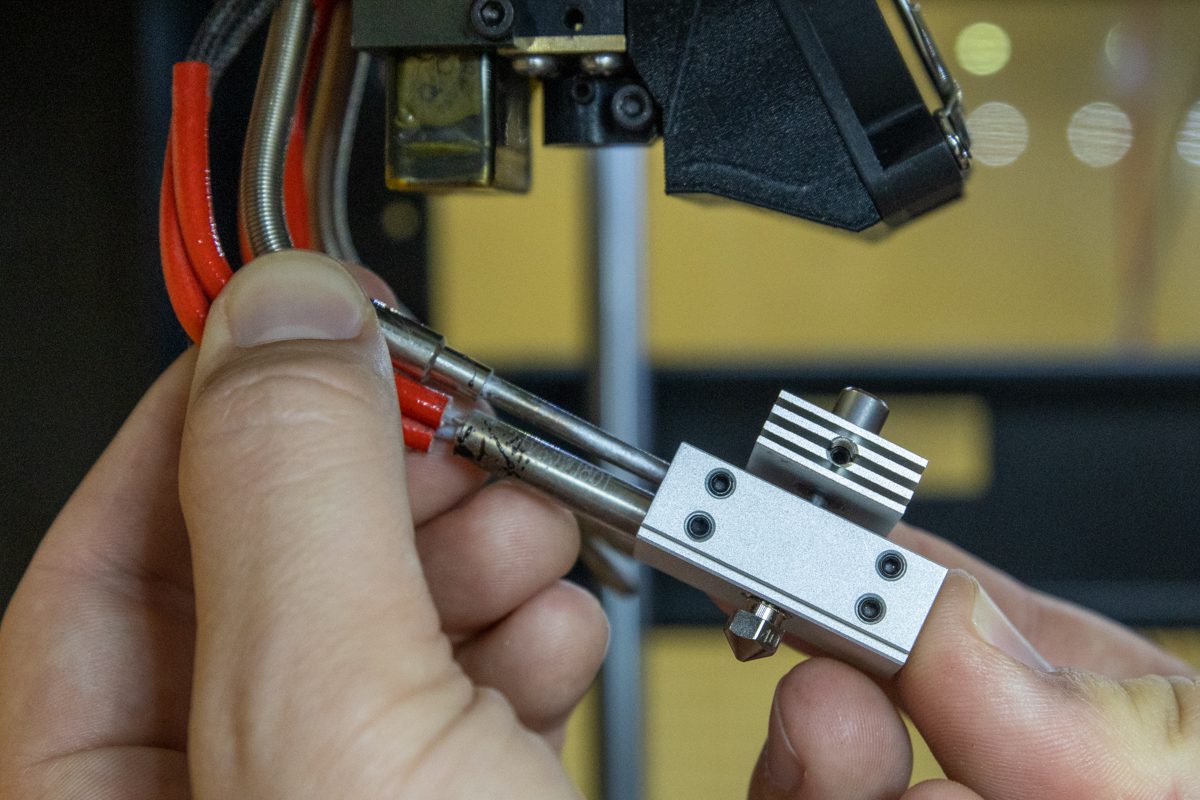
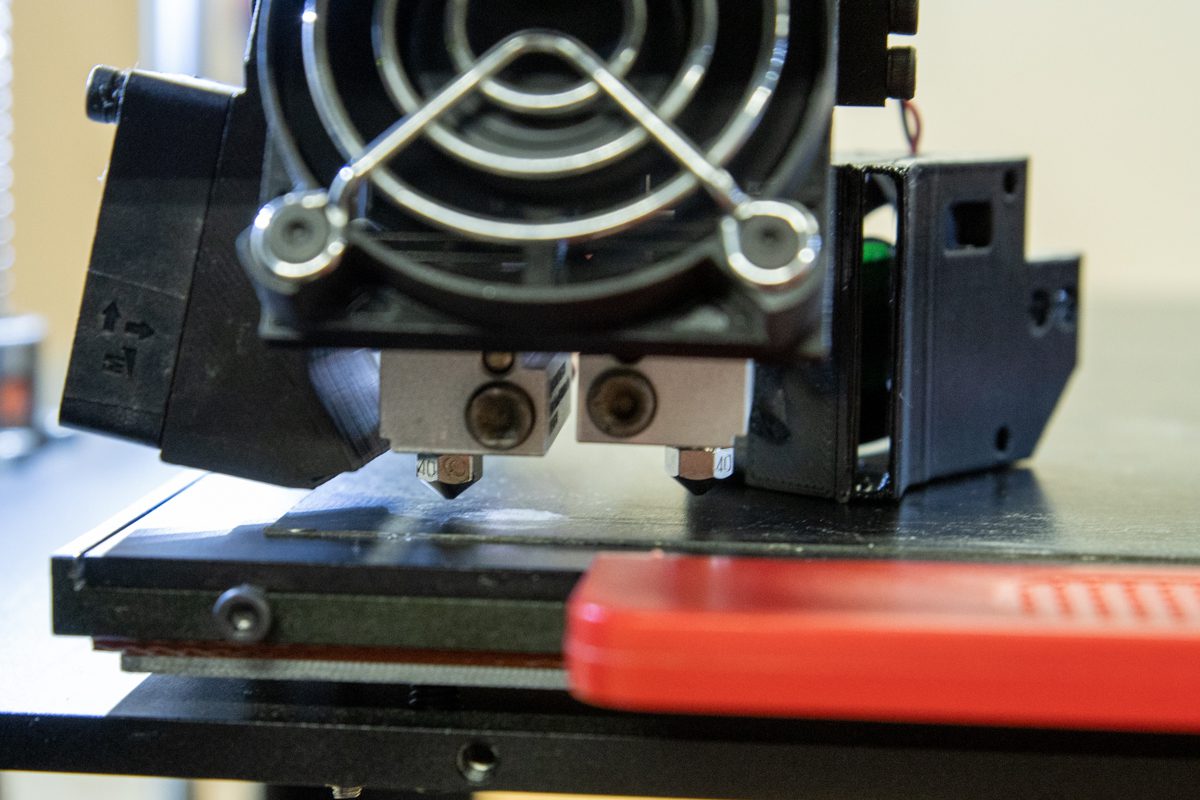
Step 5. Install The Hotend Onto The Extruder
Insert the hotend back in place
Tighten the set crew.
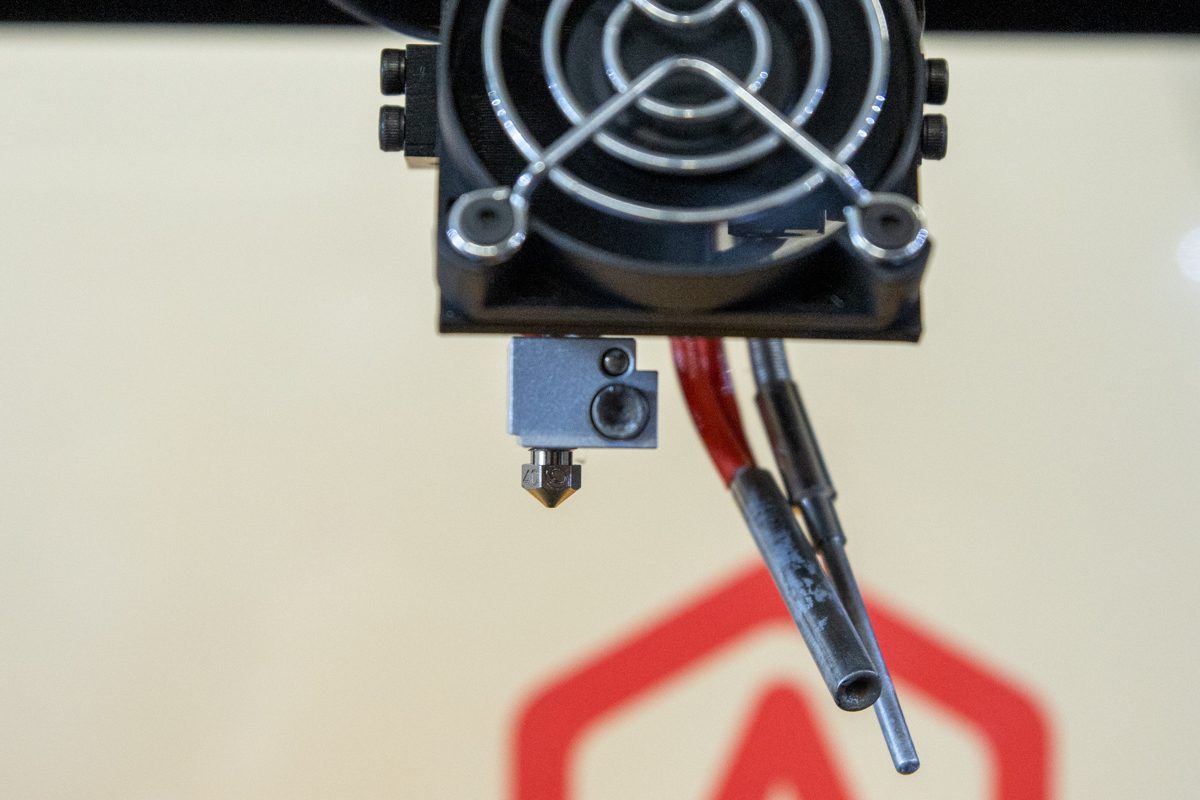
Verify the alignment
Using Silicone Socks
Using the Hotend Fix with a silicone sock is more stable and leads to better performance. Still, you have the choice not to use them.
Case you do or you don't, perform a new PID tuning to improve the thermal reaction of the heaters and thermistors.
Case you want to use them, after inserting the first hotend is the time to apply the silicone sock to extruder 1. After placing extruder 2, it gets too tight to add the silicone socks later.
This guide will continue without the silicone socks on. The procedures are exactly the same with or without, but without's easier to show.

3/3 Pre-flight Check

Step 1. Hot Tighten The Nozzles
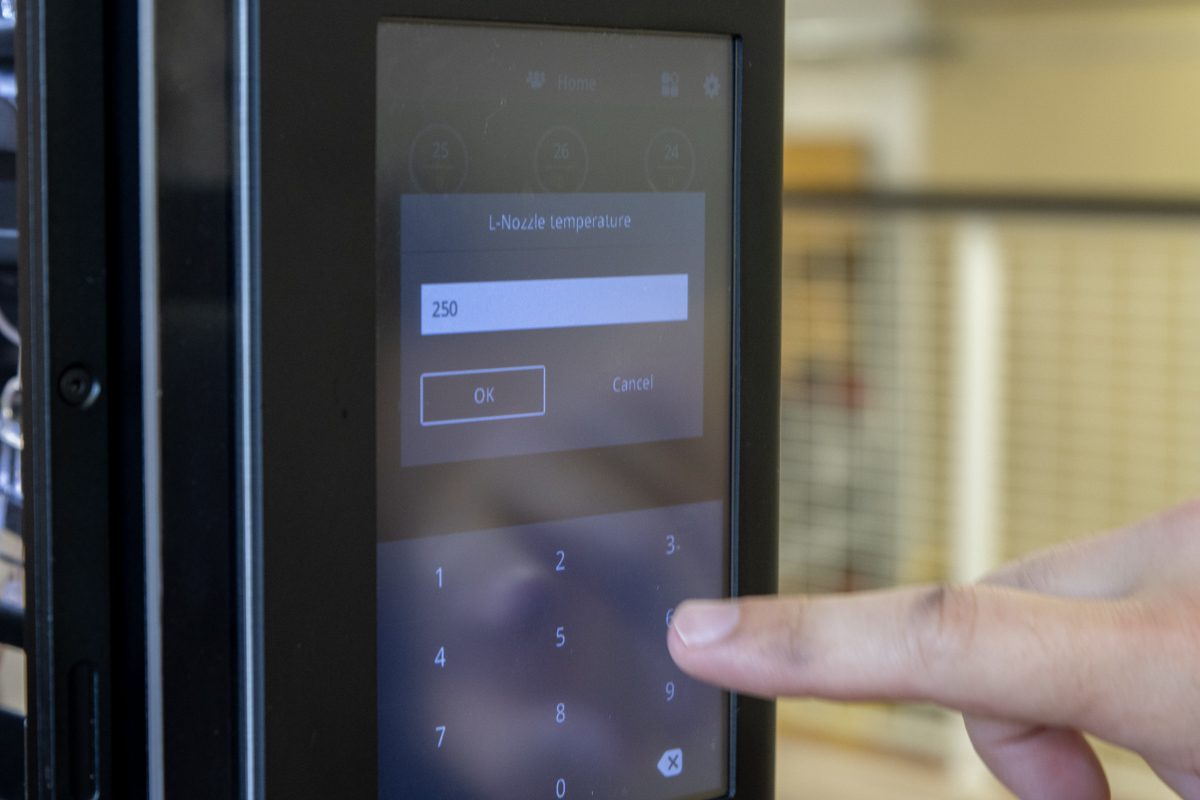
Heat up the nozzle up to 250C
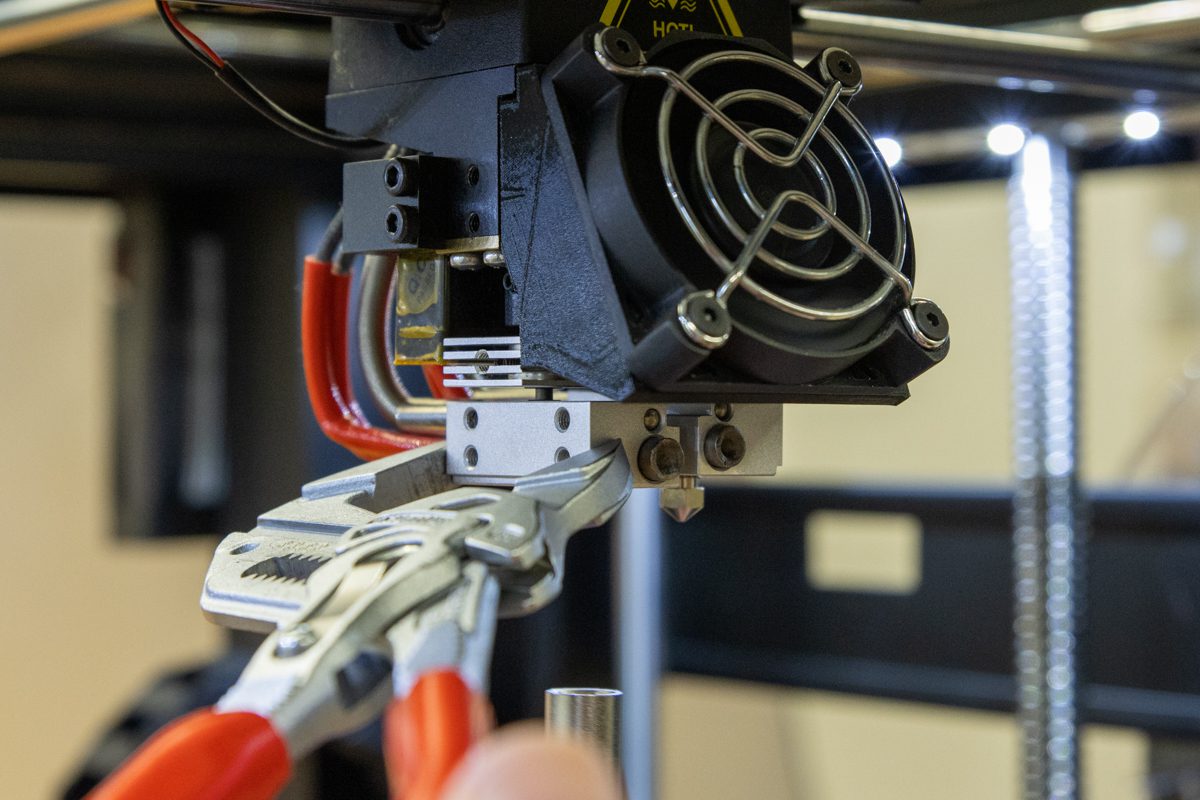
Use a wrench to hold the heatblock

Tighten the nozzle with a torque wrench
Step 2. Z-offset Re-adjustment
Check Raise3D Pro2's Documentation for more detailed information on how to re-adjust the Z-offsets.
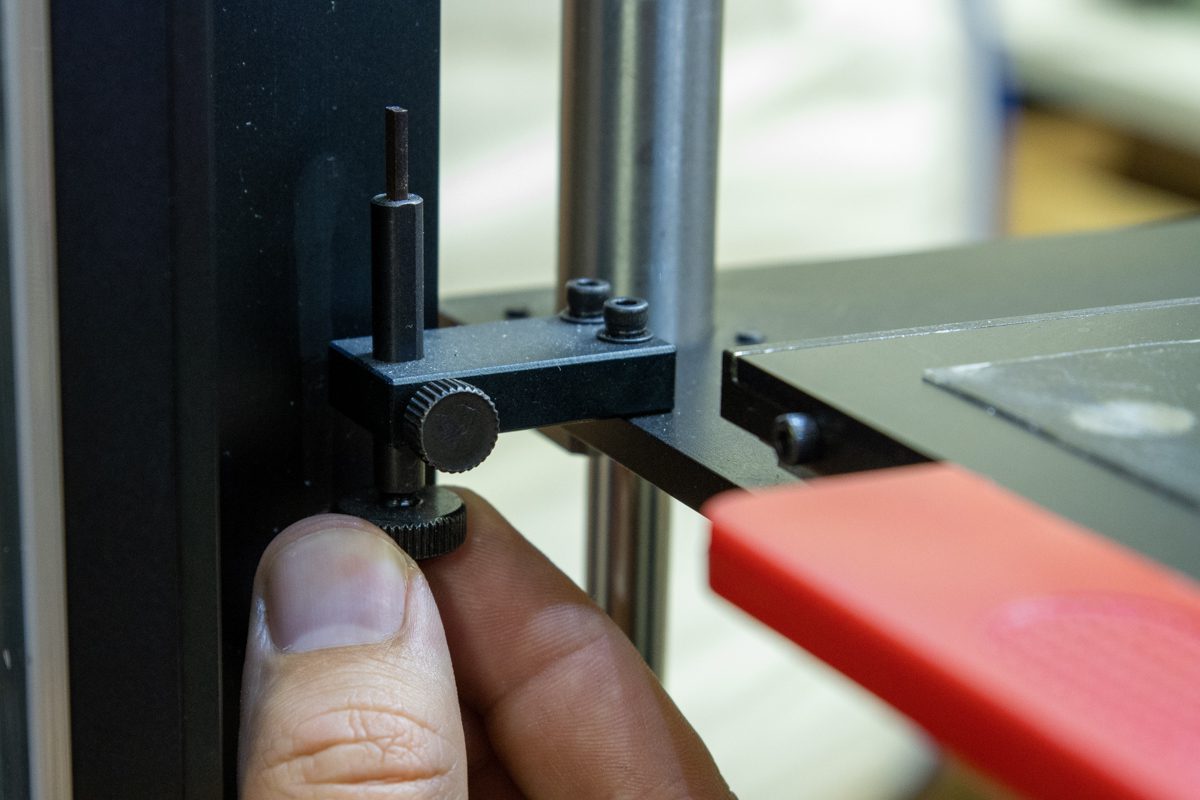
Raise the end-switch screw to the top
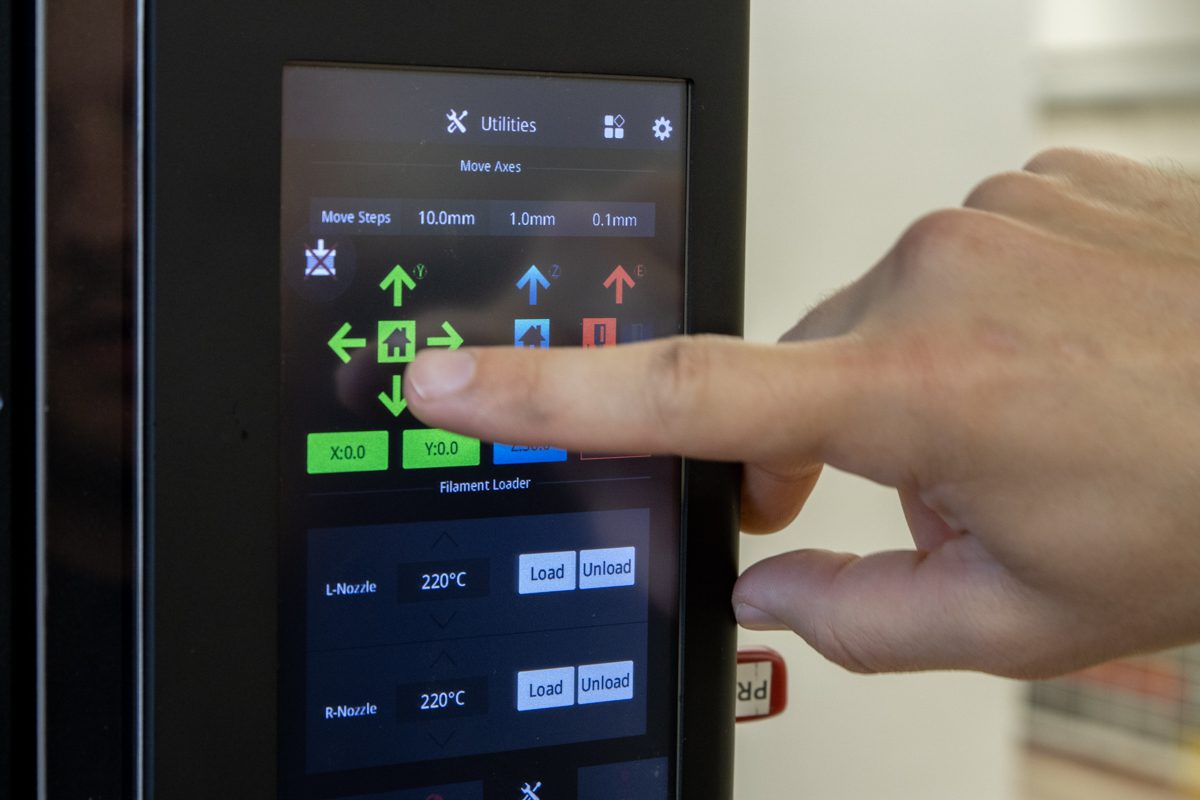
Home the tool heads on X, Y and Z axis
Extruders will rest above the print bed

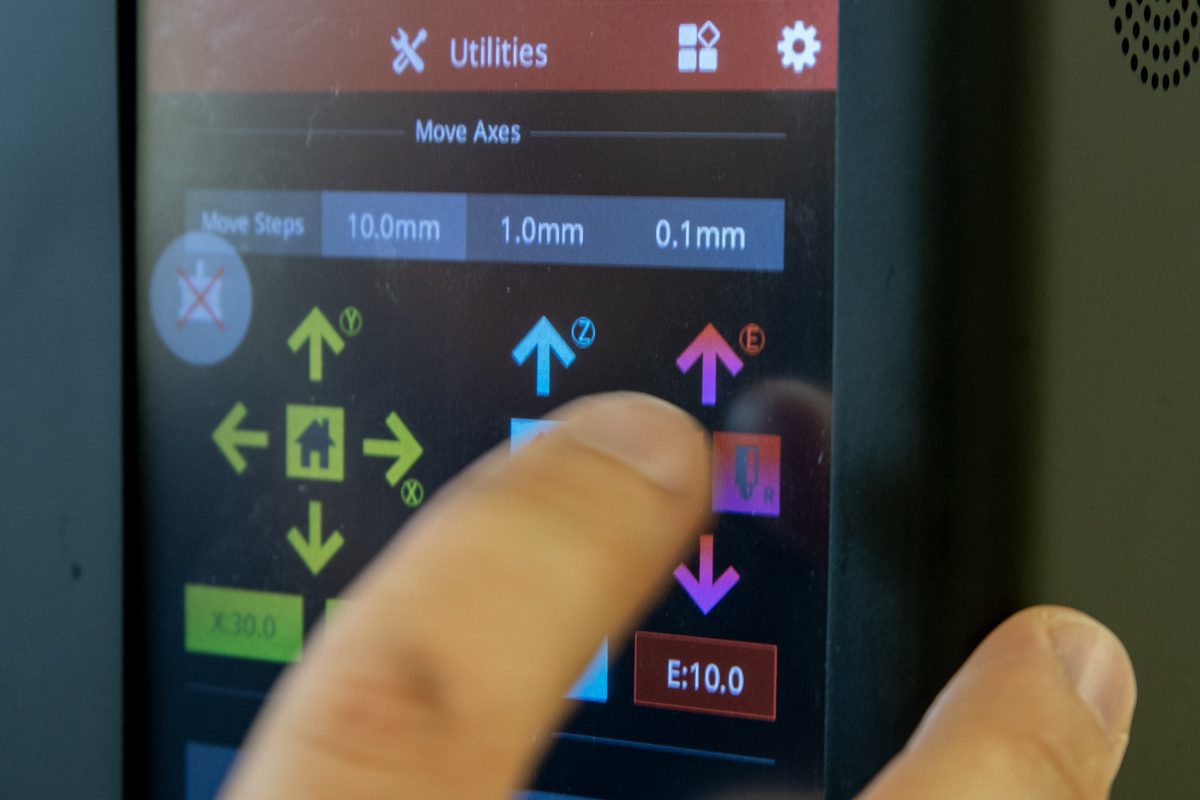
Move the tool head to X=20 and Y=20
Lower the end-switch screw in small increments to cover the distance between the bed and the nozzle.
Lower the end-switch screw
Home Z-axis to lower extruder 1 down
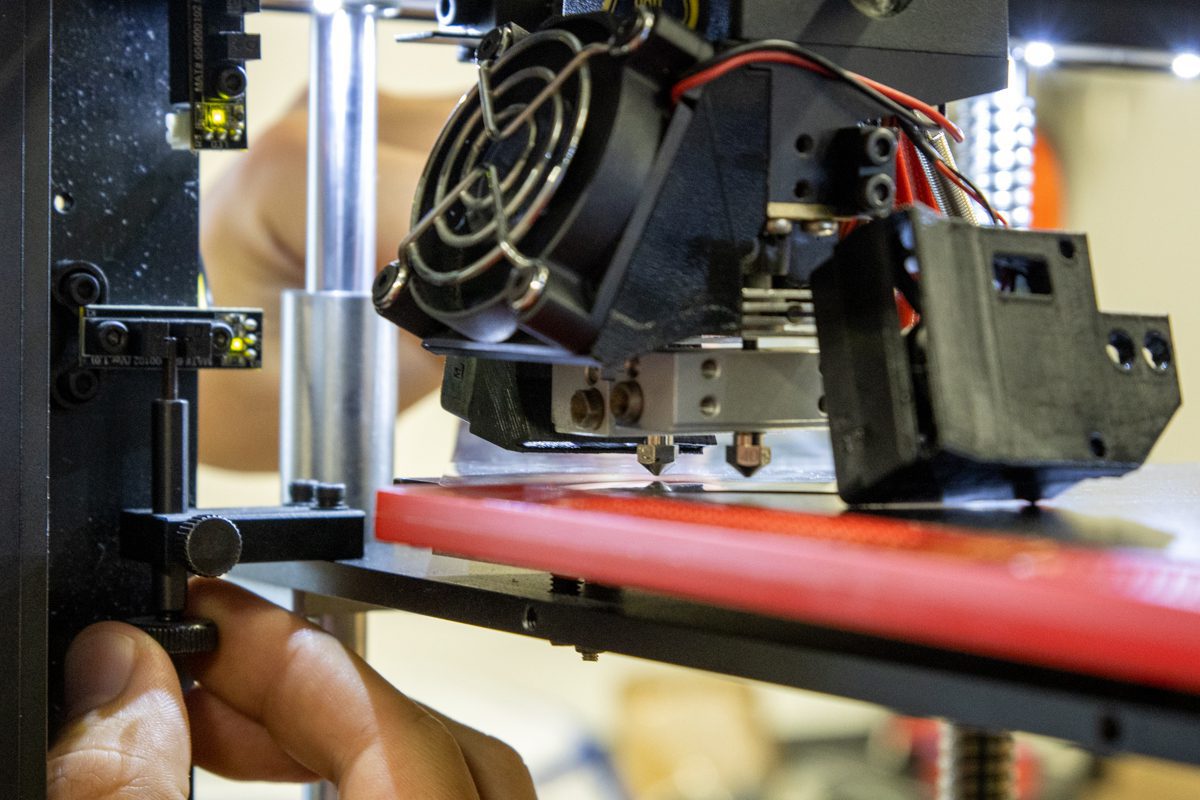
Fine tune the process using the feeler gauge
Lower Extruder 2 to set its Z-offset
Drop hotend 2 on the feeler gauge
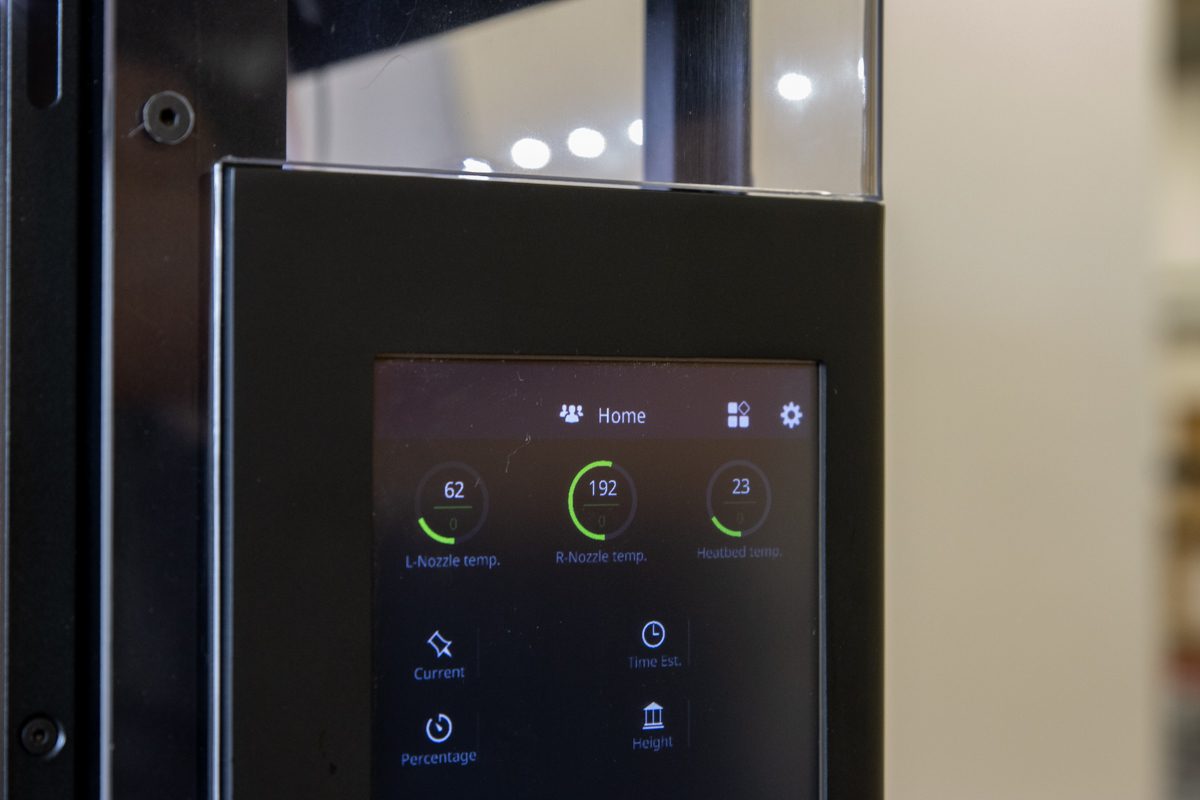
Step 3. PID Tuning
Either you will use the Silicone socks or not, before starting using the Pro2, perform a PID tuning on both hotends.
Check Raise3D Pro2's Documentation for more detailed information on how to perform, a PID tuning.
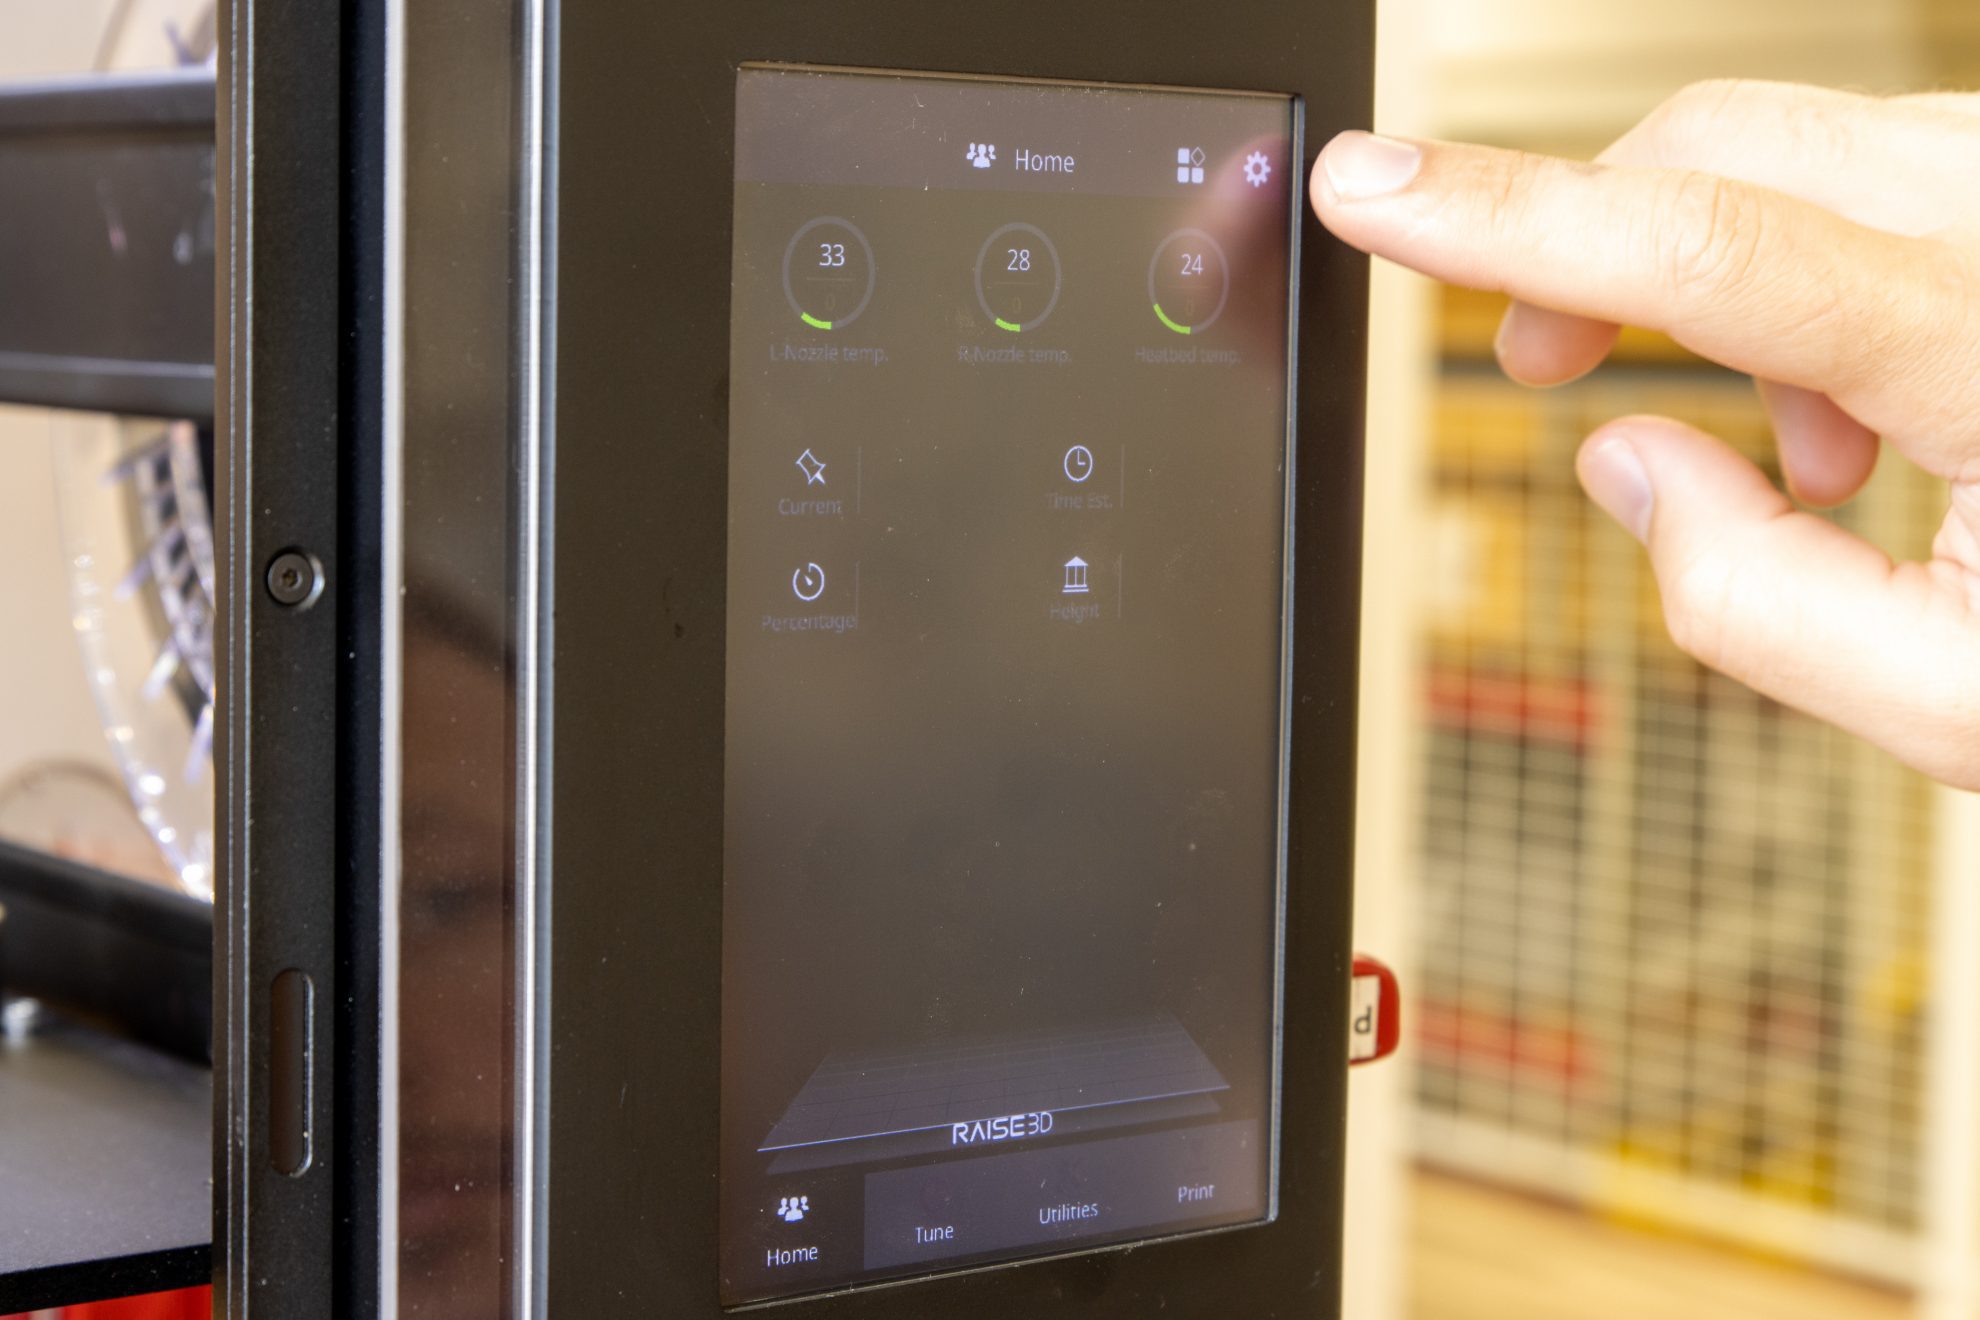
Go to Settings
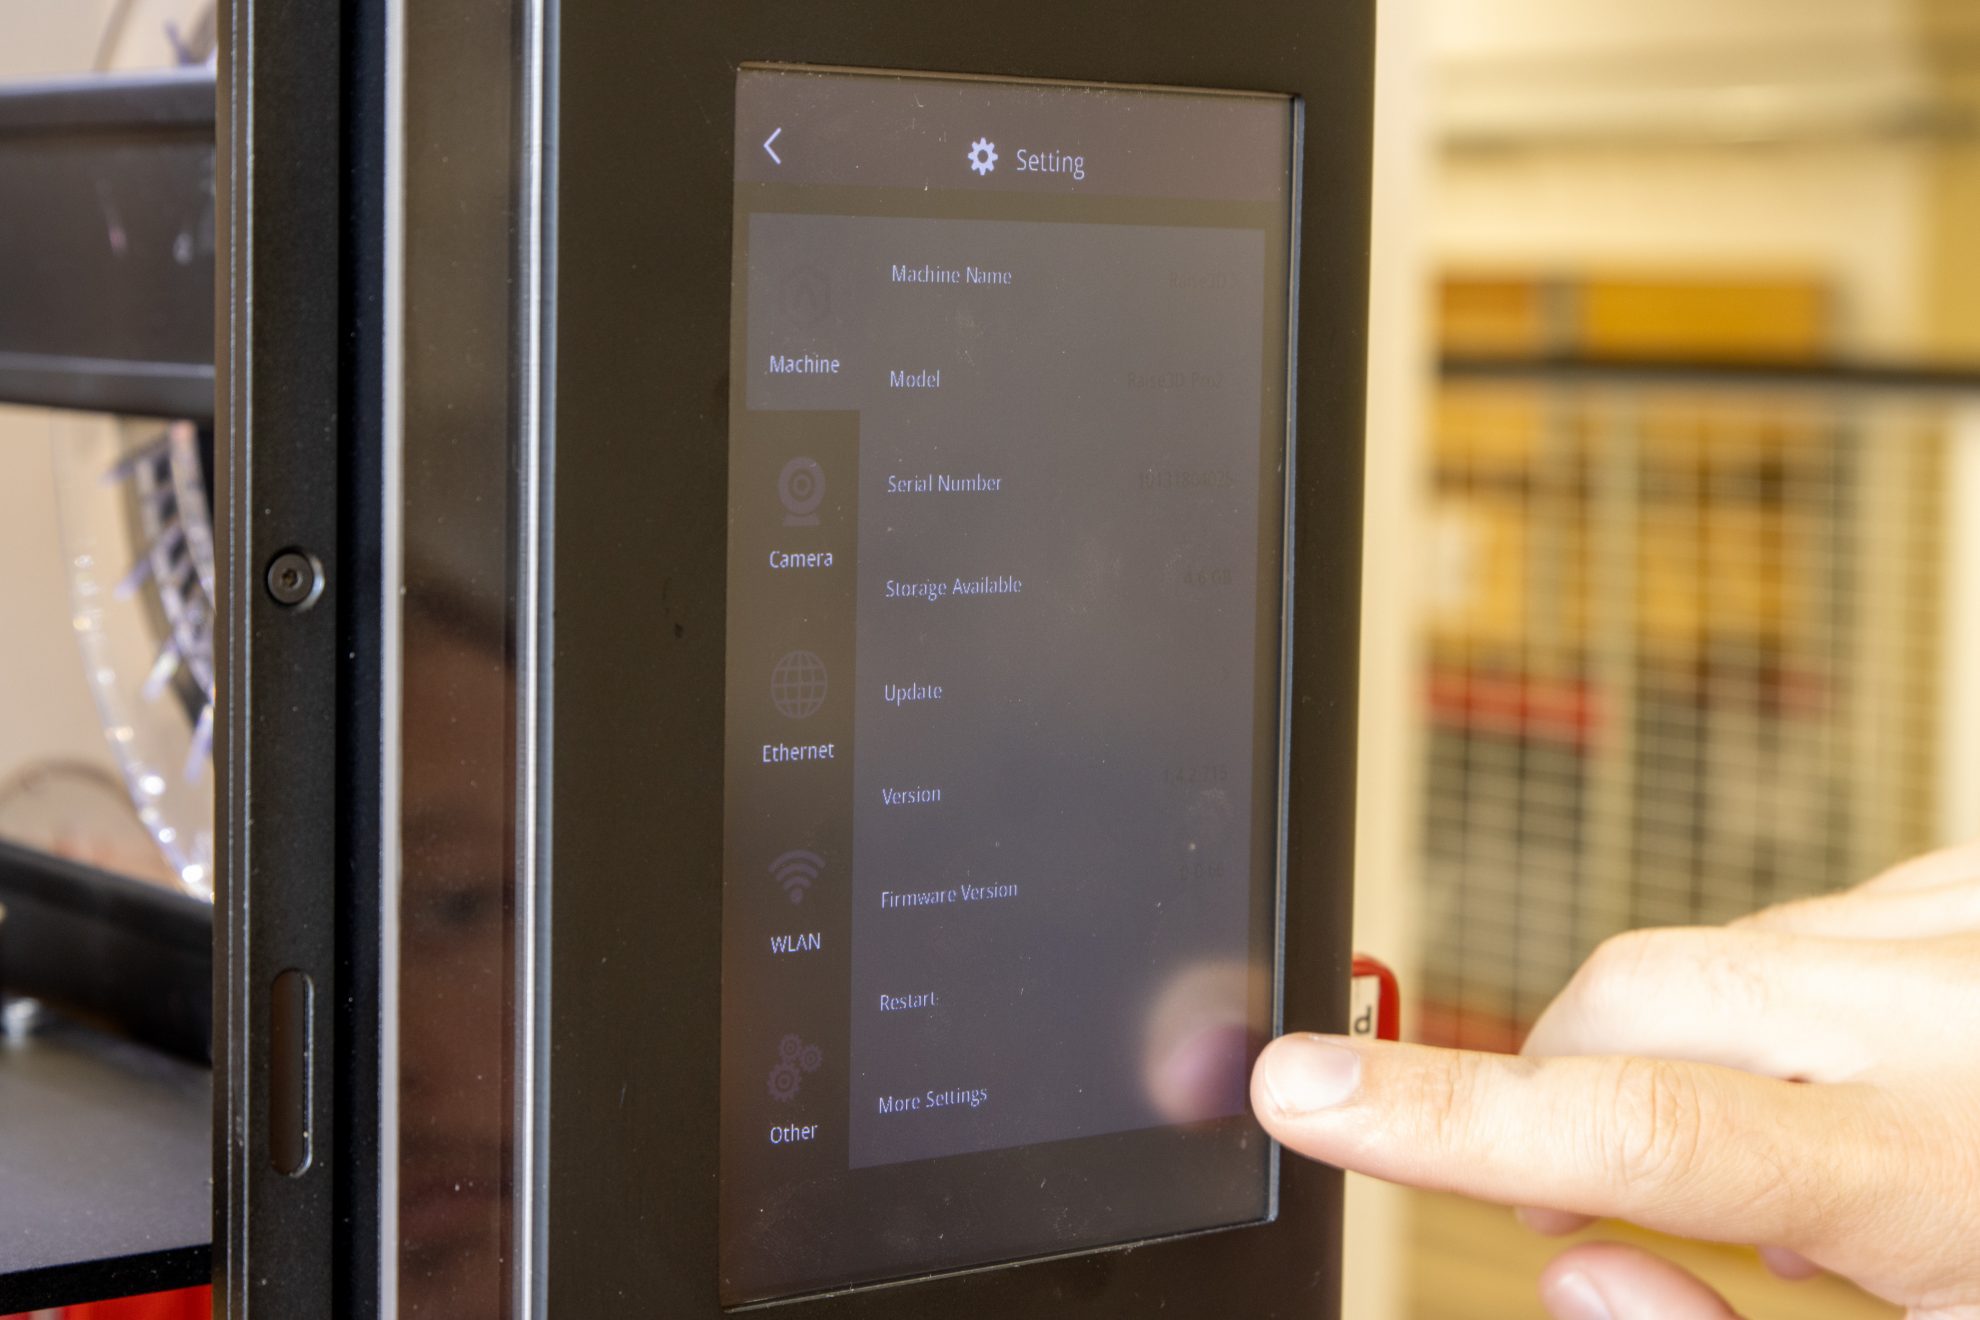
Go to More Settings
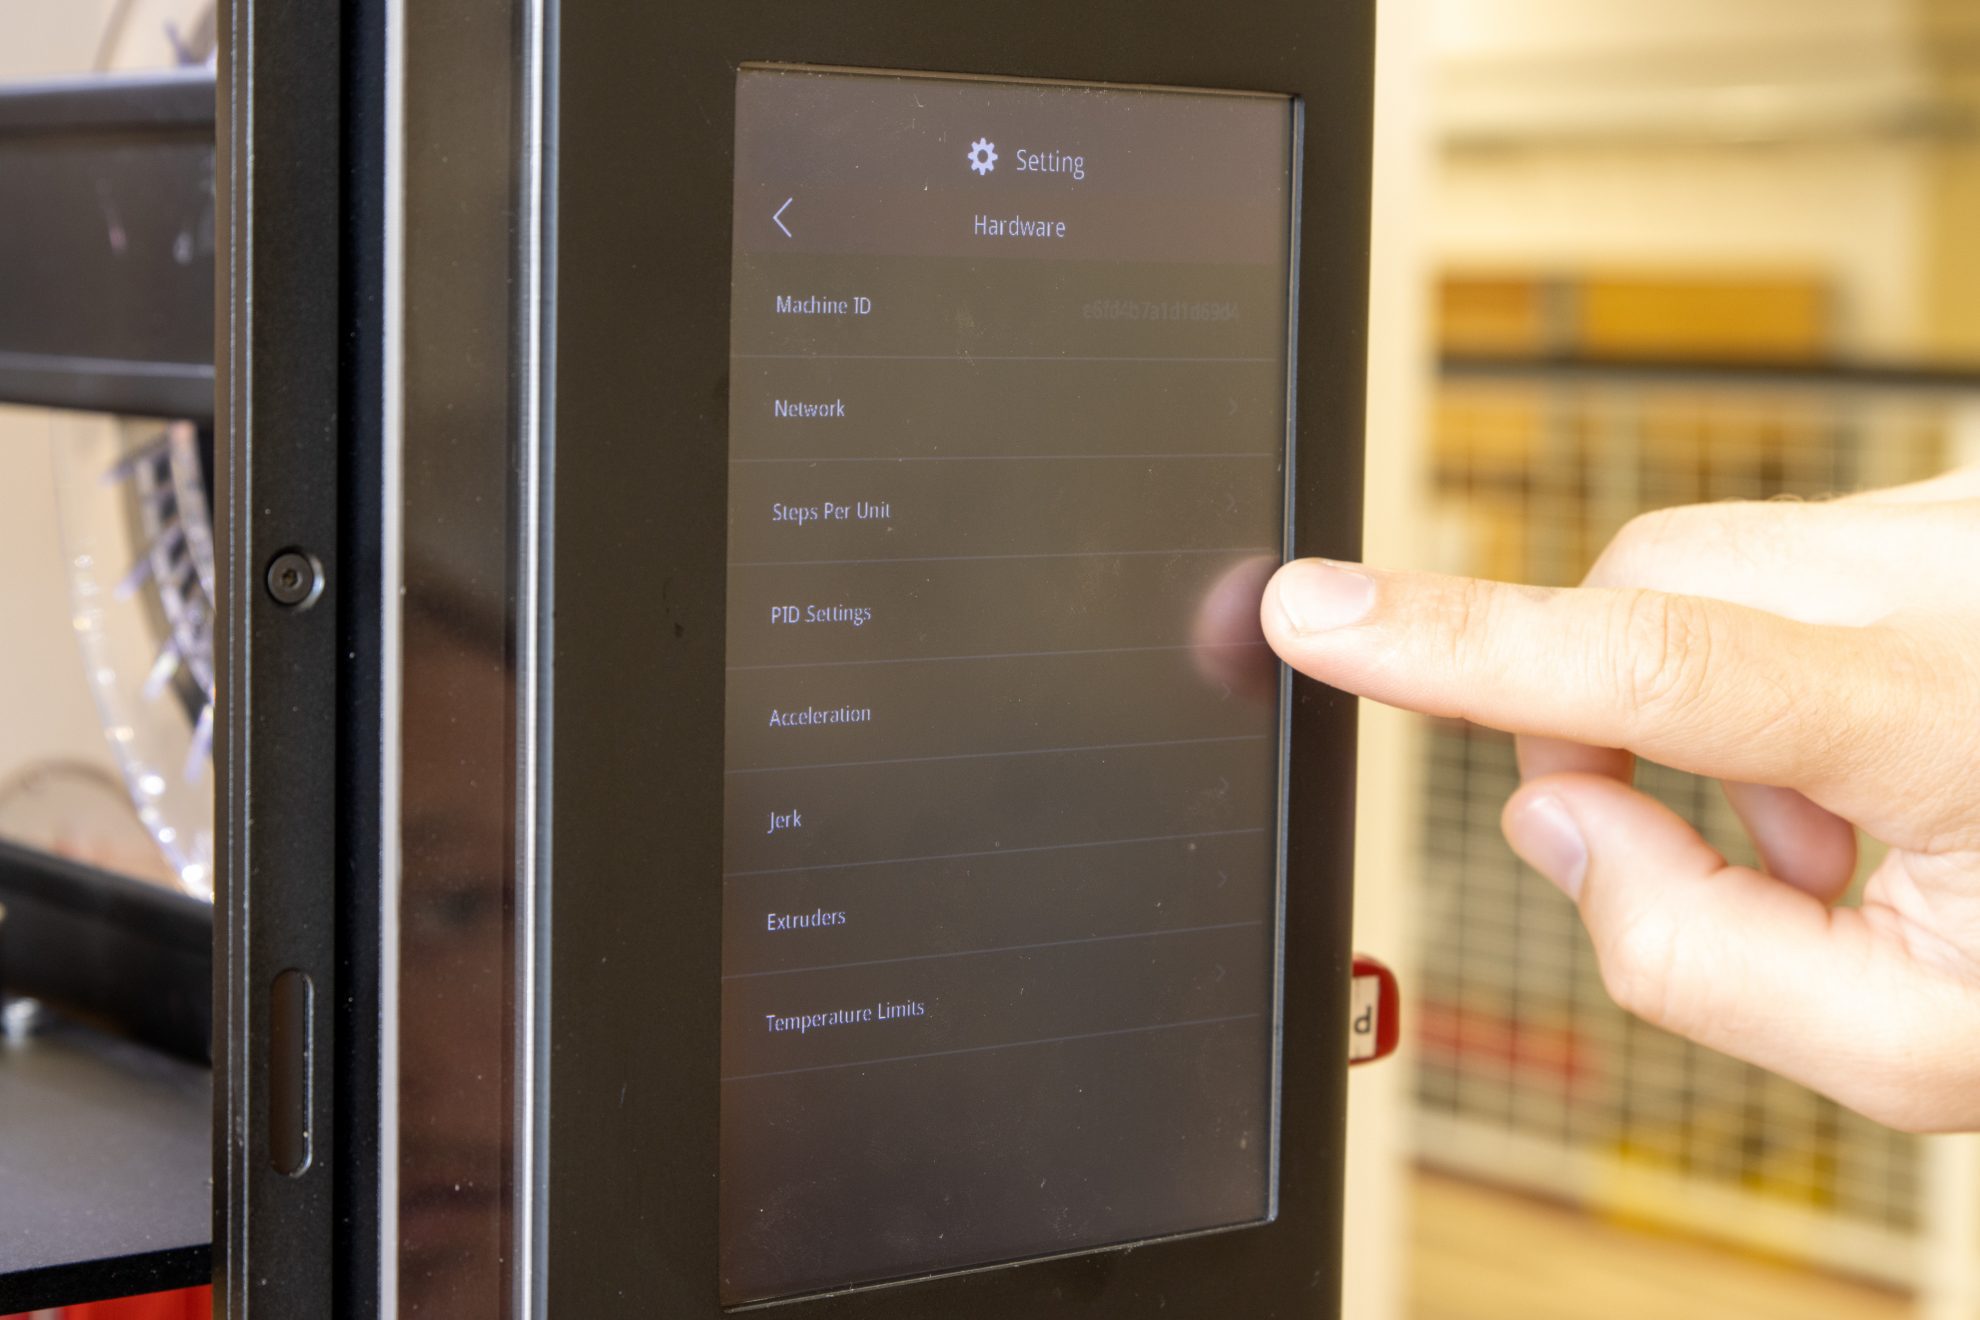
Go to PID Settings
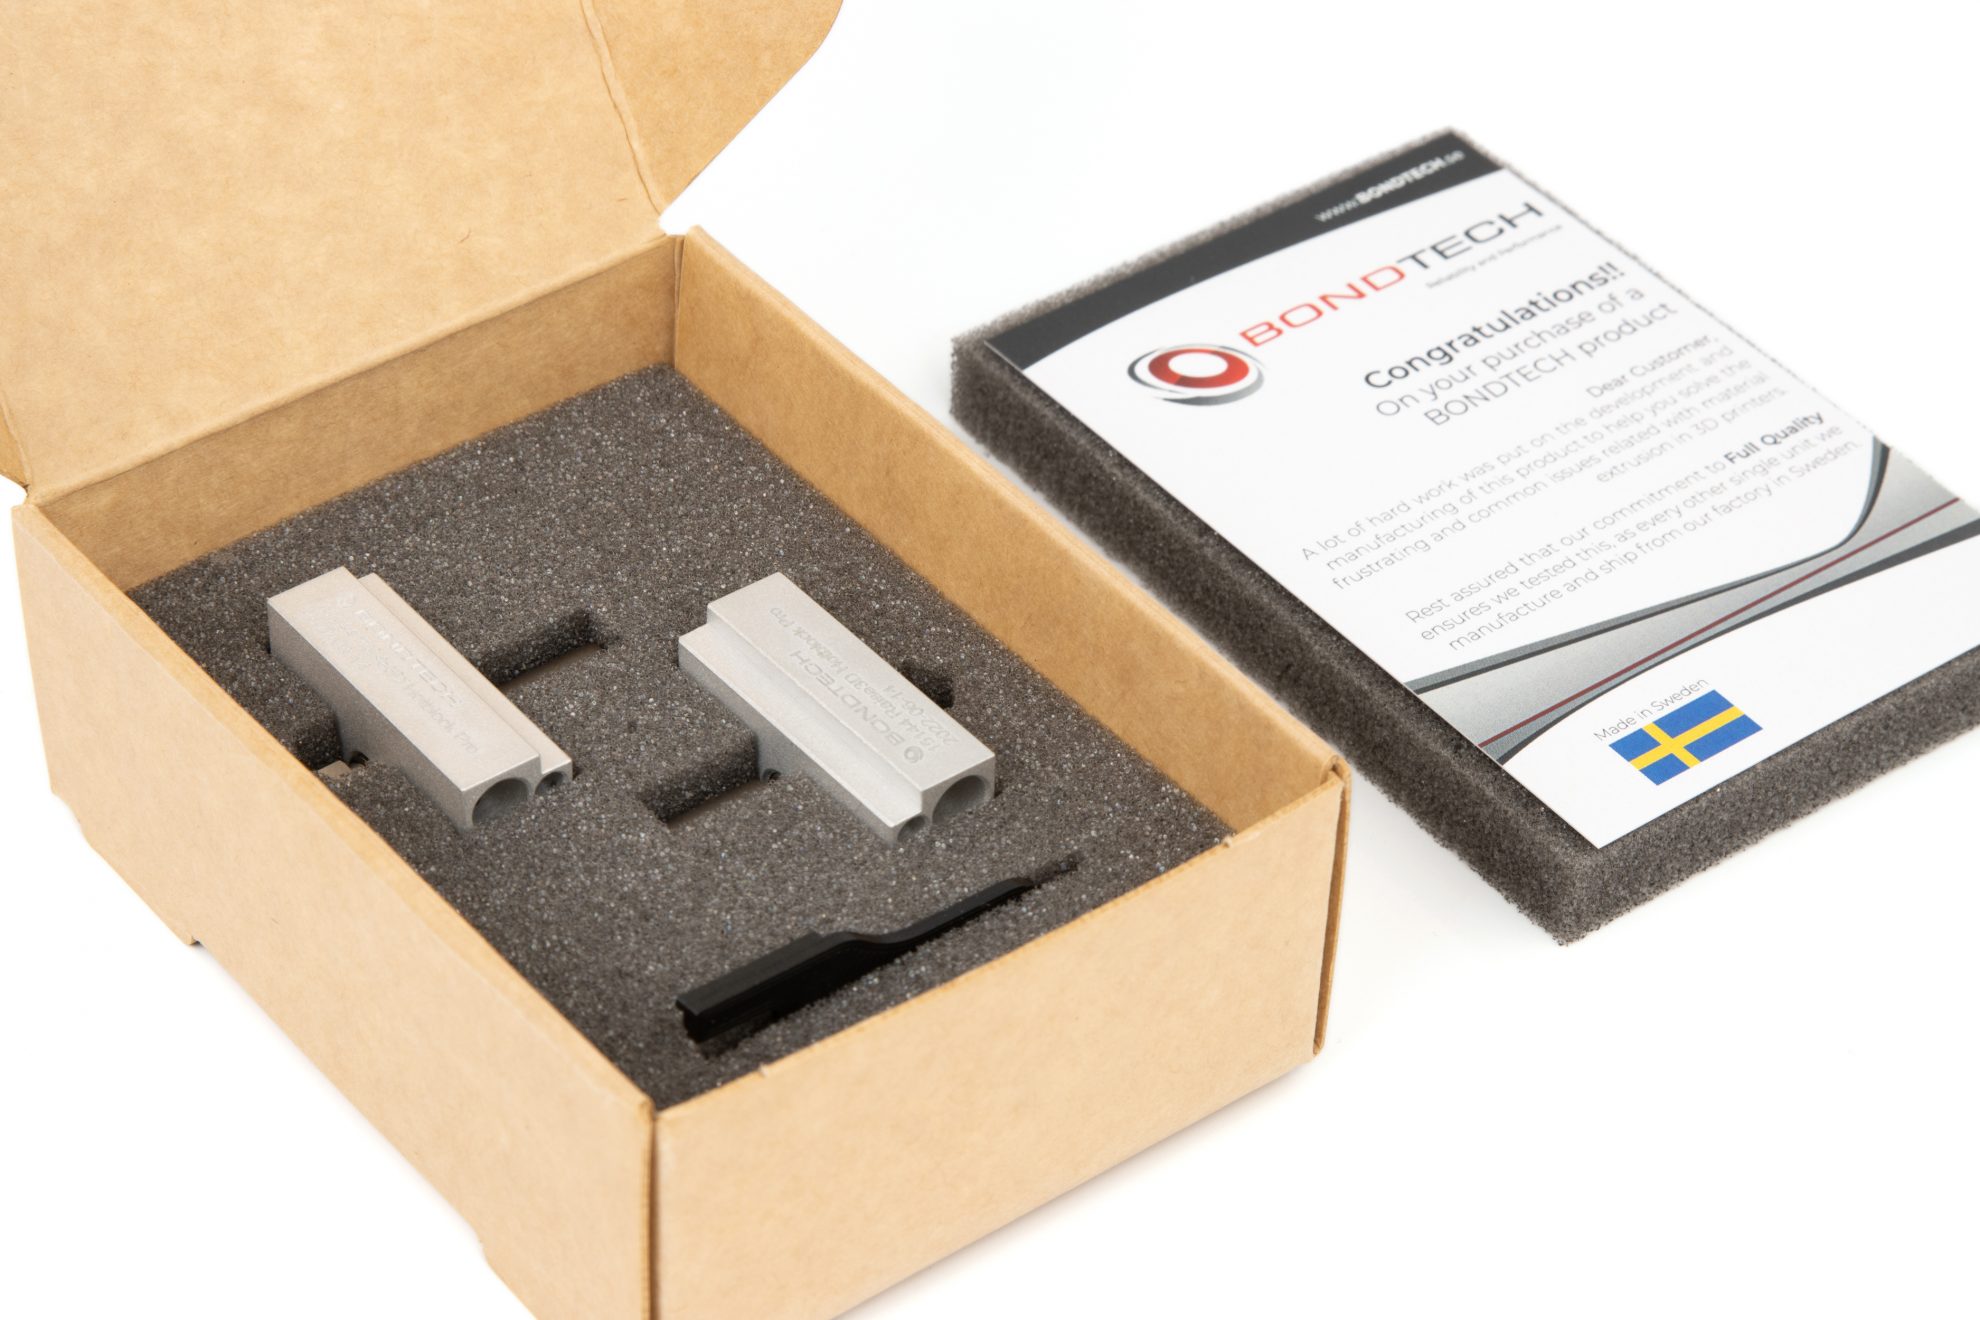
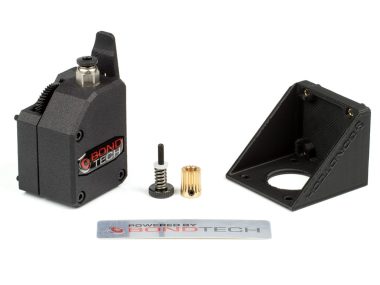
This Set Includes
This Set Includes
- 2x Copperhead Bi-metallic Standard G2 Heat-break
- 2x Bondtech Coated Brass CHT 0.4 Nozzle
- 2x Raise3D Hotblock Pro by Bondtech
- 8x M3x3 set screw
- 1x Spacer for Raise3D Hotblock Pro
Nozzles for fixed Pro2
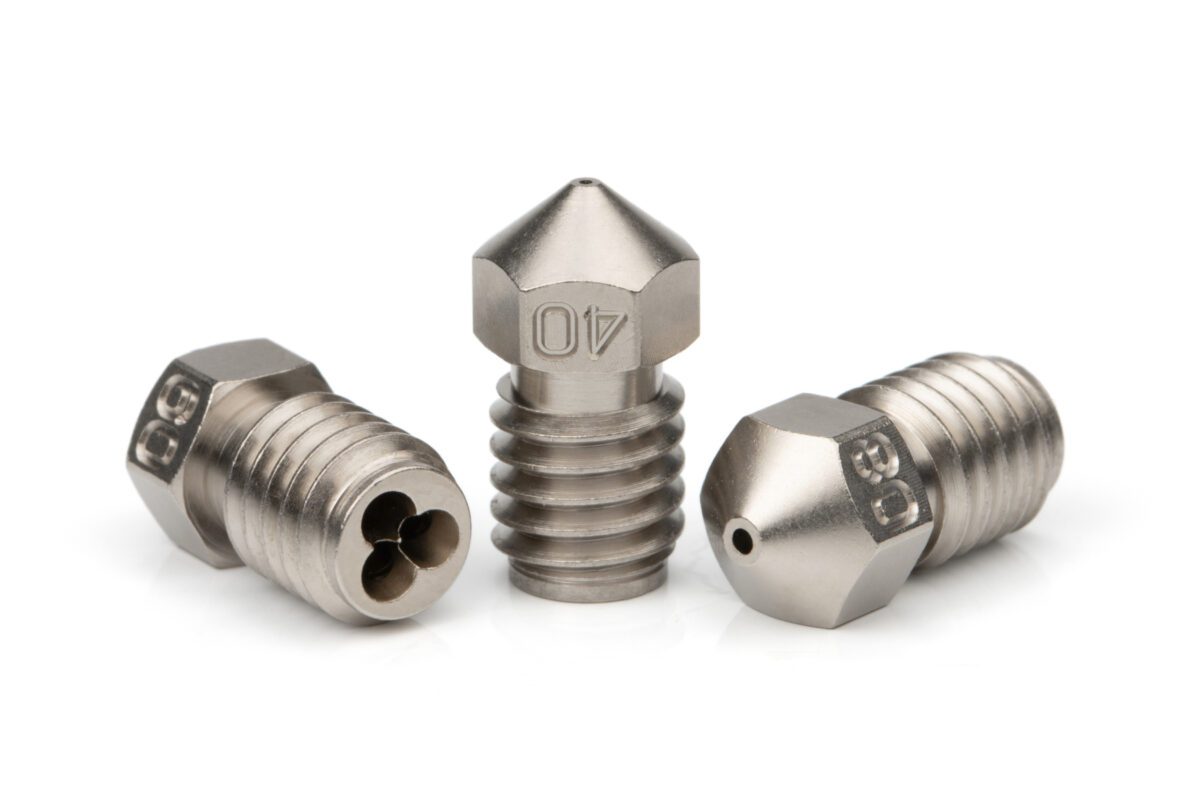


Nozzles for fixed Pro2
If you fix your Raise3D Pro2 with our Set, here are some additional options you should consider.
Printing with non-abrasive materials?
The Coated Brass nozzles with CHT technology from Bondtech enhance the performance of your heat blocks by at least 30%.
Open product page
Printing with abrasive materials?
These everlasting Vanadium nozzles from Slice Engineering will give you access to all Carbon or Glass filled materials you will ever need.
Open product page
Printing with materials above 300C?
These abrasive resistant and BridgeMaster copper nozzles from Slice Engineering will give you access to materials you need to process above 300°C, like PEI, PPSU, PEEK, Thermax PSU, hi temp Iglidur and many others..
Open product page
Reviews (0)
Only logged in customers who have purchased this product may leave a review.
Related products
ON SALE
Original price was: $112.50.$100.00Current price is: $100.00.
ON SALE
Original price was: $206.25.$187.50Current price is: $187.50.
ON SALE
Original price was: $112.50.$78.75Current price is: $78.75.
$131.25
From: $118.75
Reviews
There are no reviews yet.