-
BMG Internals Set for HextrudORT
-
×
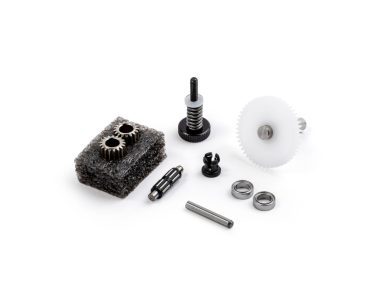 BMG Internals Set for HextrudORT 1 ×
$34.90$27.92
Bondtech Firmware Updates For Ultimaker 3D Printers
Find below Bondtech firmware to use on Ultimaker 3D printers.

