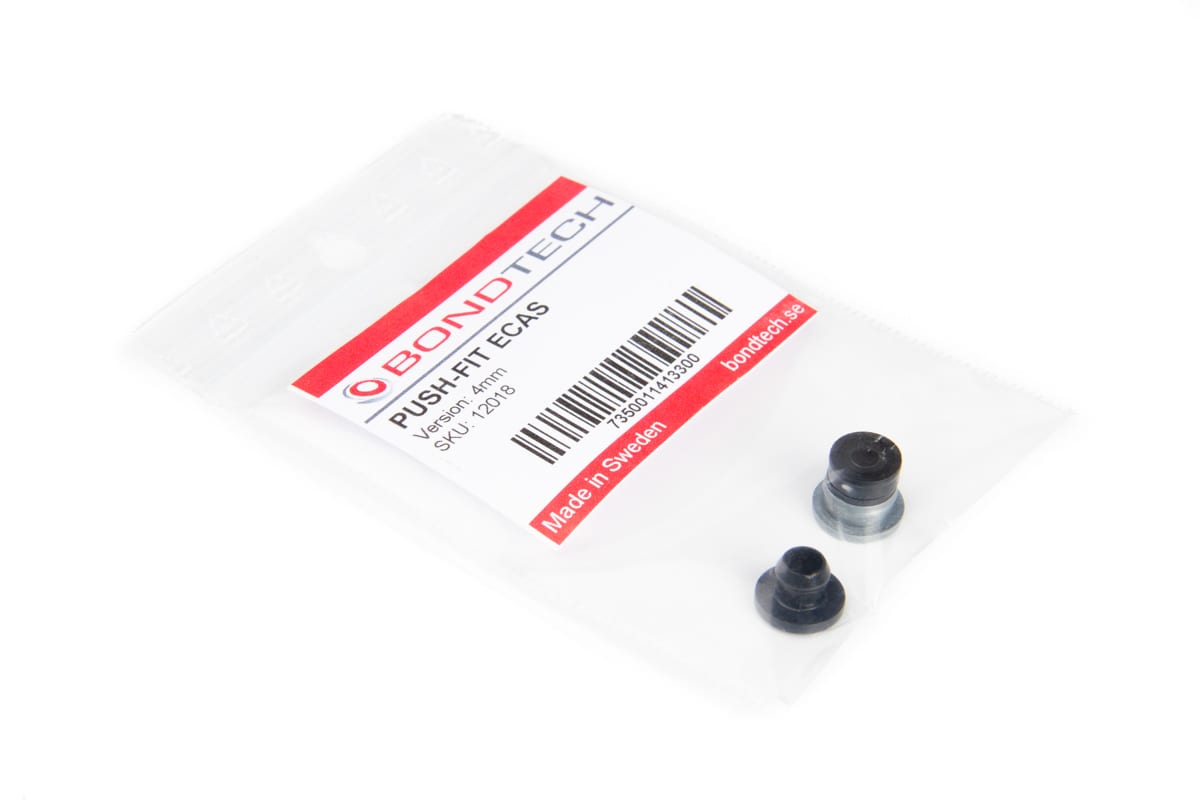
Push-Fit ECAS 4mm
Push-fit ECAS 4mm is a Bondtech Spare Part to use on the BMG Extruder and on the DDS for CR-10S when a replacement is needed.
Price:
$1.88
In stock (can be backordered)
Chose Currency / Country
Select Currency
Select Country
Description
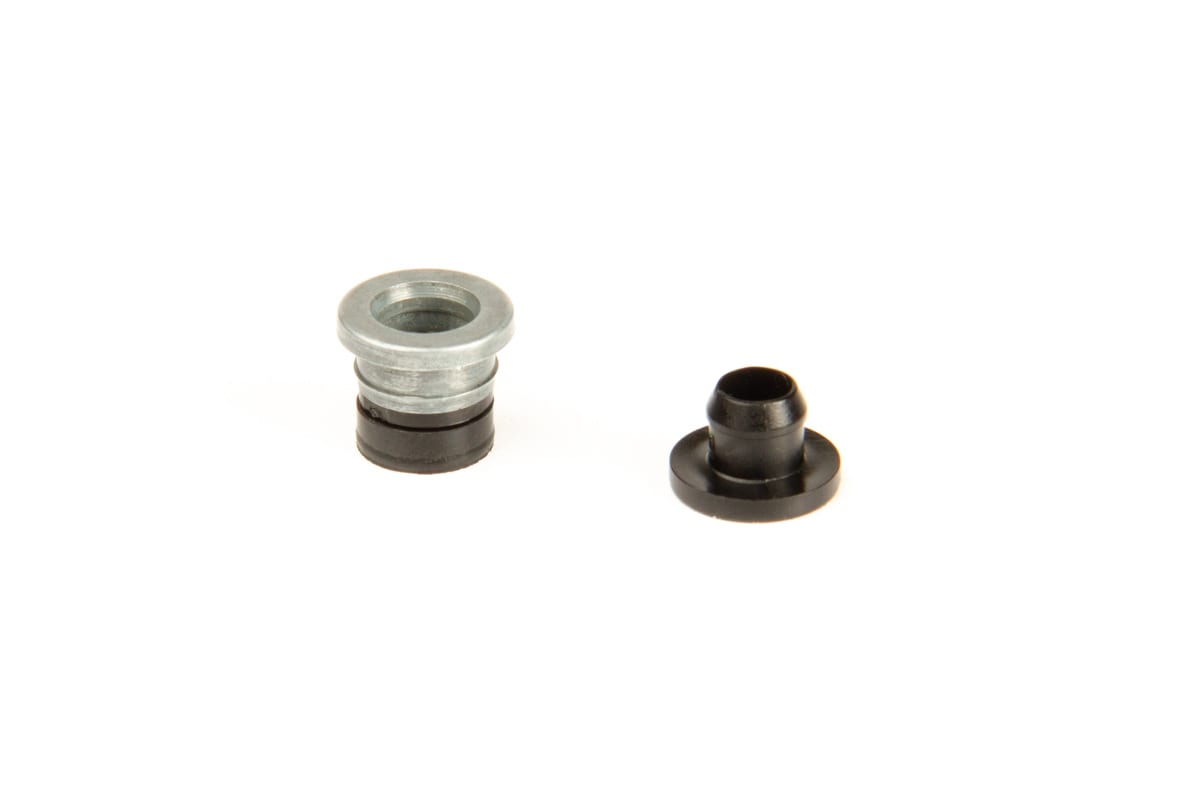
Replacement Push-fit ECAS 4mm
Size 4 mm is used with 1.75 mm filament.
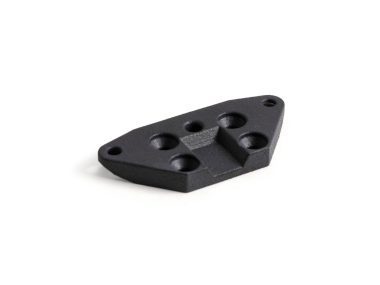
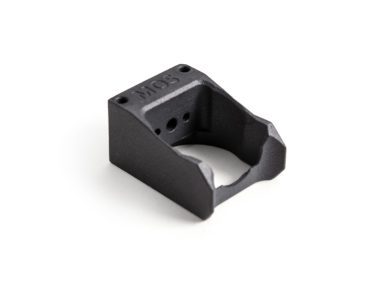
Compatible with the following products:
- BMG Extruder
- DDS for CR-10S Extruder
- DDS for CR-10S Filament Sensor Housing
Additional information
| Freight Weight | 2.7 g |
|---|---|
| Dimensions | 8 × 6 × 1 cm |
| Net Weight | 1,6g |
| Shipping | Bagged |
| EAN Code | 7350011411917 |
Push-fit Replacement Guide
Push-fit Replacement Guide
The Push-fit ECAS 4mm is bench pressed inside the extruder plastic housing until it flushes.
To replace it, we have to extract the old and install the new.
Perform the following procedures in this order:
- Use a flat screwdriver and insert it in between the black plastic and the grey metal collars of the push-fit.
- Twist the screwdriver to pull the black plastic collar out.
- Use a star screwdriver and insert it inside the grey metal collar.
- Pull out the gold grid inside.
- Use the star screwdriver again to pull the grey metal collar out from the housing from the inside.
- This prevents damaging the external surface of the housing.
- There will be some damage inside the housing hole for the push-fit as you extract it.
- This will be addressed later.
- Some push-fit components may still be inside.
- Check if the black plastic and black rubber gaskets are still inside.
- If they are, pull them out using the same star screwdriver.
- Clean as good as possible the housing hole.
- We will have to glue the new push-fit in.
- The glue will fill the missing plastic removed during the metal collar extraction.
- Take the black and grey half of the push-fit and apply superglue in the external surface of the grey metal, below the collar.
- Push it inside the housing hole. Press it down straight, slowly and hard until it flushes.
- Let the glue dry and check if it’s holding strong.
- Press the black plastic collar inside the grey metal collar to finish the replacement.
Reviews (0)
Only logged in customers who have purchased this product may leave a review.
Related products

$28.63
ON SALE

Original price was: $37.38.$26.16Current price is: $26.16.
ON SALE

Original price was: $36.25.$25.38Current price is: $25.38.
ON SALE
Original price was: $7.38.$5.16Current price is: $5.16.
Reviews
There are no reviews yet.