


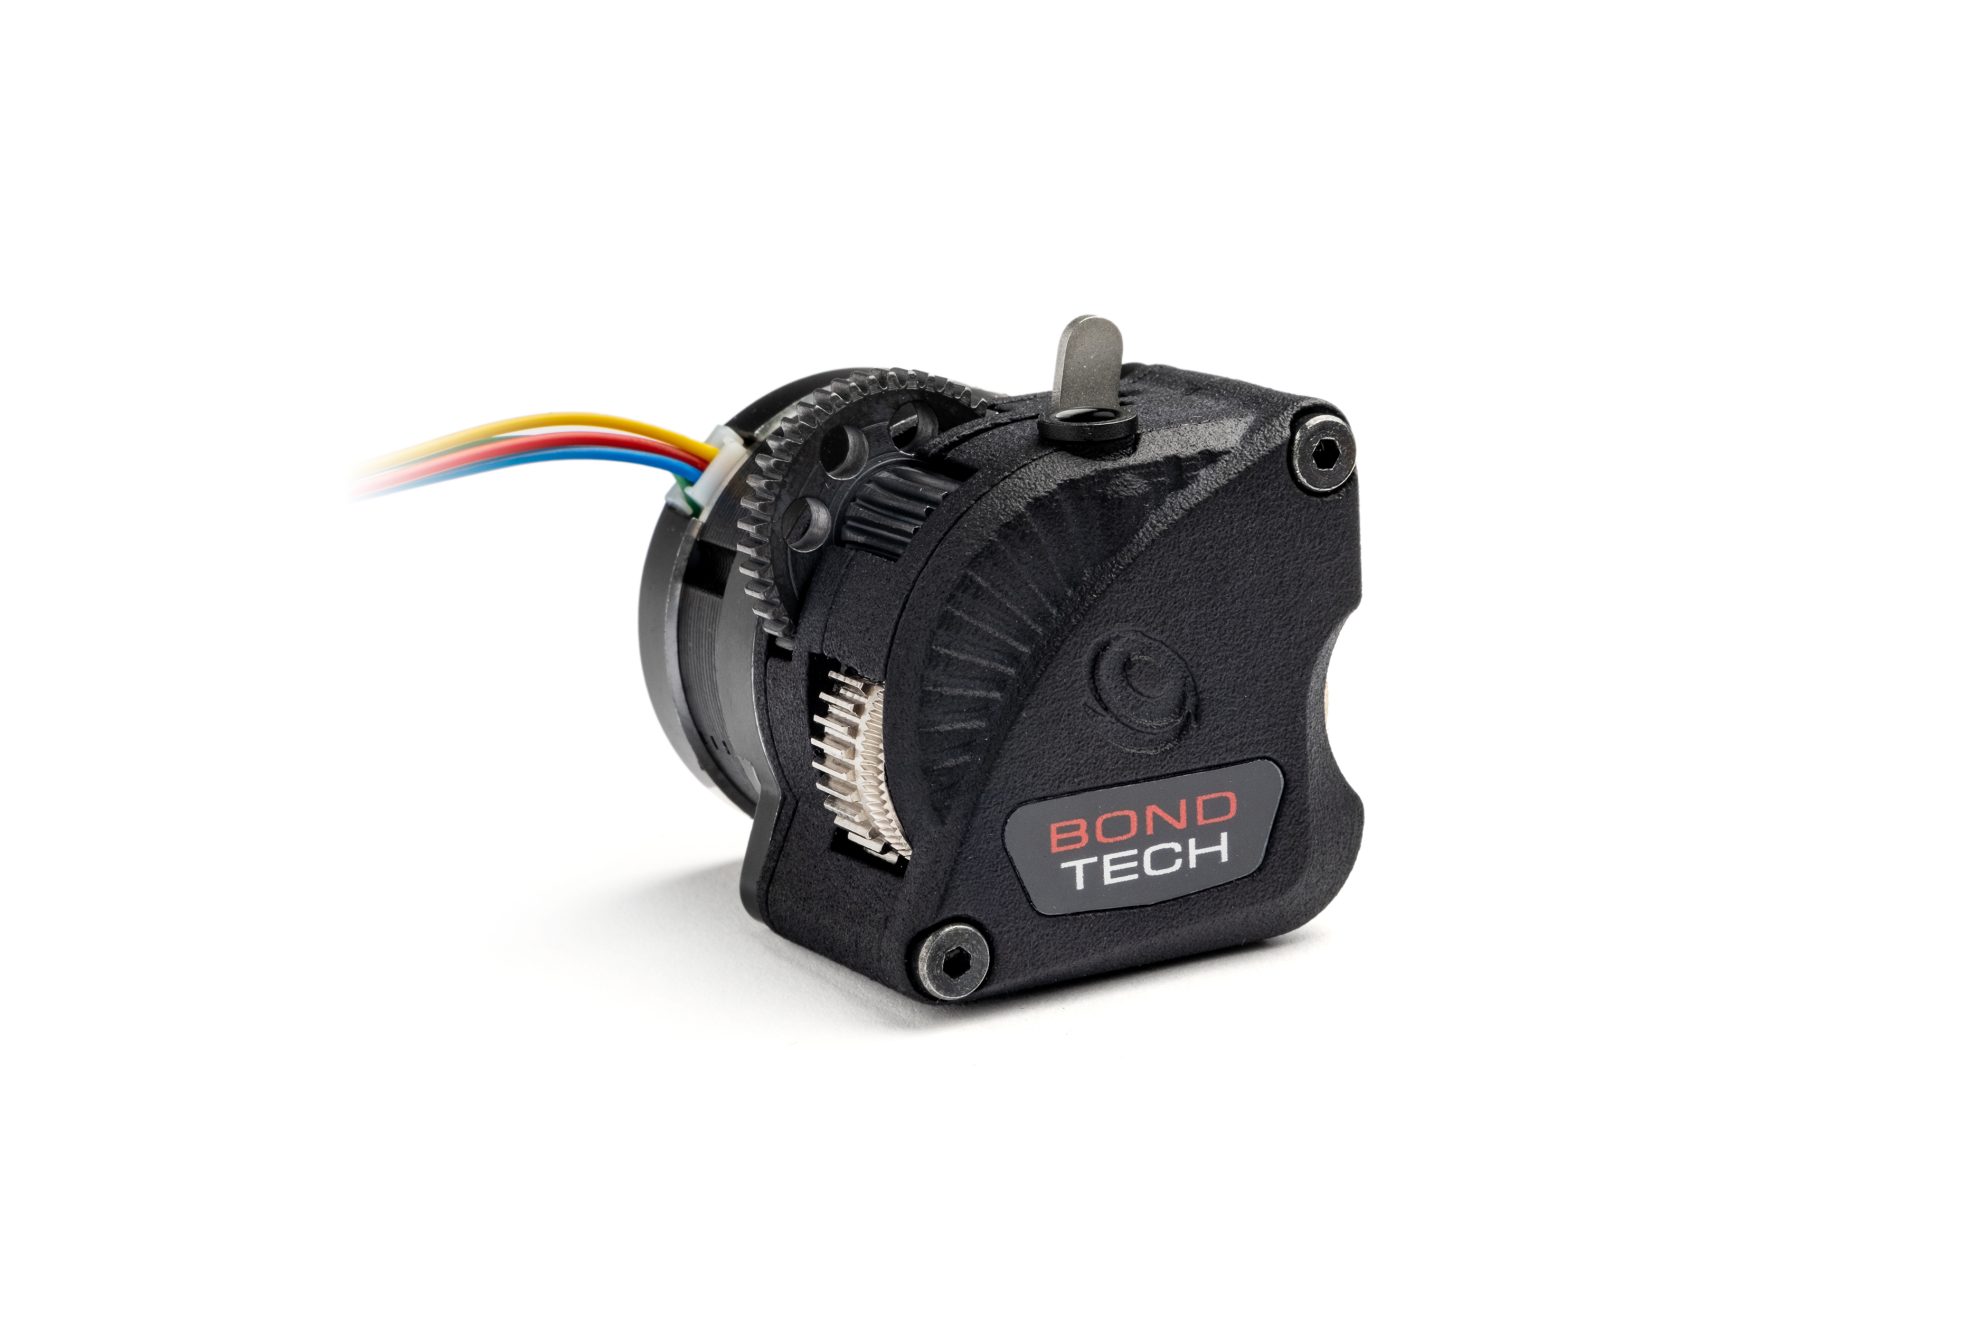

LGX Steel Drive Train Upgrade Set

Push Harder! Full Steel Ahead!
Set of parts made of Hardened Steel to replace the plastic Drive and Main Double Gears on a Bondtech Large Gears eXtruder :
- LGX;
- LGX Lite;
- LGX Lite Mirrored;
- LGX Lite V2.
Recommended to feed Engineering grade thermoplastics.
To use our LGX extruders above our default recommendations:
- with thicker mounting plates;
- at higher environment temperatures;
- at higher stepper motor currents.
Price:
$43.63
In stock (can be backordered)
Select Currency
Select Country
The LGX extruders fit very well most filament extrusion applications, but some cases demand additional features or capacity that cannot be enabled by their plastic gear sets.
Those cases are:
1. When the LGX are used with a plate in between the extruder and the stepper motor thicker than our recommendation, and up to a limit.
On the LGX
Optimal Thickness : between 0.3 and 2.3 mm;
Limited to 3.0 mm
On the LGX Lite and LGX Lite Mirrored
Optimal Thickness : 2.5 mm;
Limited to 3.0 mm
Note : the LGX Lite V2
cannot be mounted with a plate between the extruder and the motor.
2. When the LGX is used in work environments warmer than our recommendation, and up to a limit.
On the LGX
We recommended Max Environment operating temperature : 70°C
Limited to 90°C
On the LGX Lite, LGX Lite Mirrored and LGX Lite PRO
We recommended Max Environment operating temperature : 70°C
Limited to 90°C
3. When the current fed to the LGX stepper motor is higher than our recommendation, and up to the 95% of the rated current.
On the LGX
Peak current : 0.7A
Max recommended current: 0.63A.
We recommended between ~0.45 and ~0.60A
On the LGX Lite and LGX Lite Mirrored
Peak current : 1.0 A
Max recommended current : 0.7A.
We recommended between ~0.45 and ~0.60A
| Freight Weight | 48 g |
|---|---|
| Dimensions | 4.7 × 4.7 × 1.9 cm |
READ THIS FIRST
— Lubrication is mandatory —
These drive gears are made of hardened steel. Without lubrication they will wear your motor gear down.
Use a brush and the supplied lubricant to coat the drive gear teeth.

— Metal gears conduct heat —
To feed PLA or TPU (low Glass Transition Temperature materials)
keep the stepper motor cool (current at, or below, 0.5A).
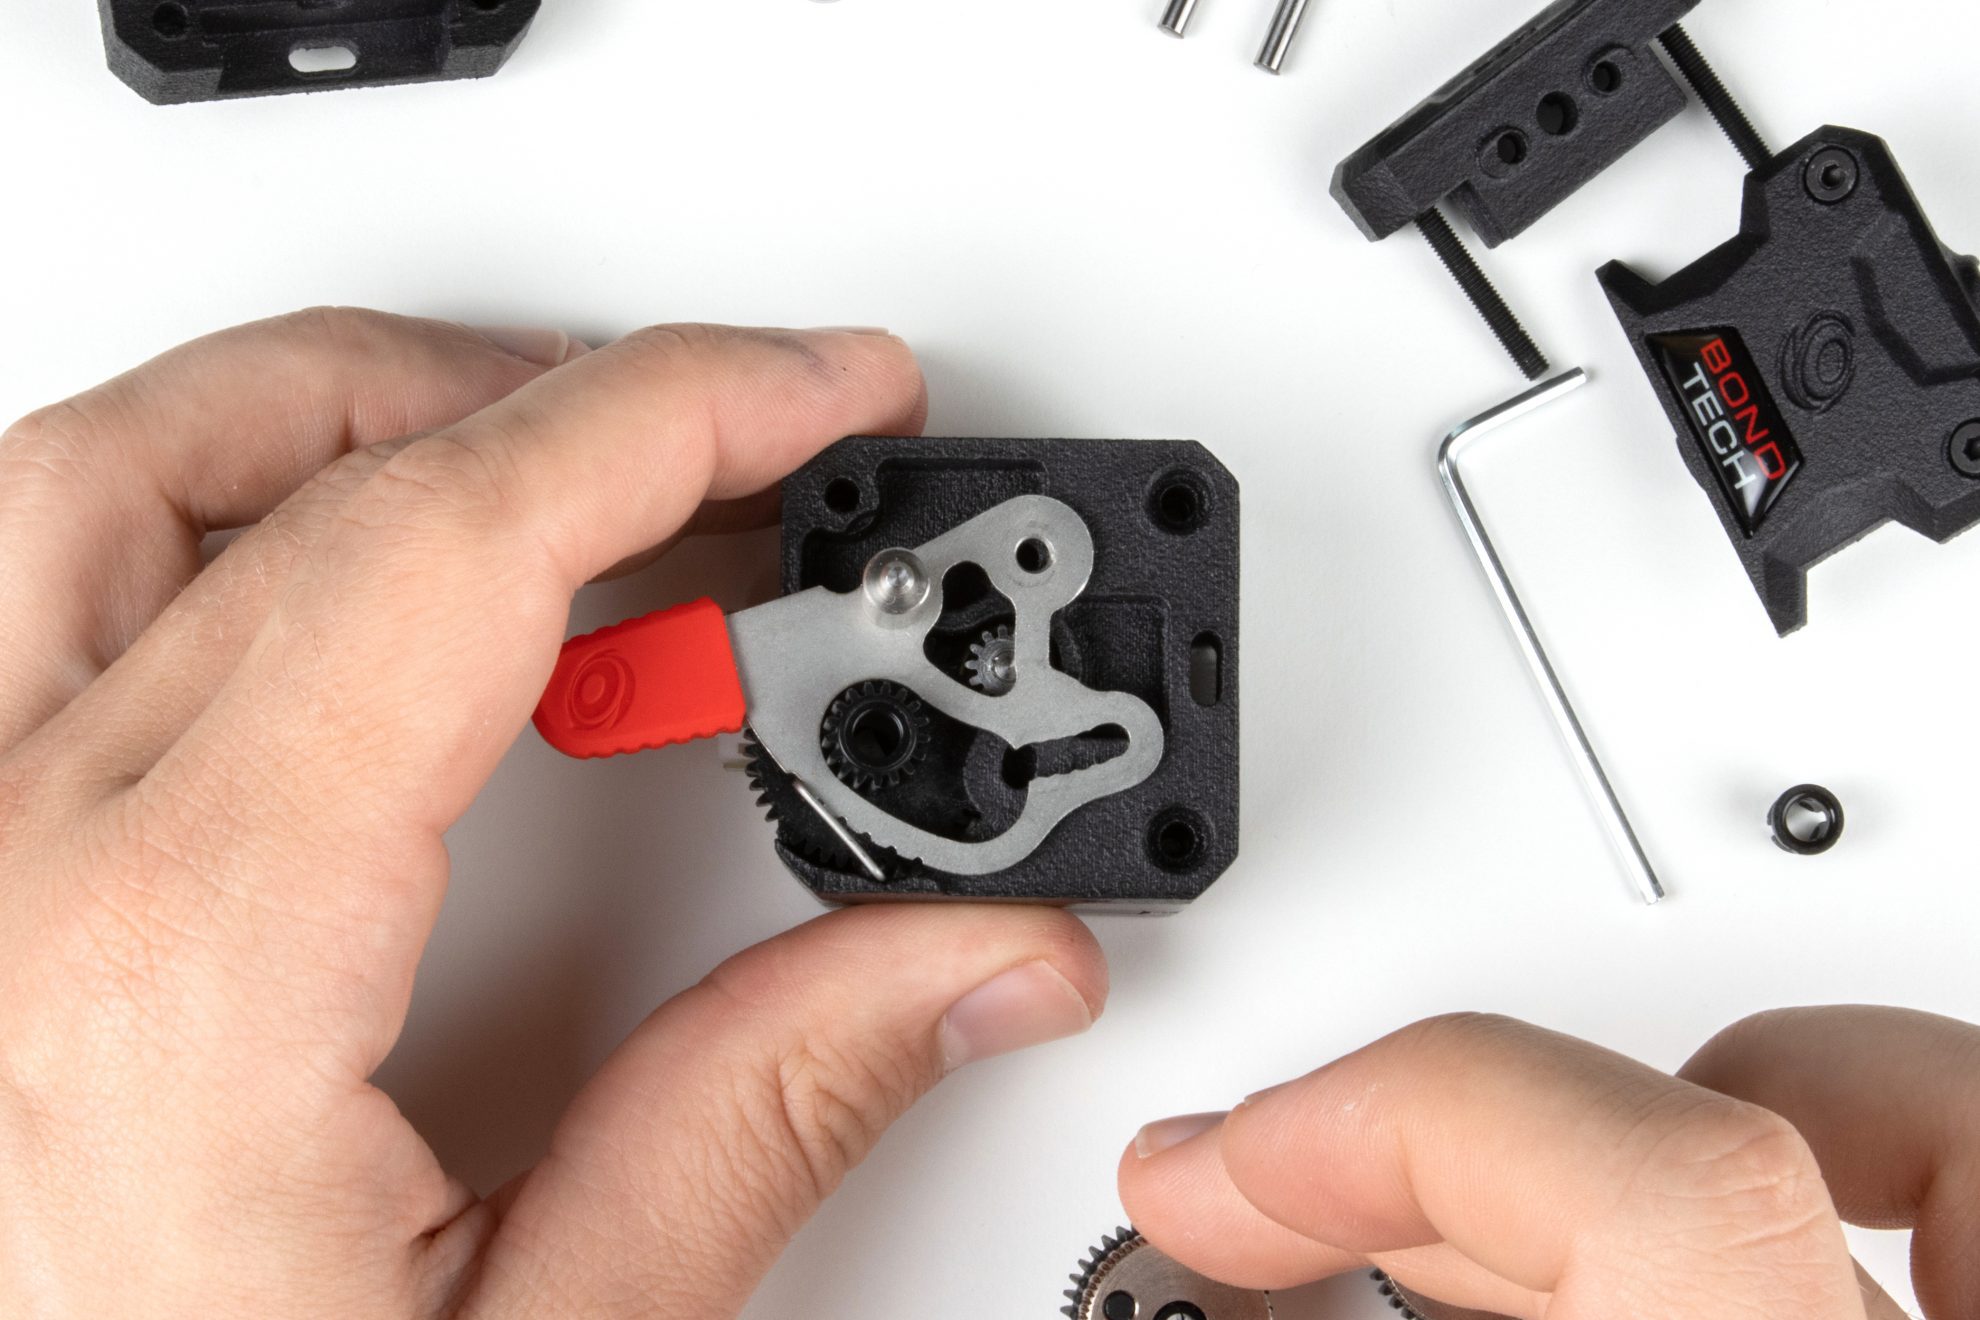
How To Install On LGX
Installing the LGX Steel Drive Train on the LGX
The guide below shows how to install the LGX Steel Drive Train on the LGX extruder.
The whole process is divided into 2 stages. Click each tab arrow below to reveal the steps on each stage.
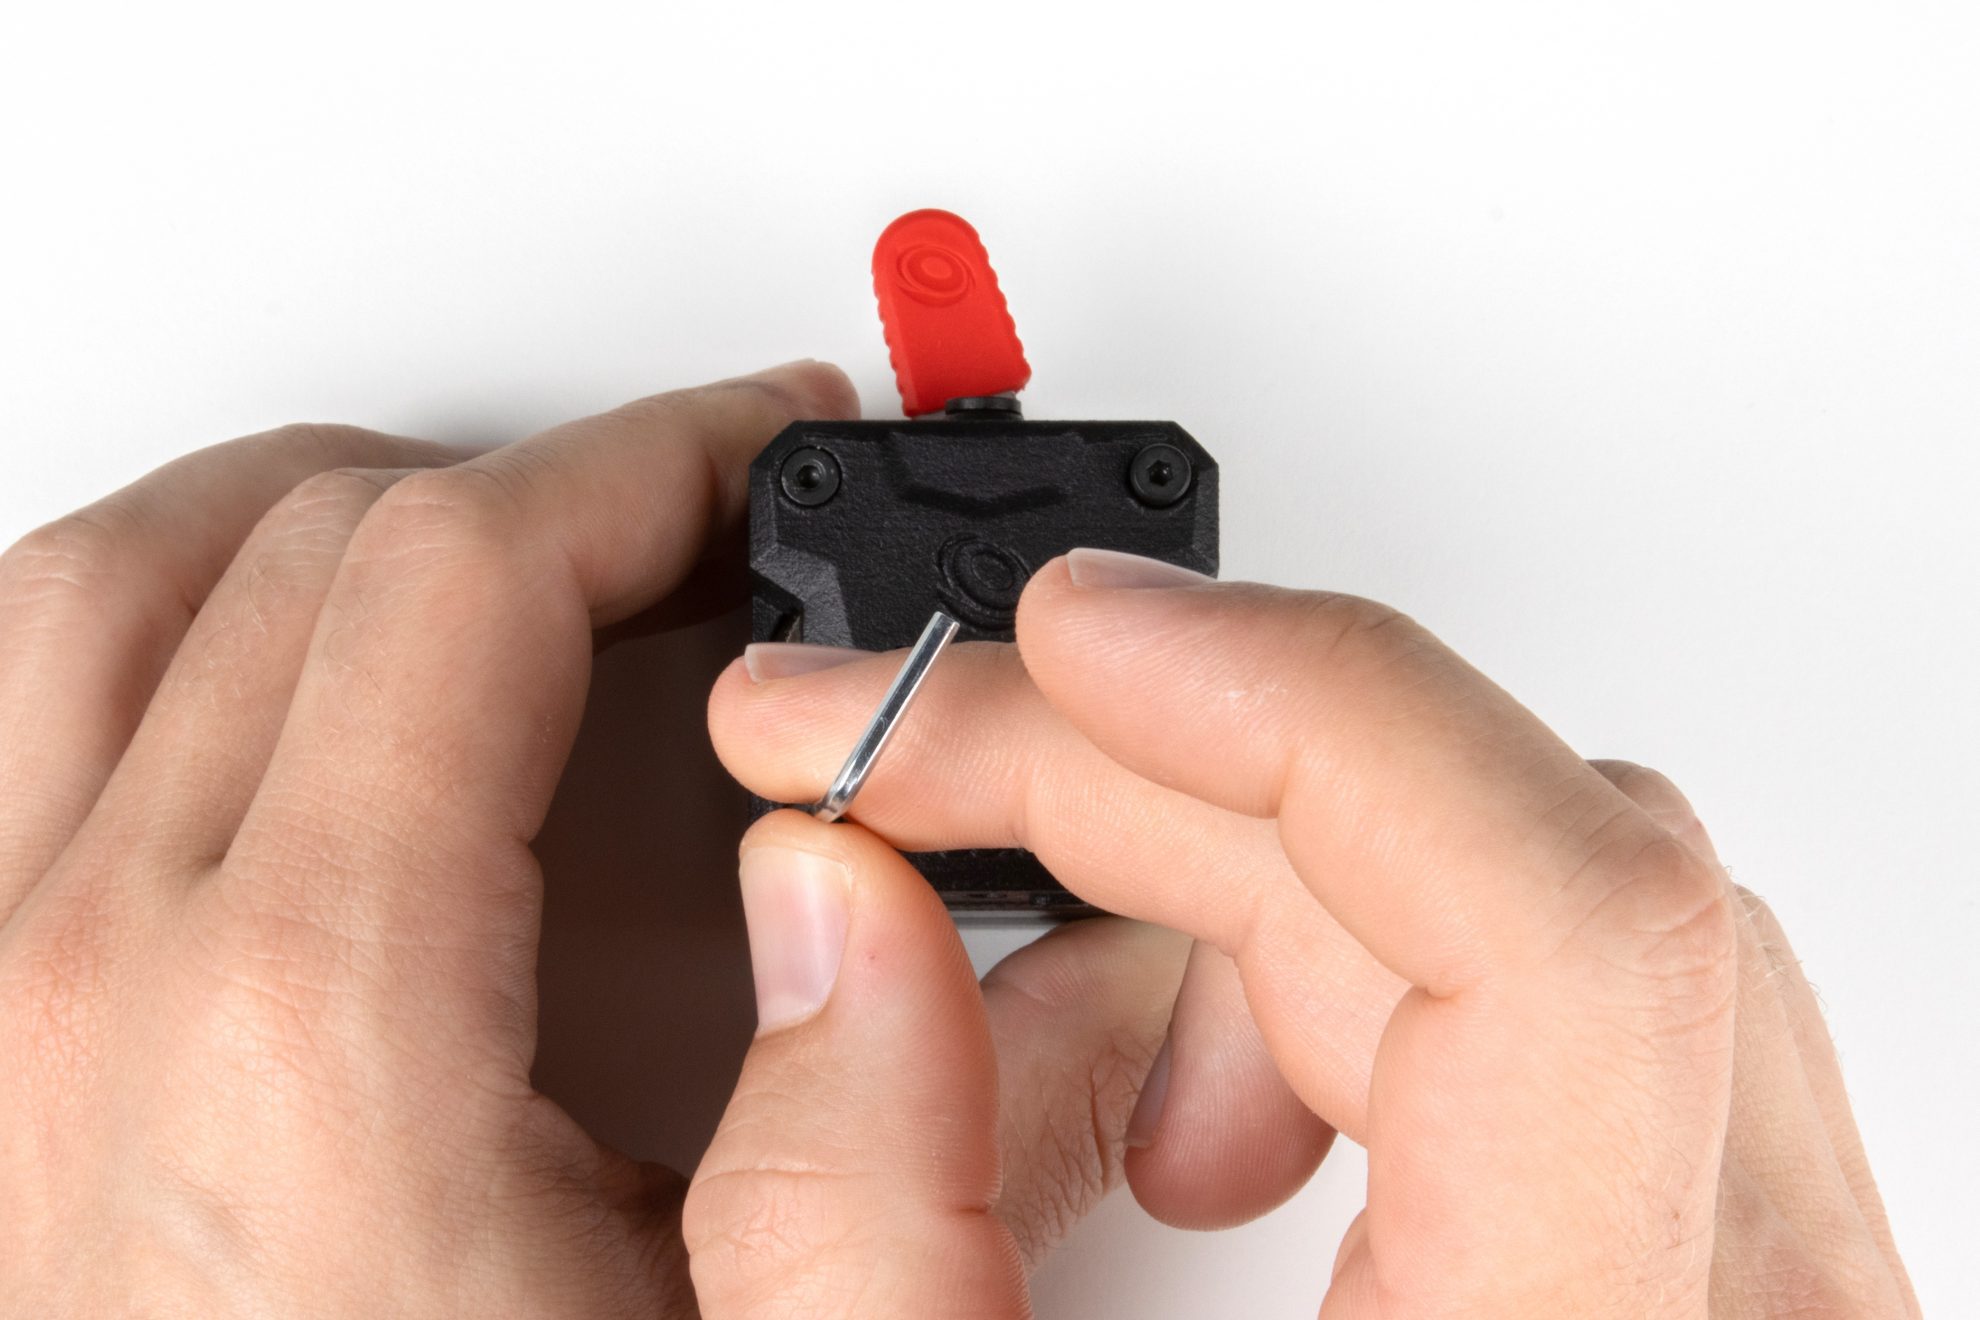
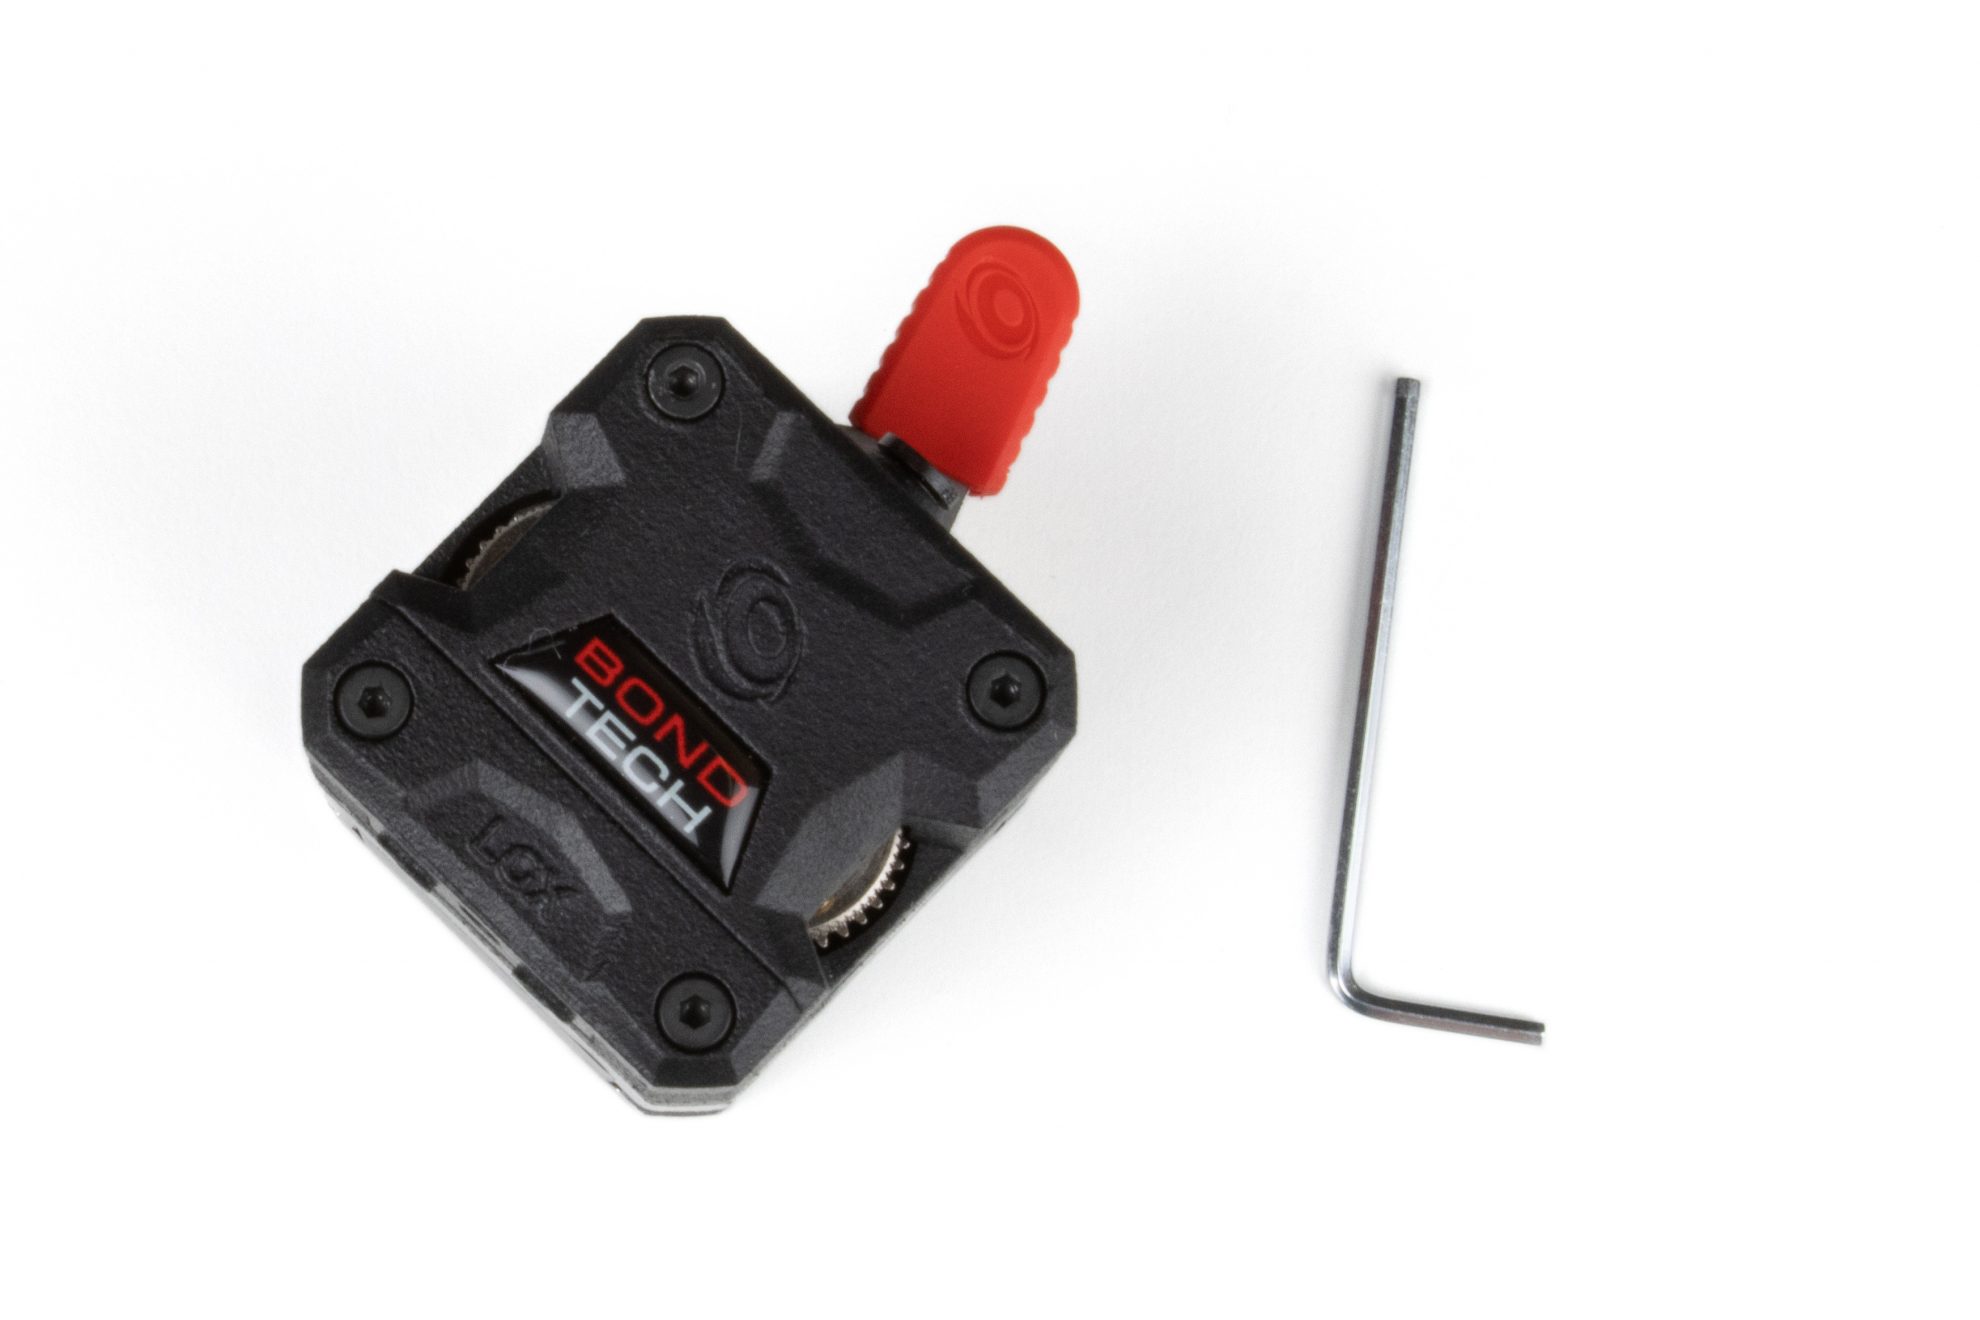
You will need a LGX extruder, the LGX hex key, and the LGX Steel Drive Train to perform this installation.
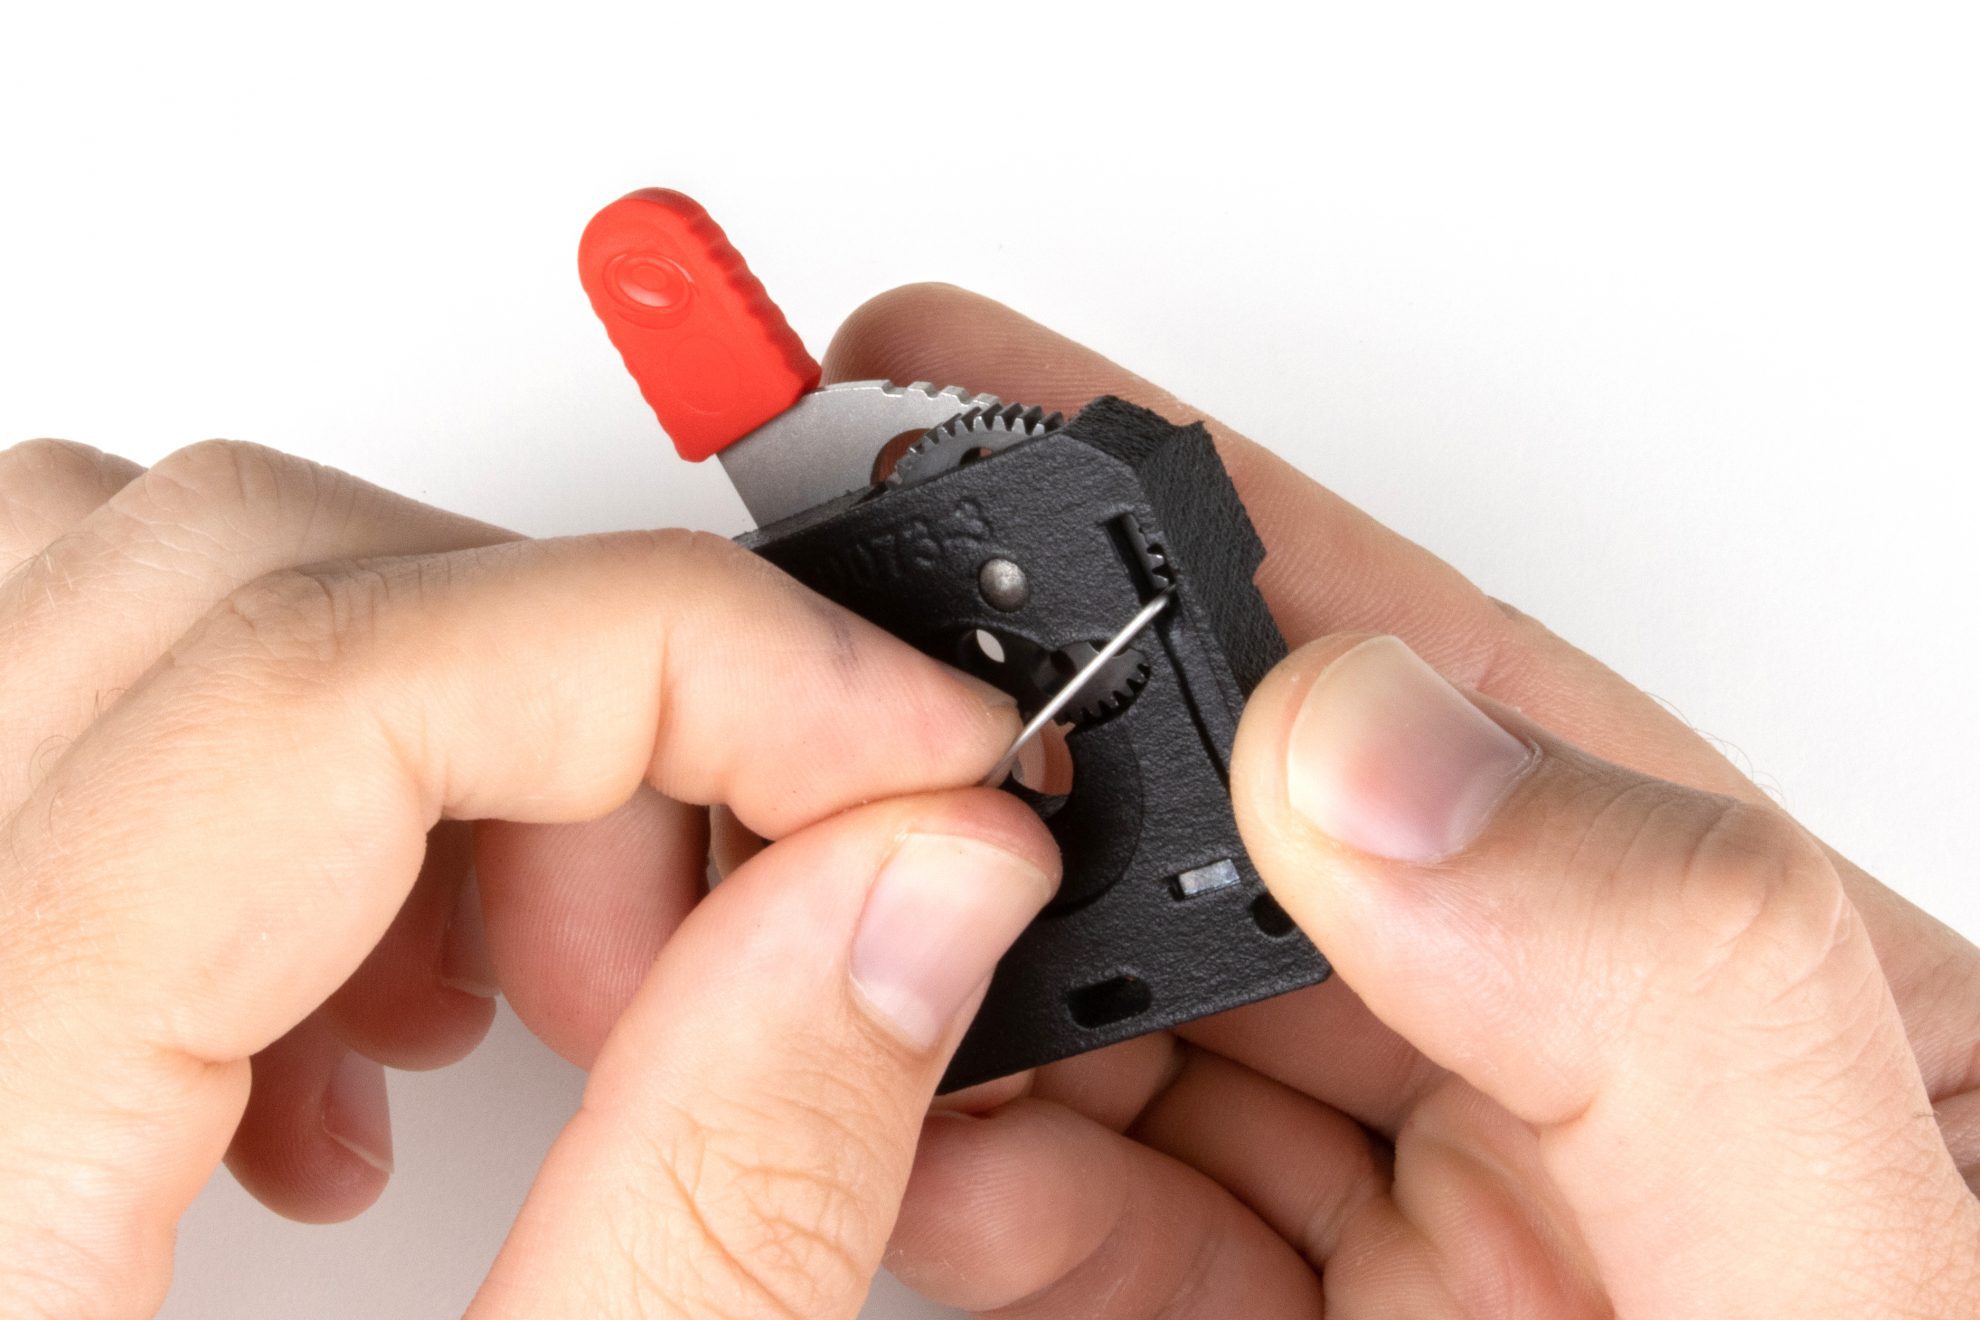
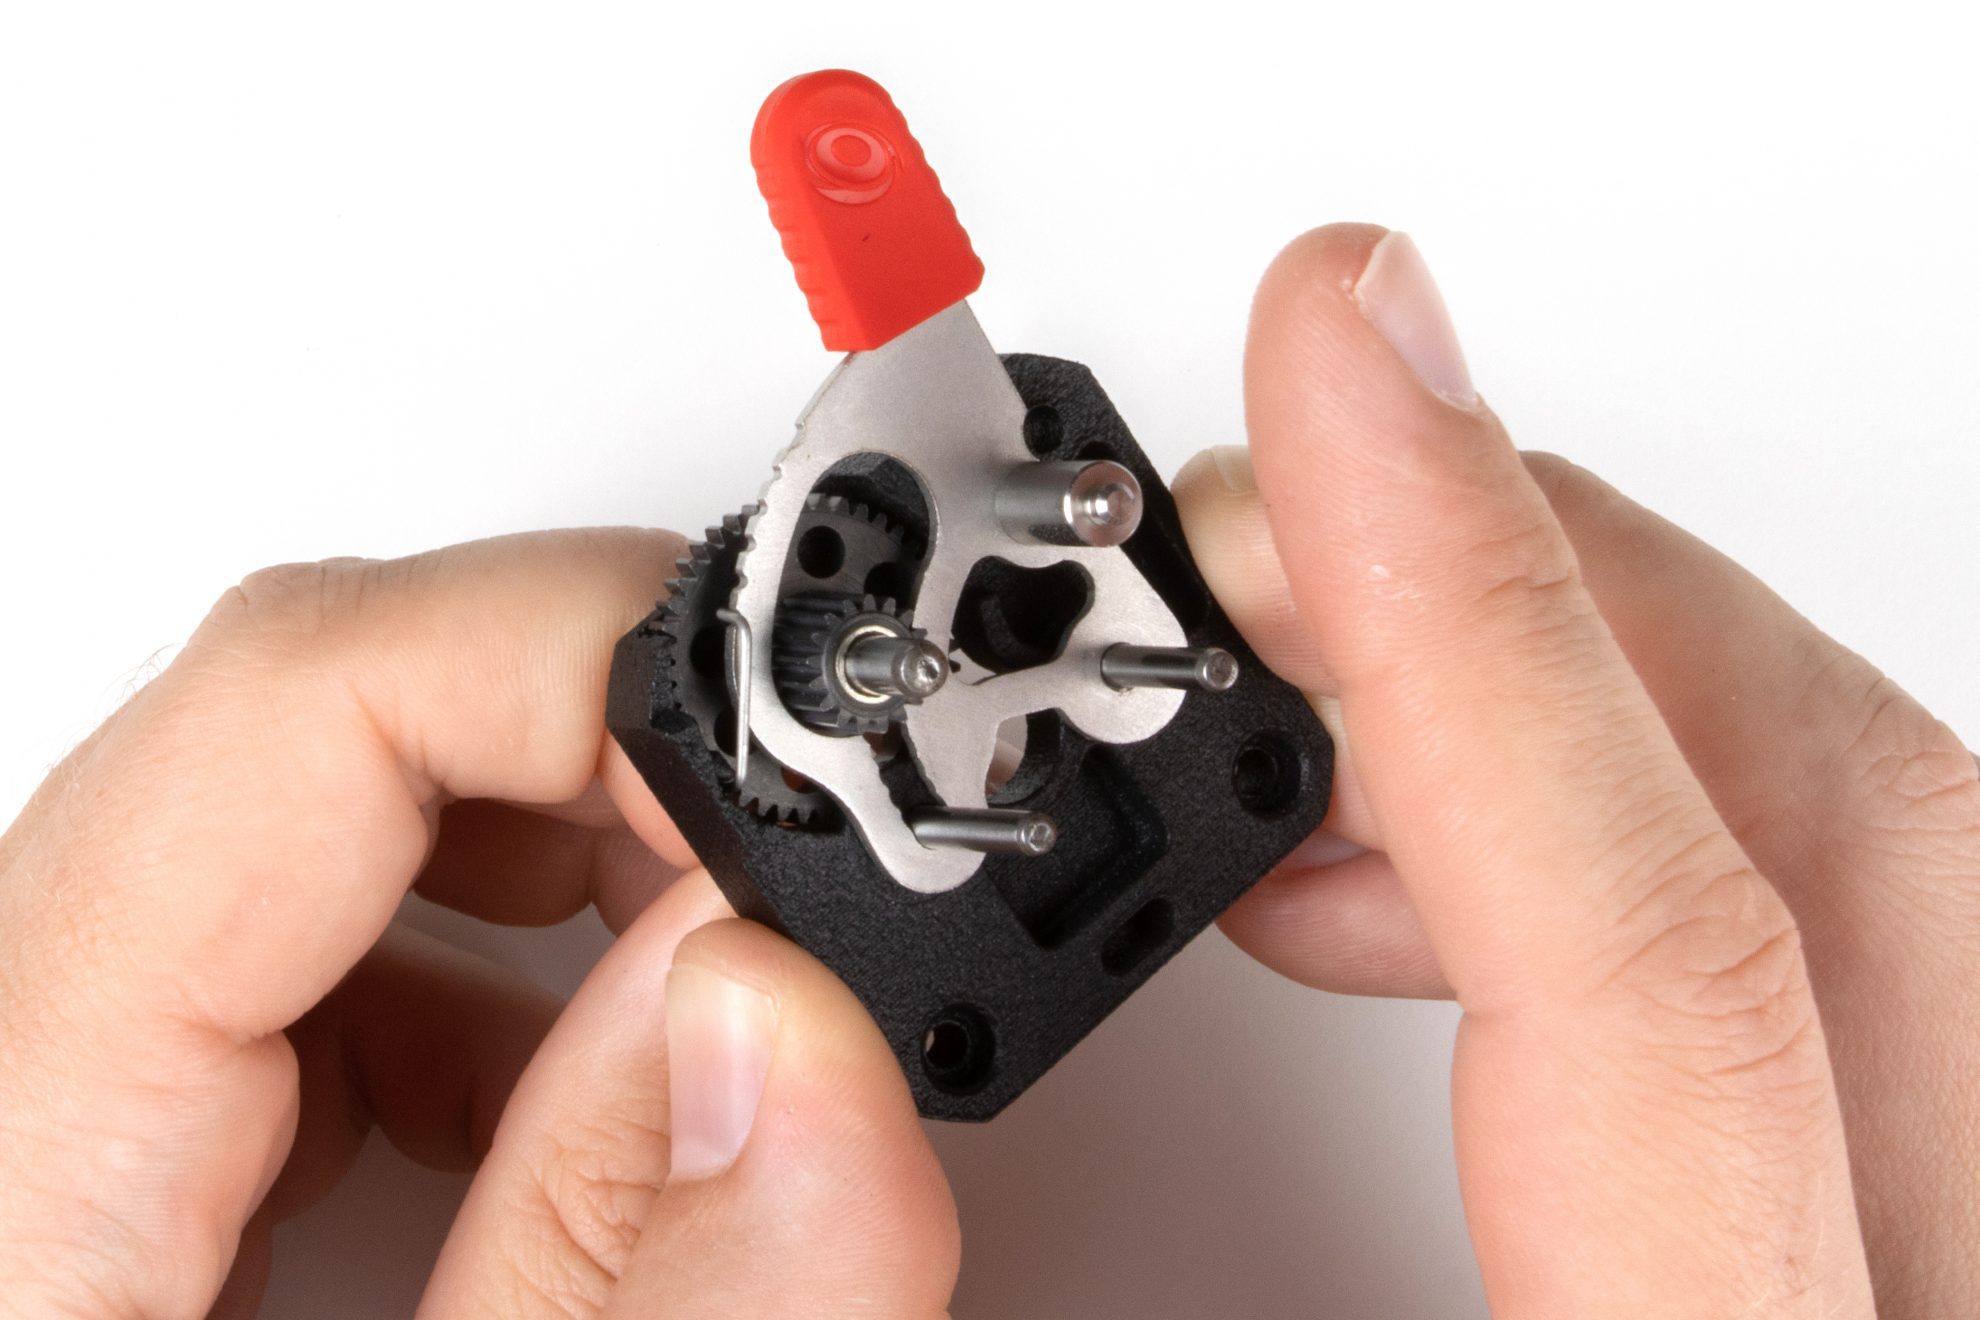
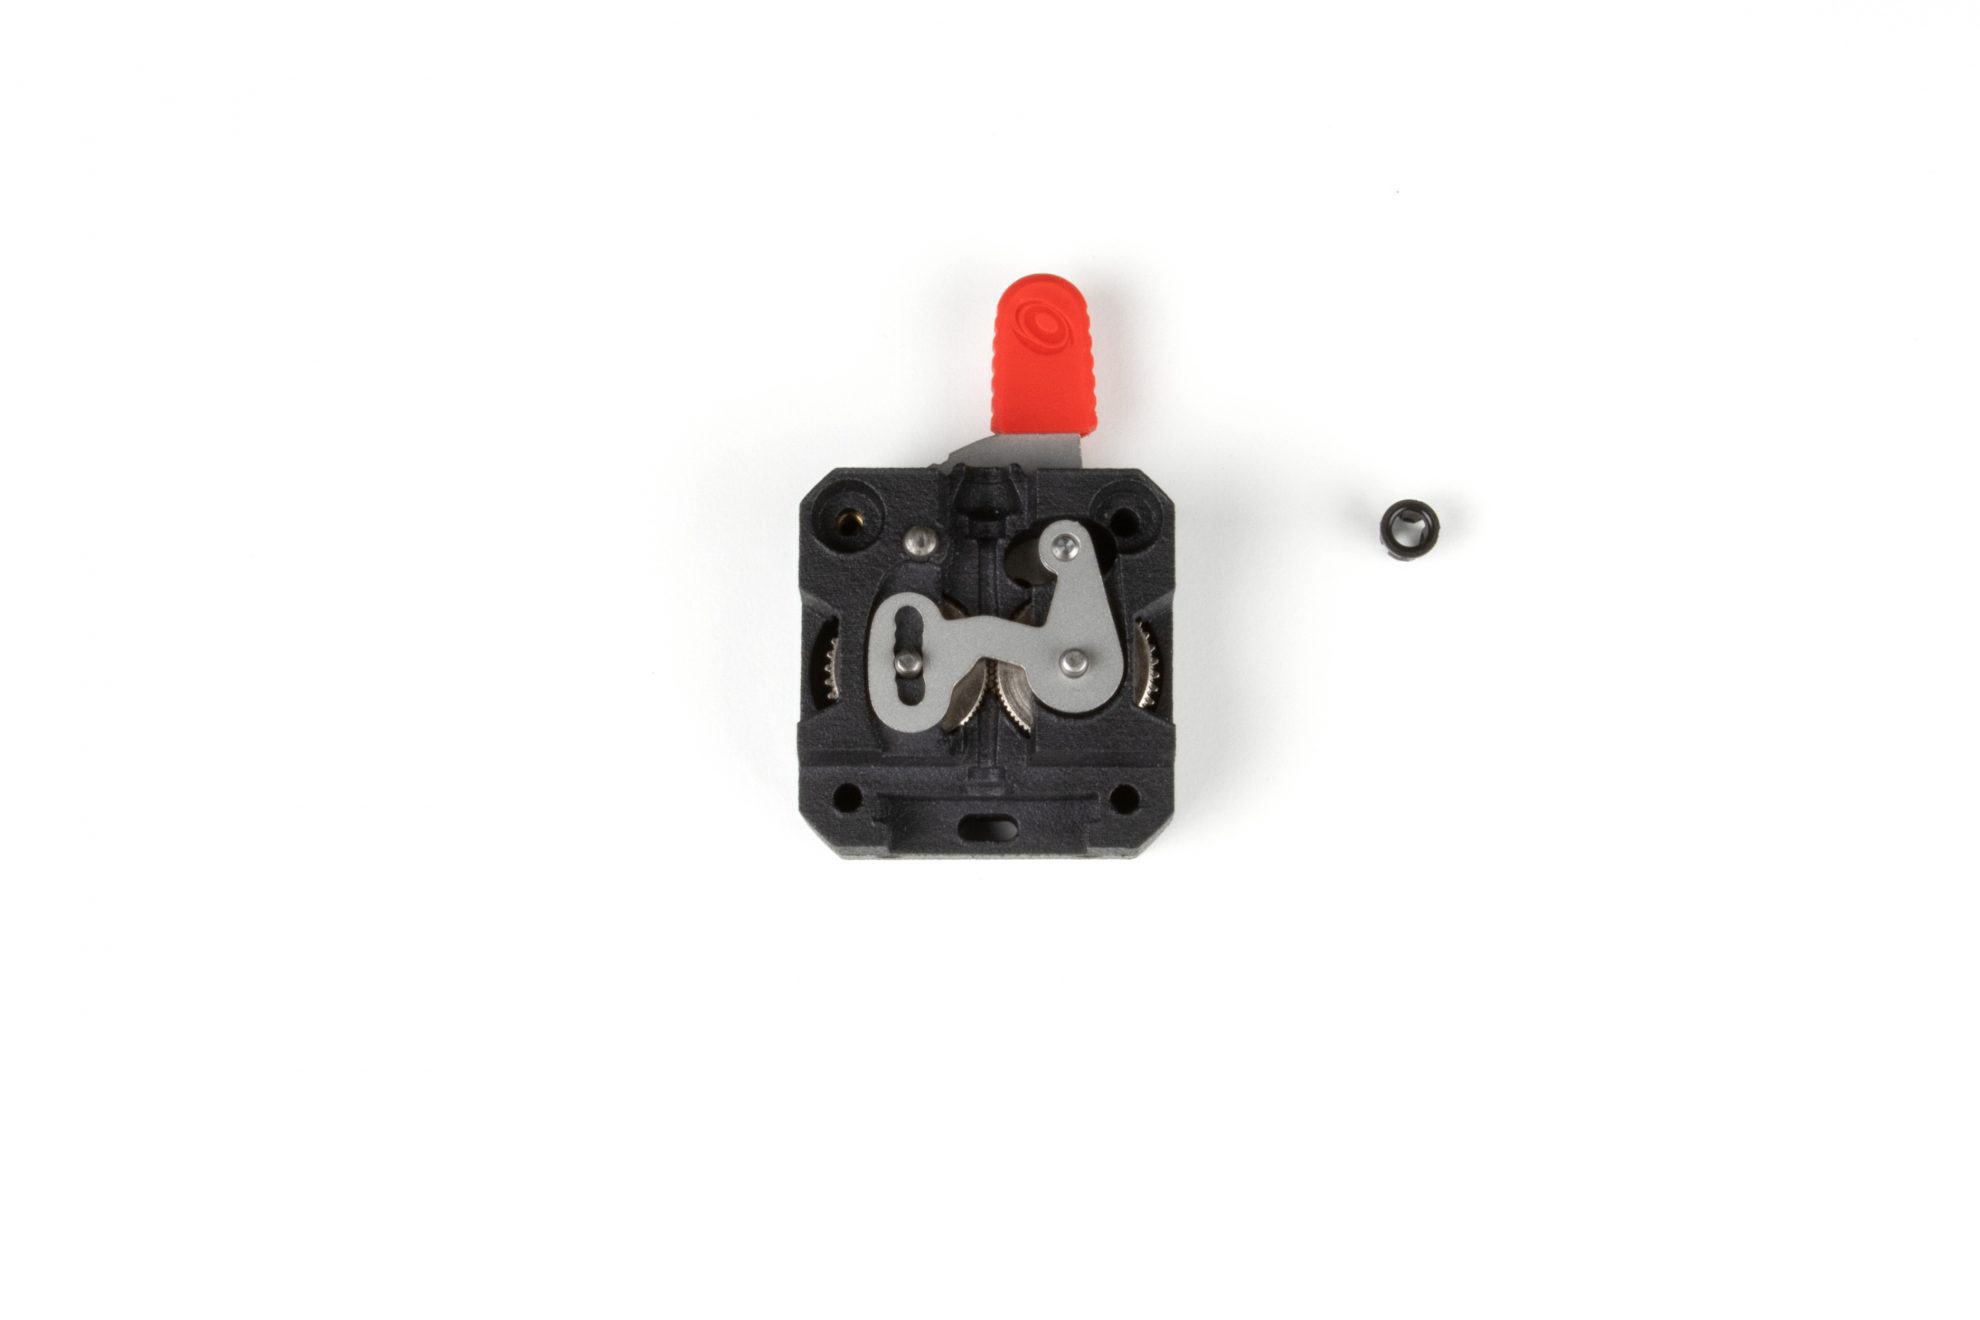
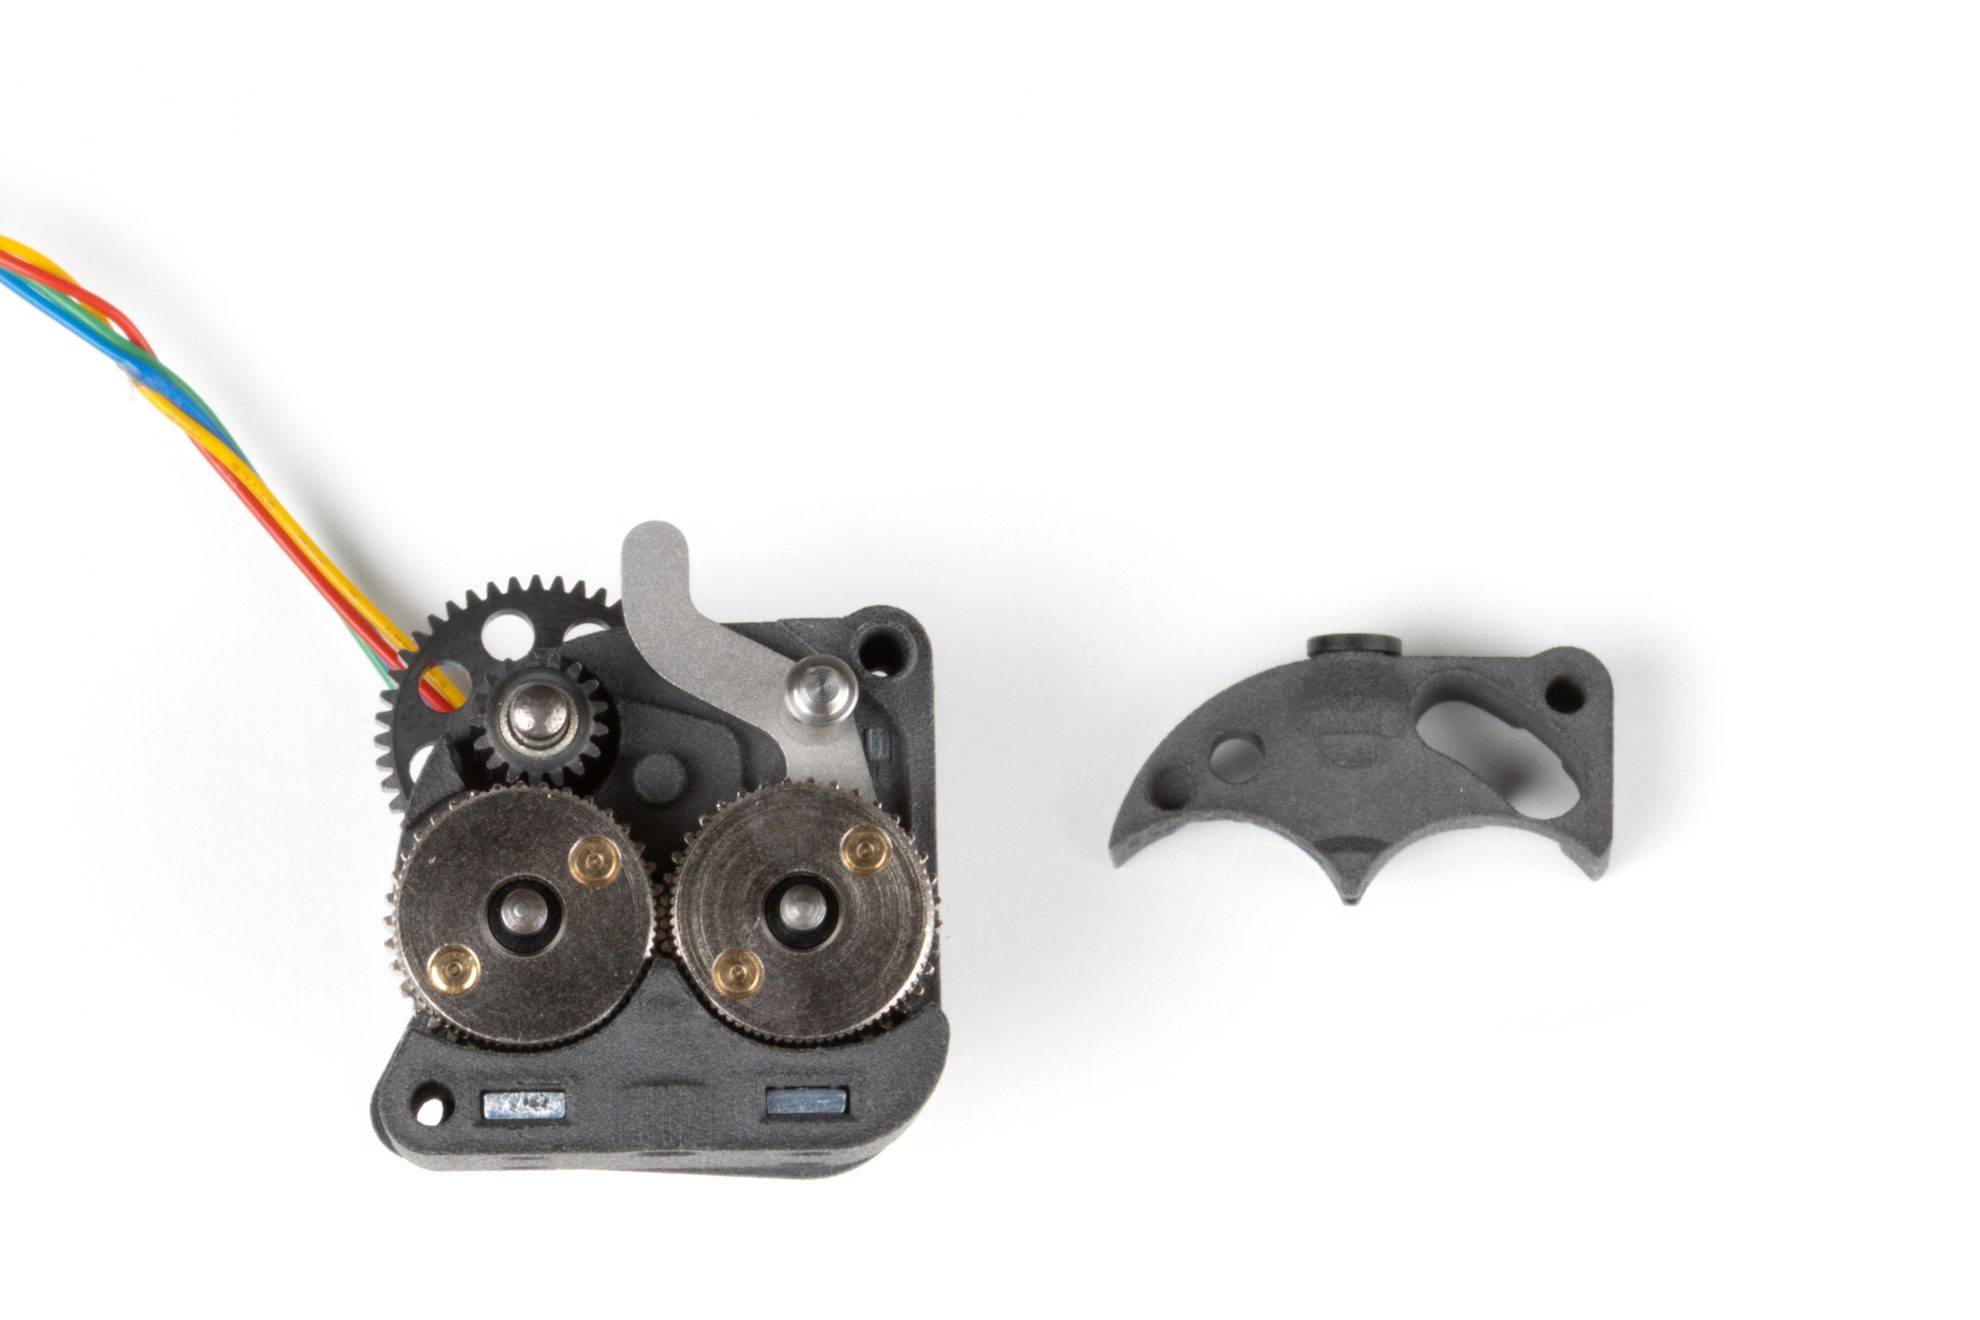
Step 1. Remove Front Plate and Interface Plug


Step 2. Remove the LGX Mid Section


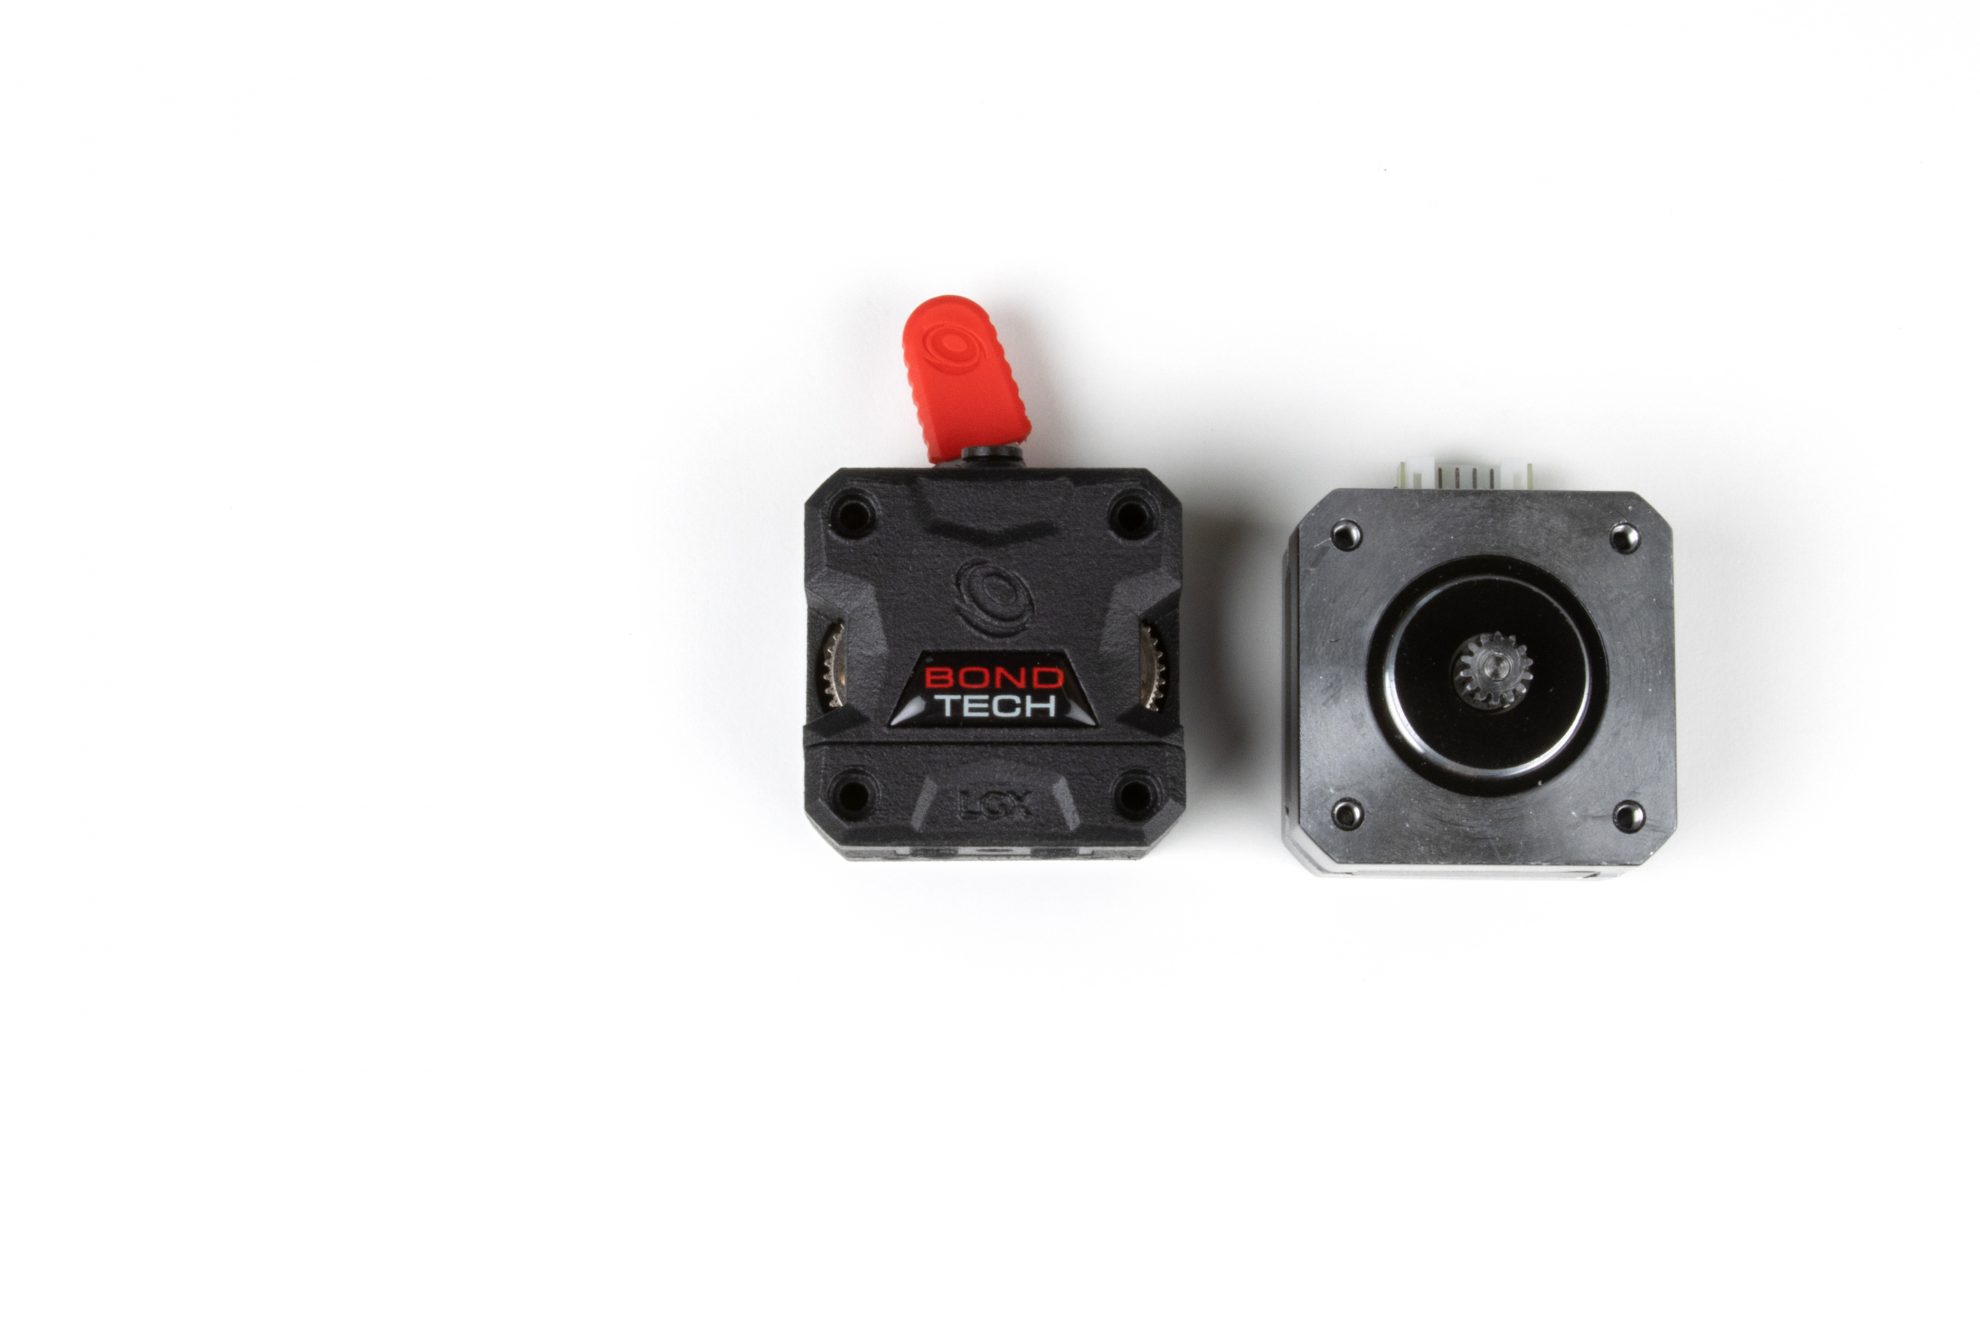
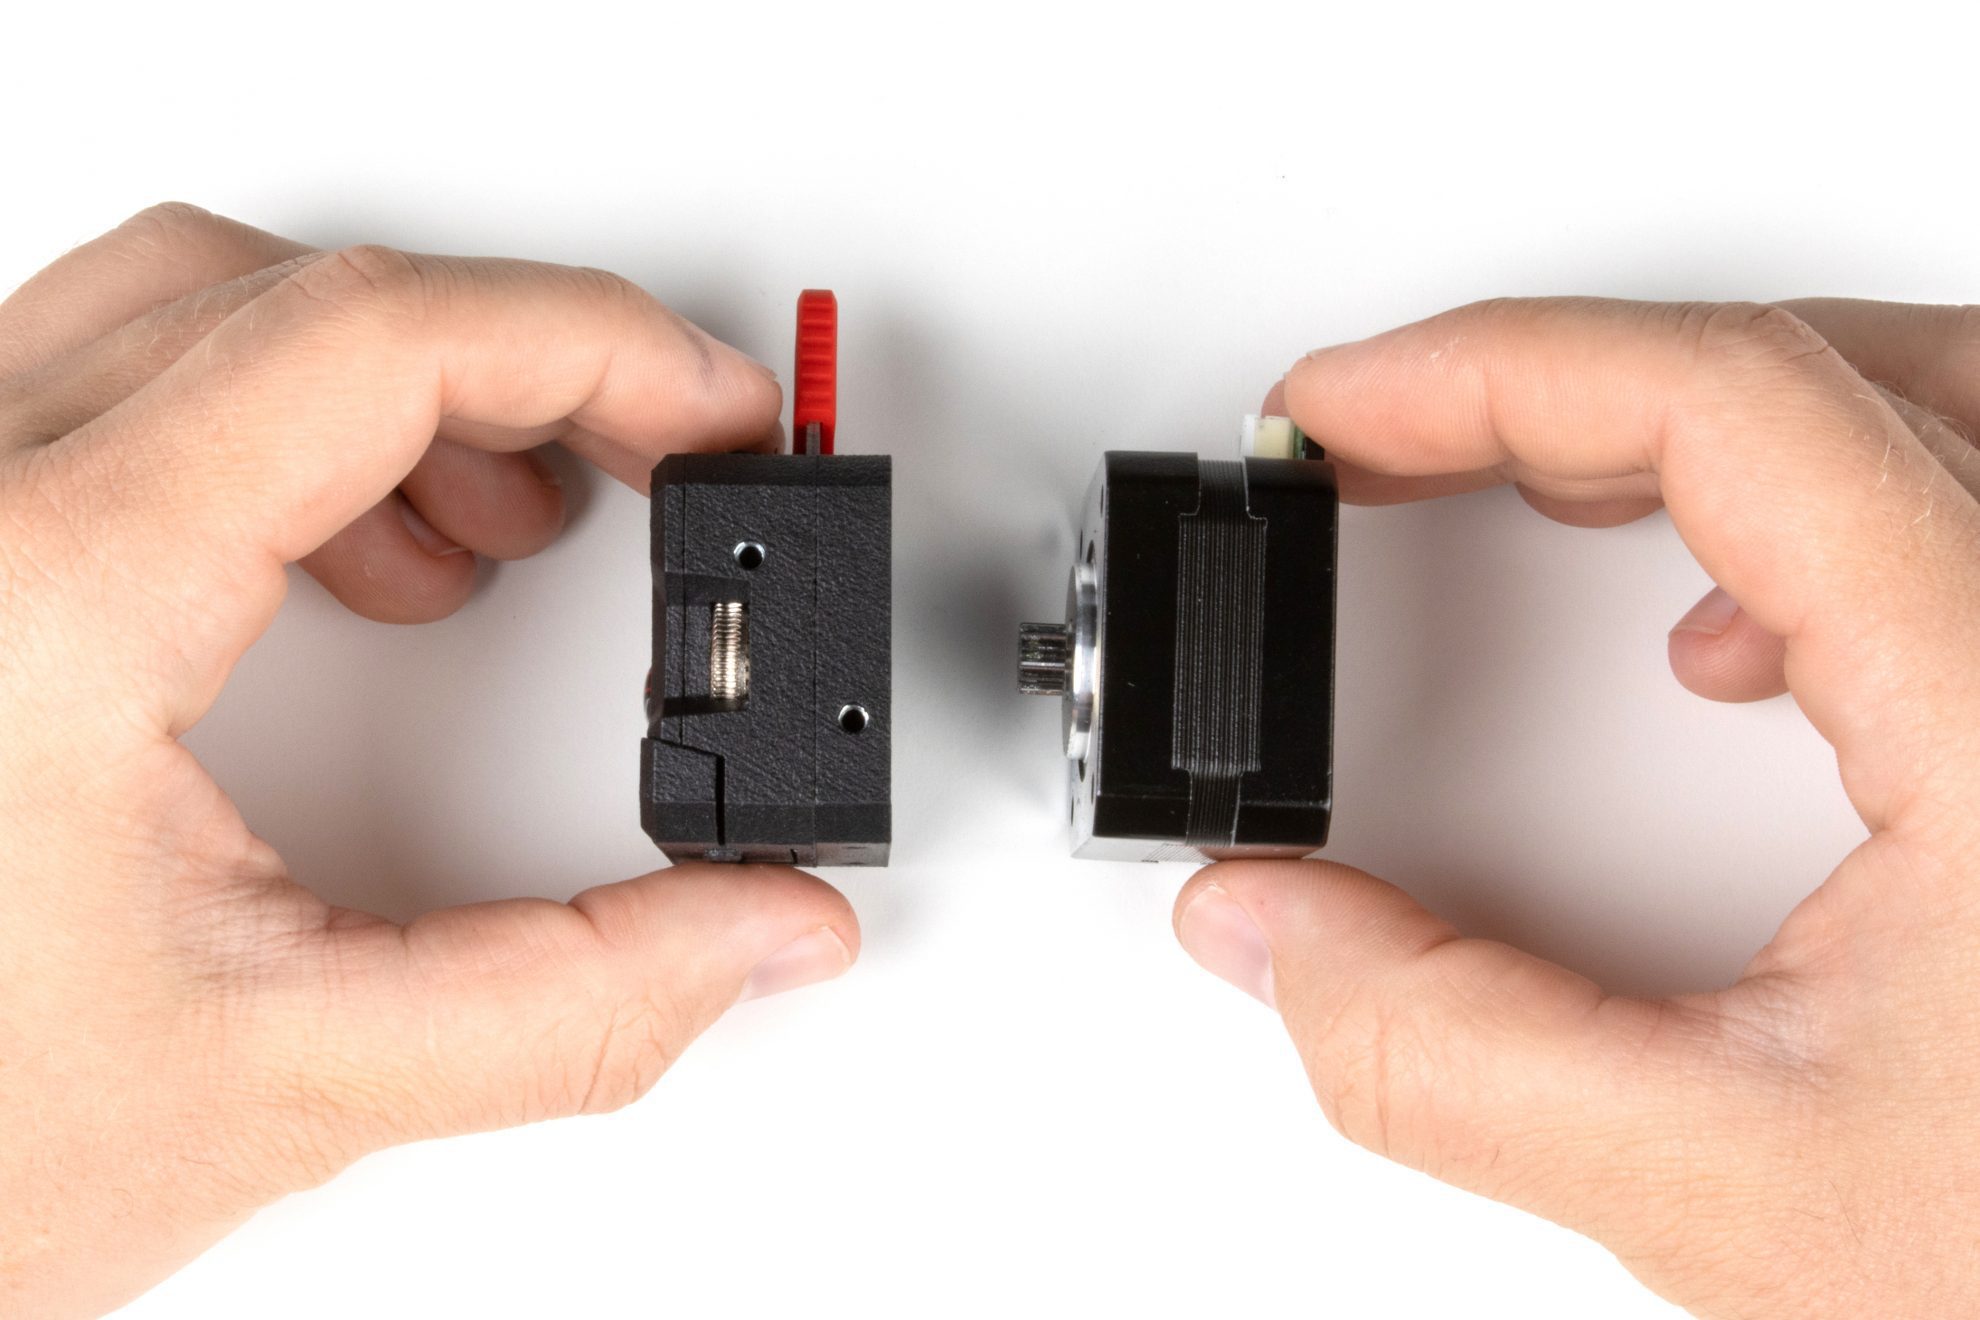
Step 3. Detach Stepper Motor, back plate and Main Double Gear


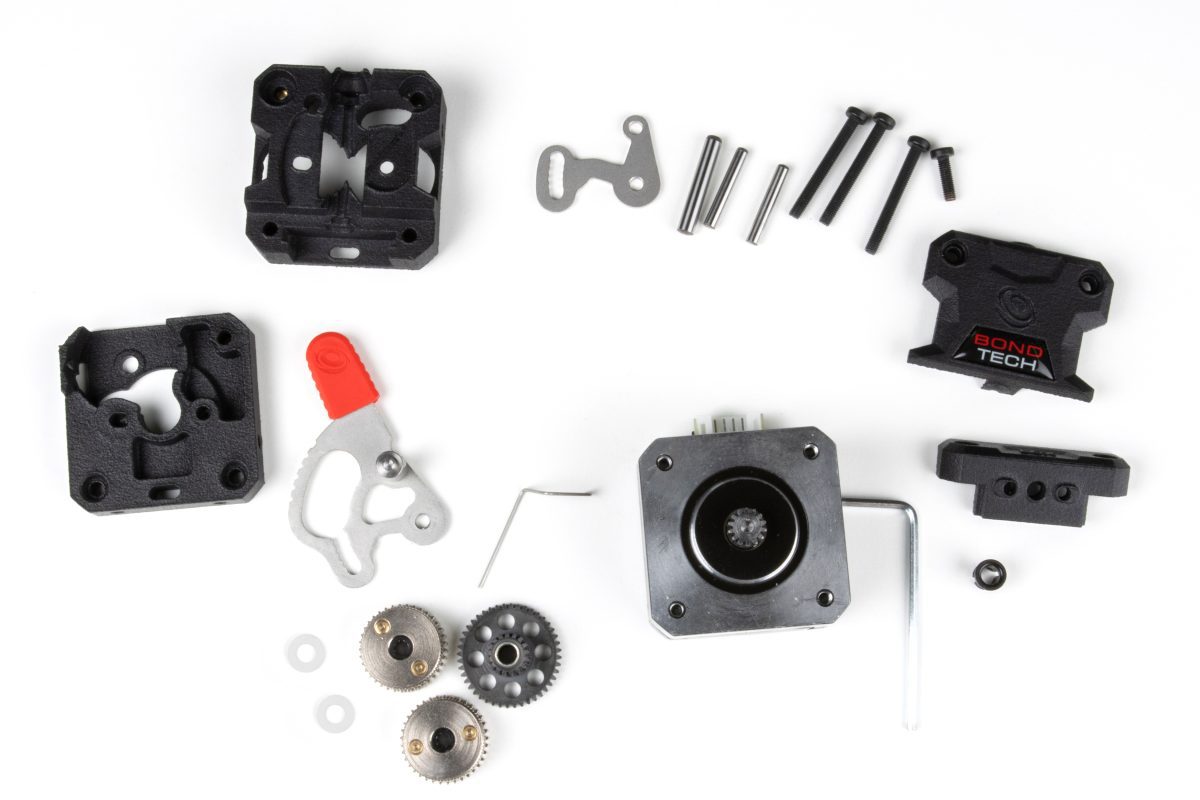
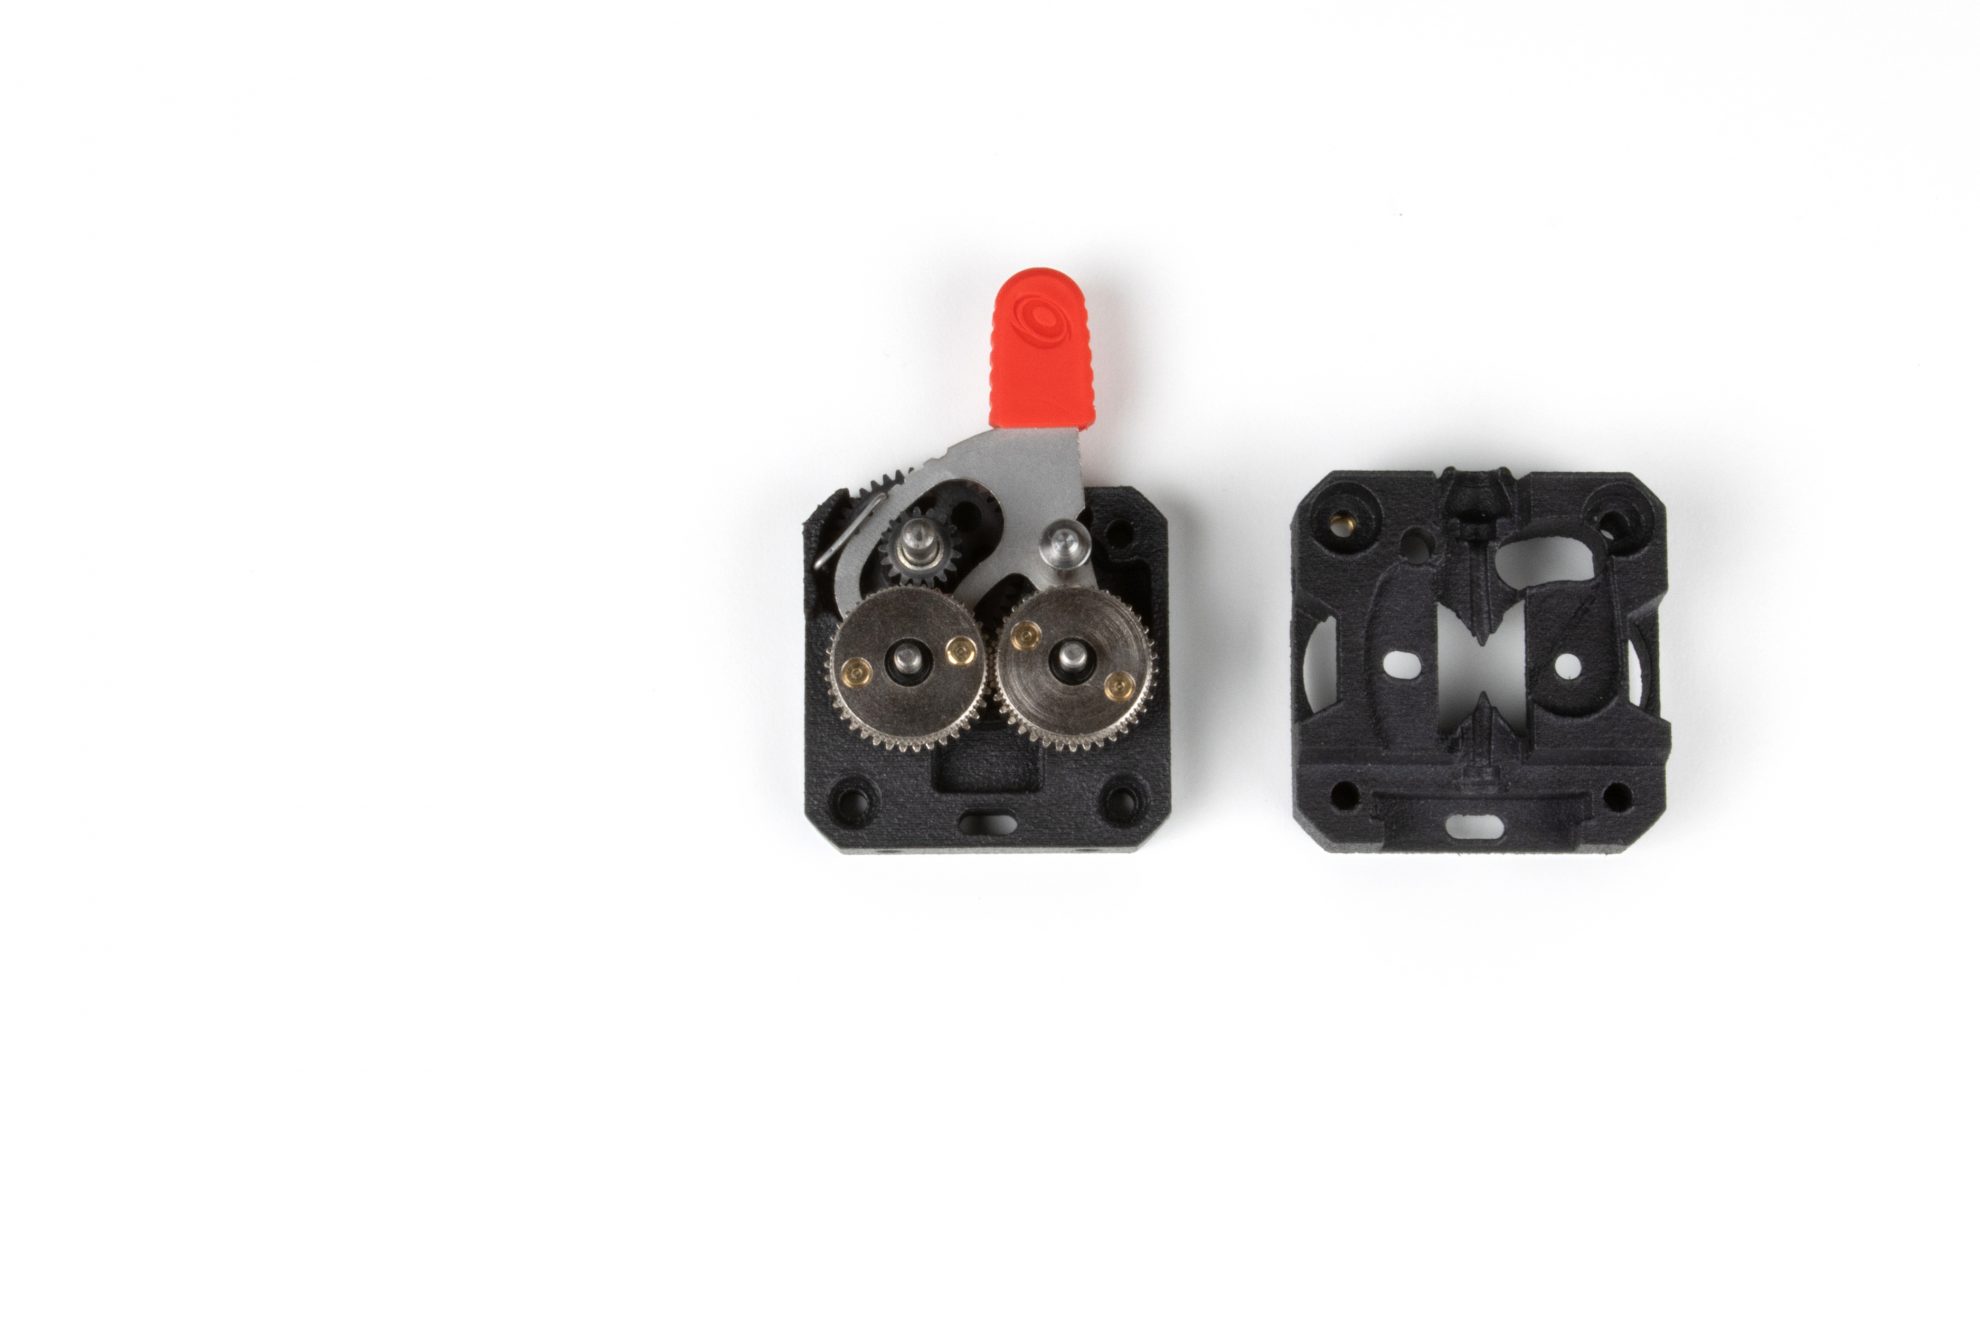
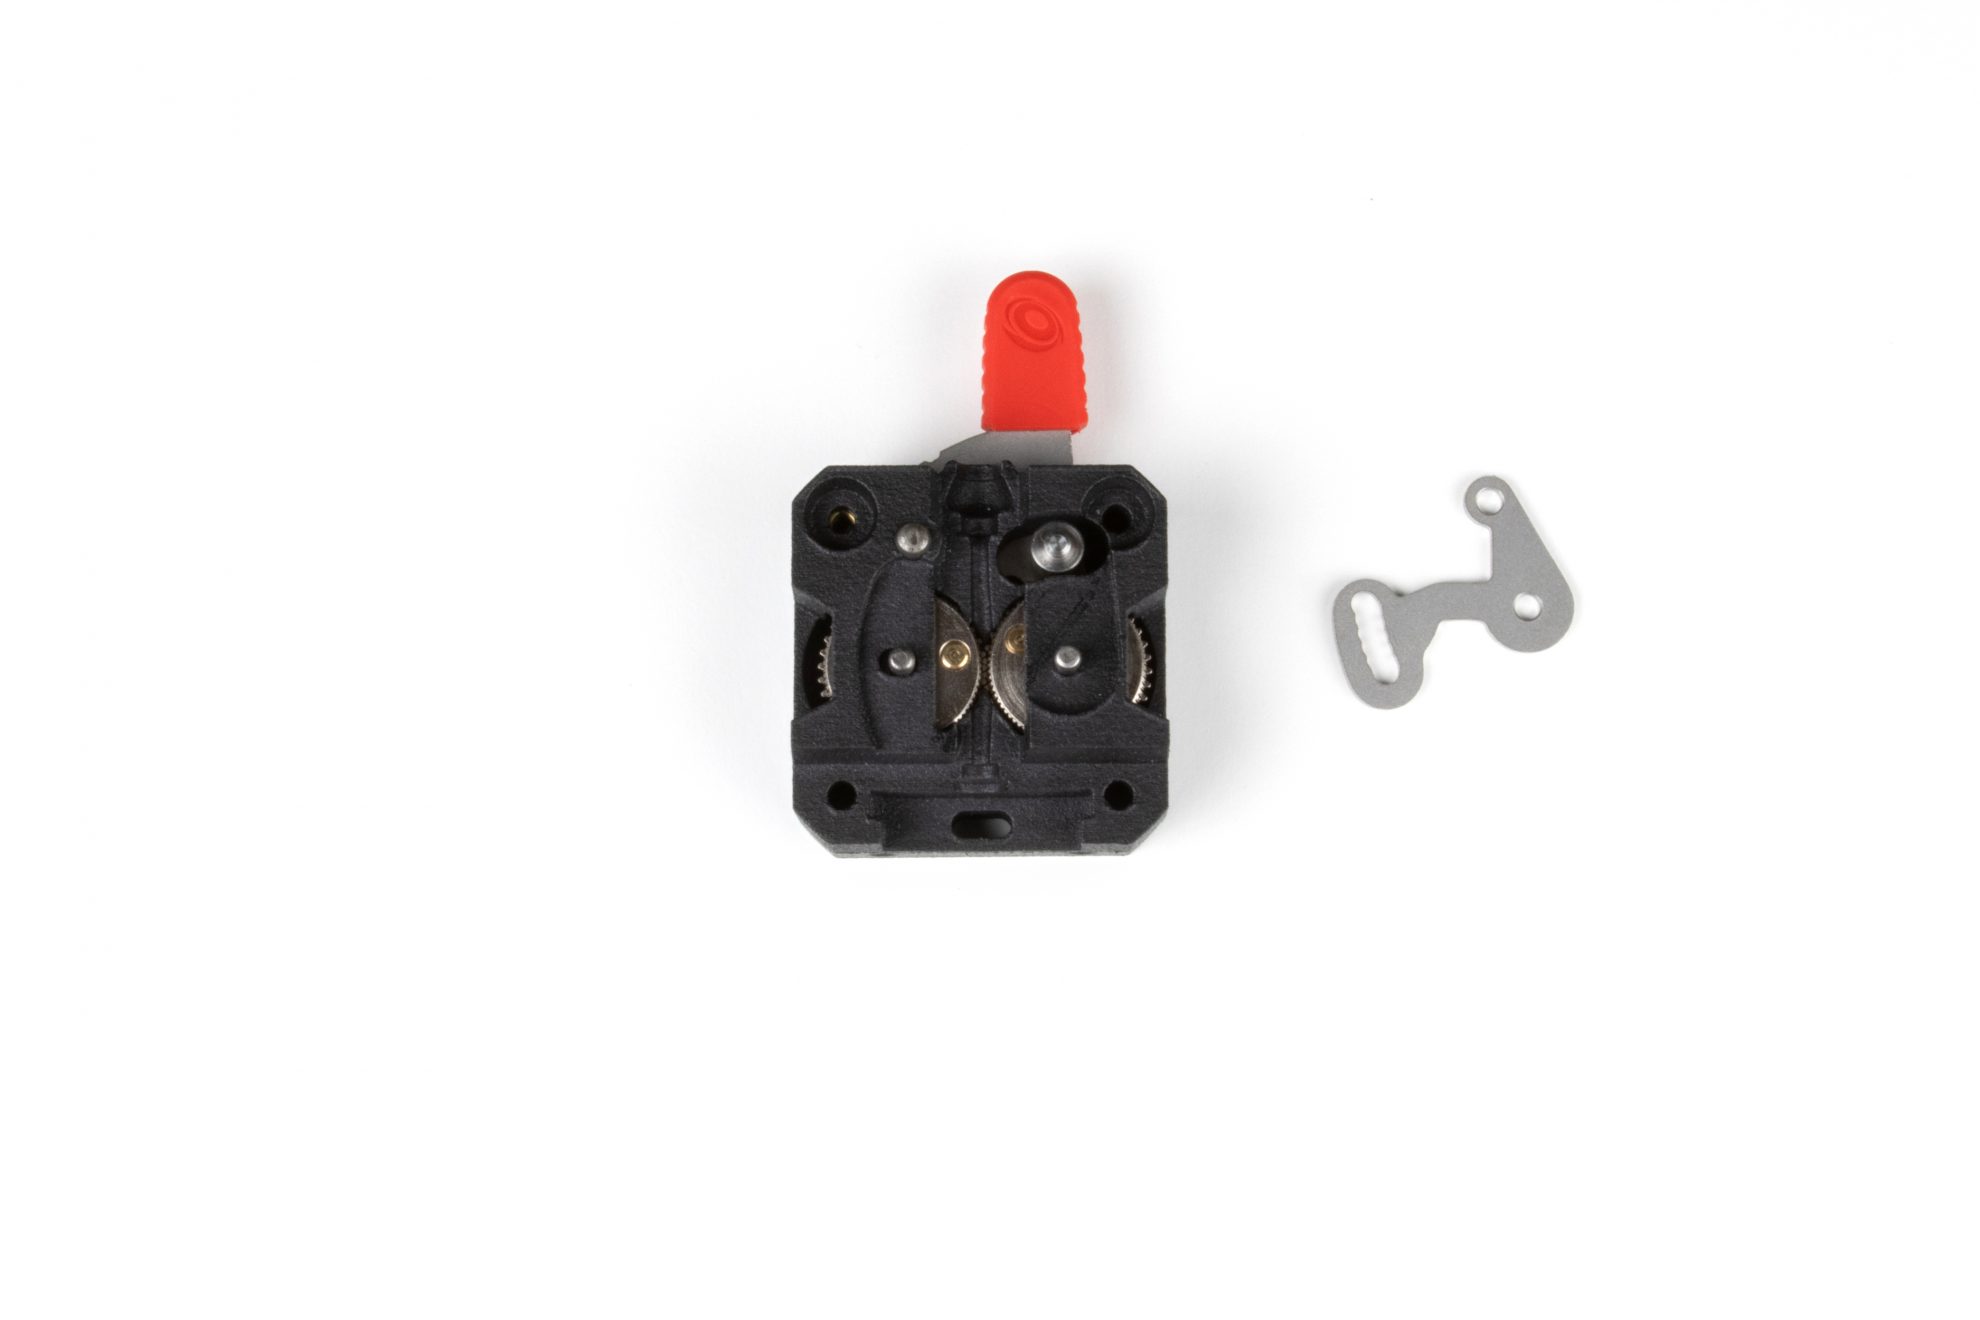
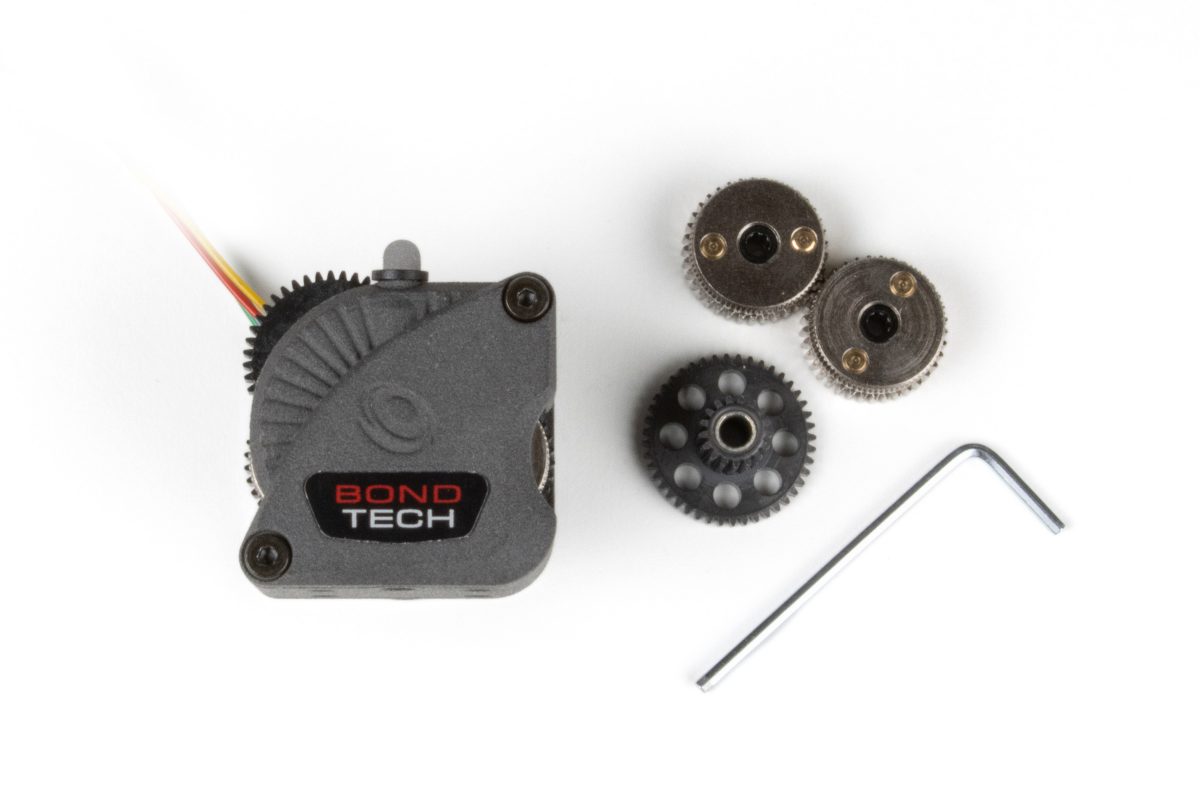
Replace the Plastic Drive Train with the Steel Drive Train
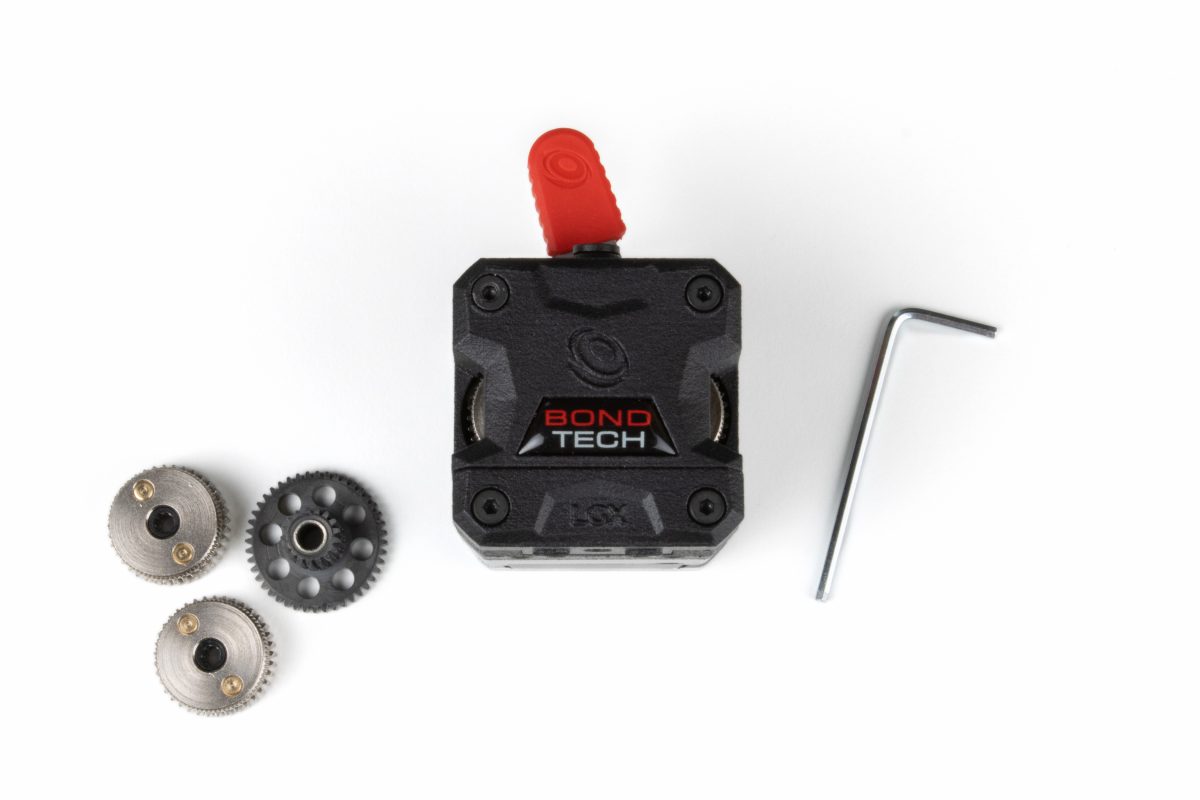
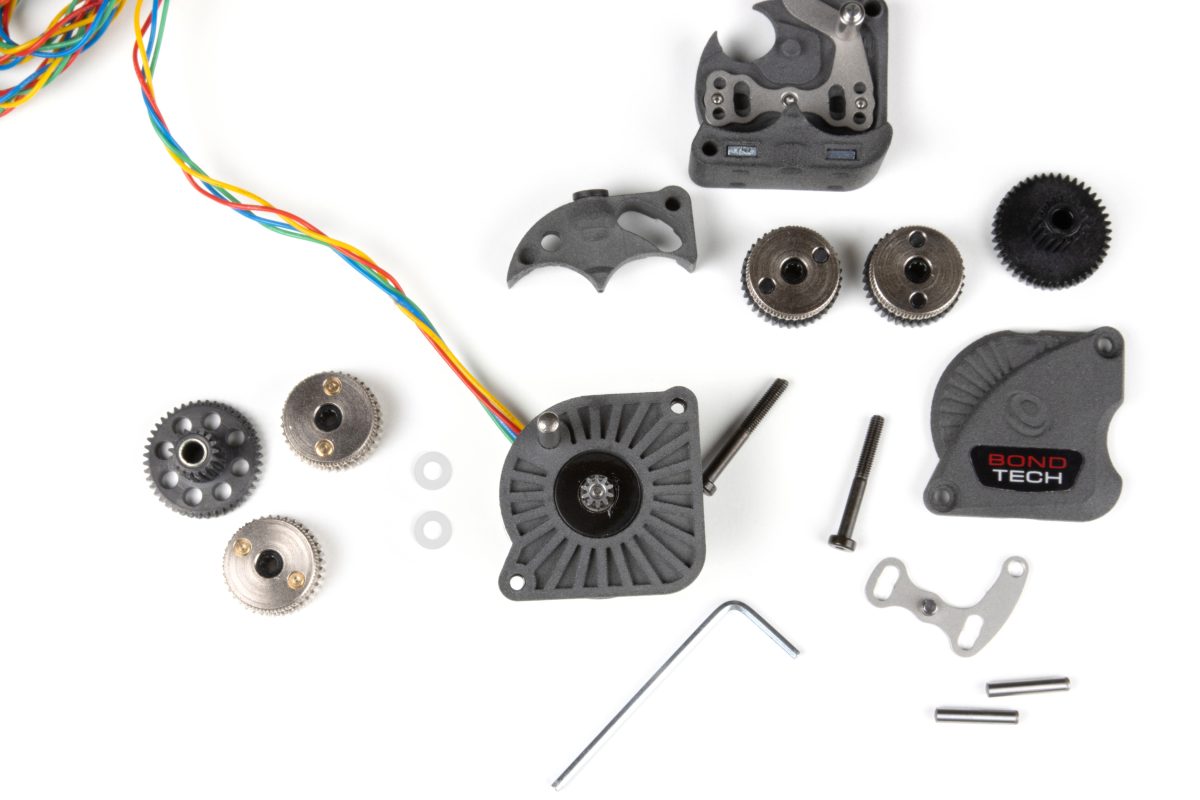
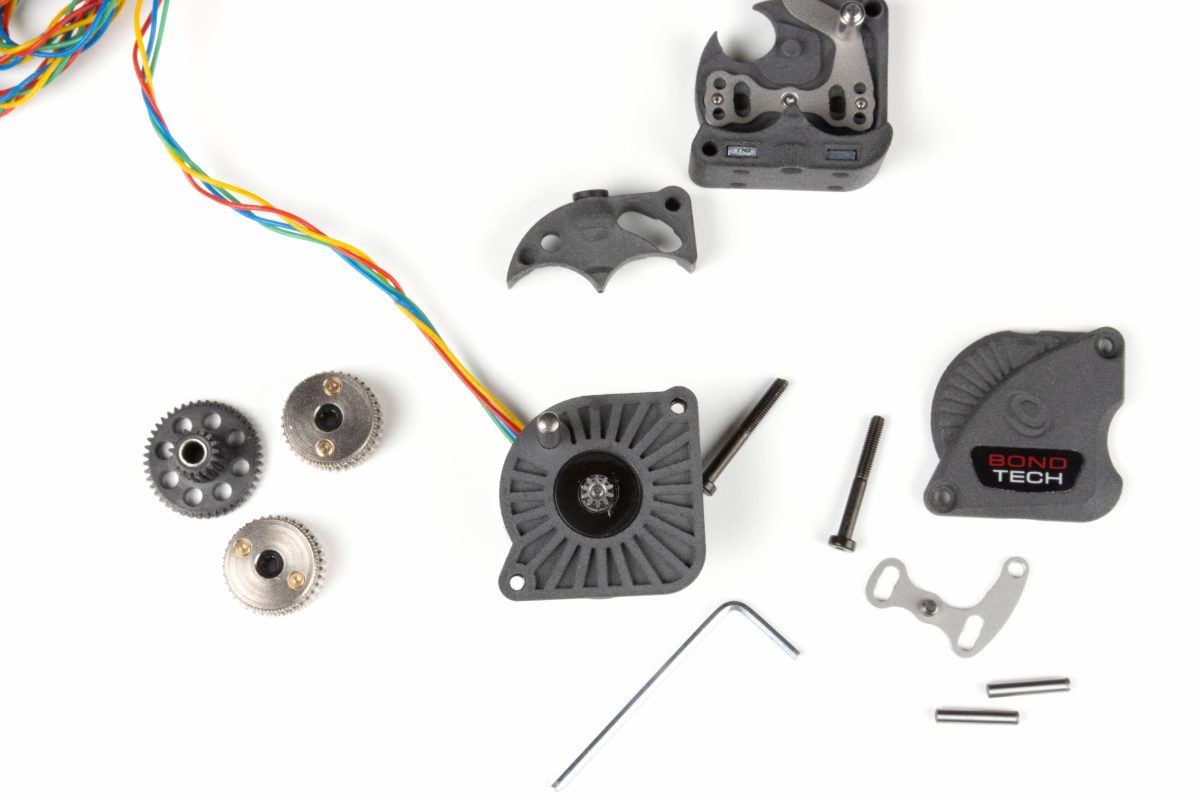
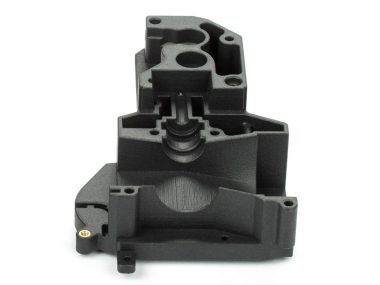
Before continuing check you have all the items in these pictures. One missing part is enough not to be able to complete the procedure.
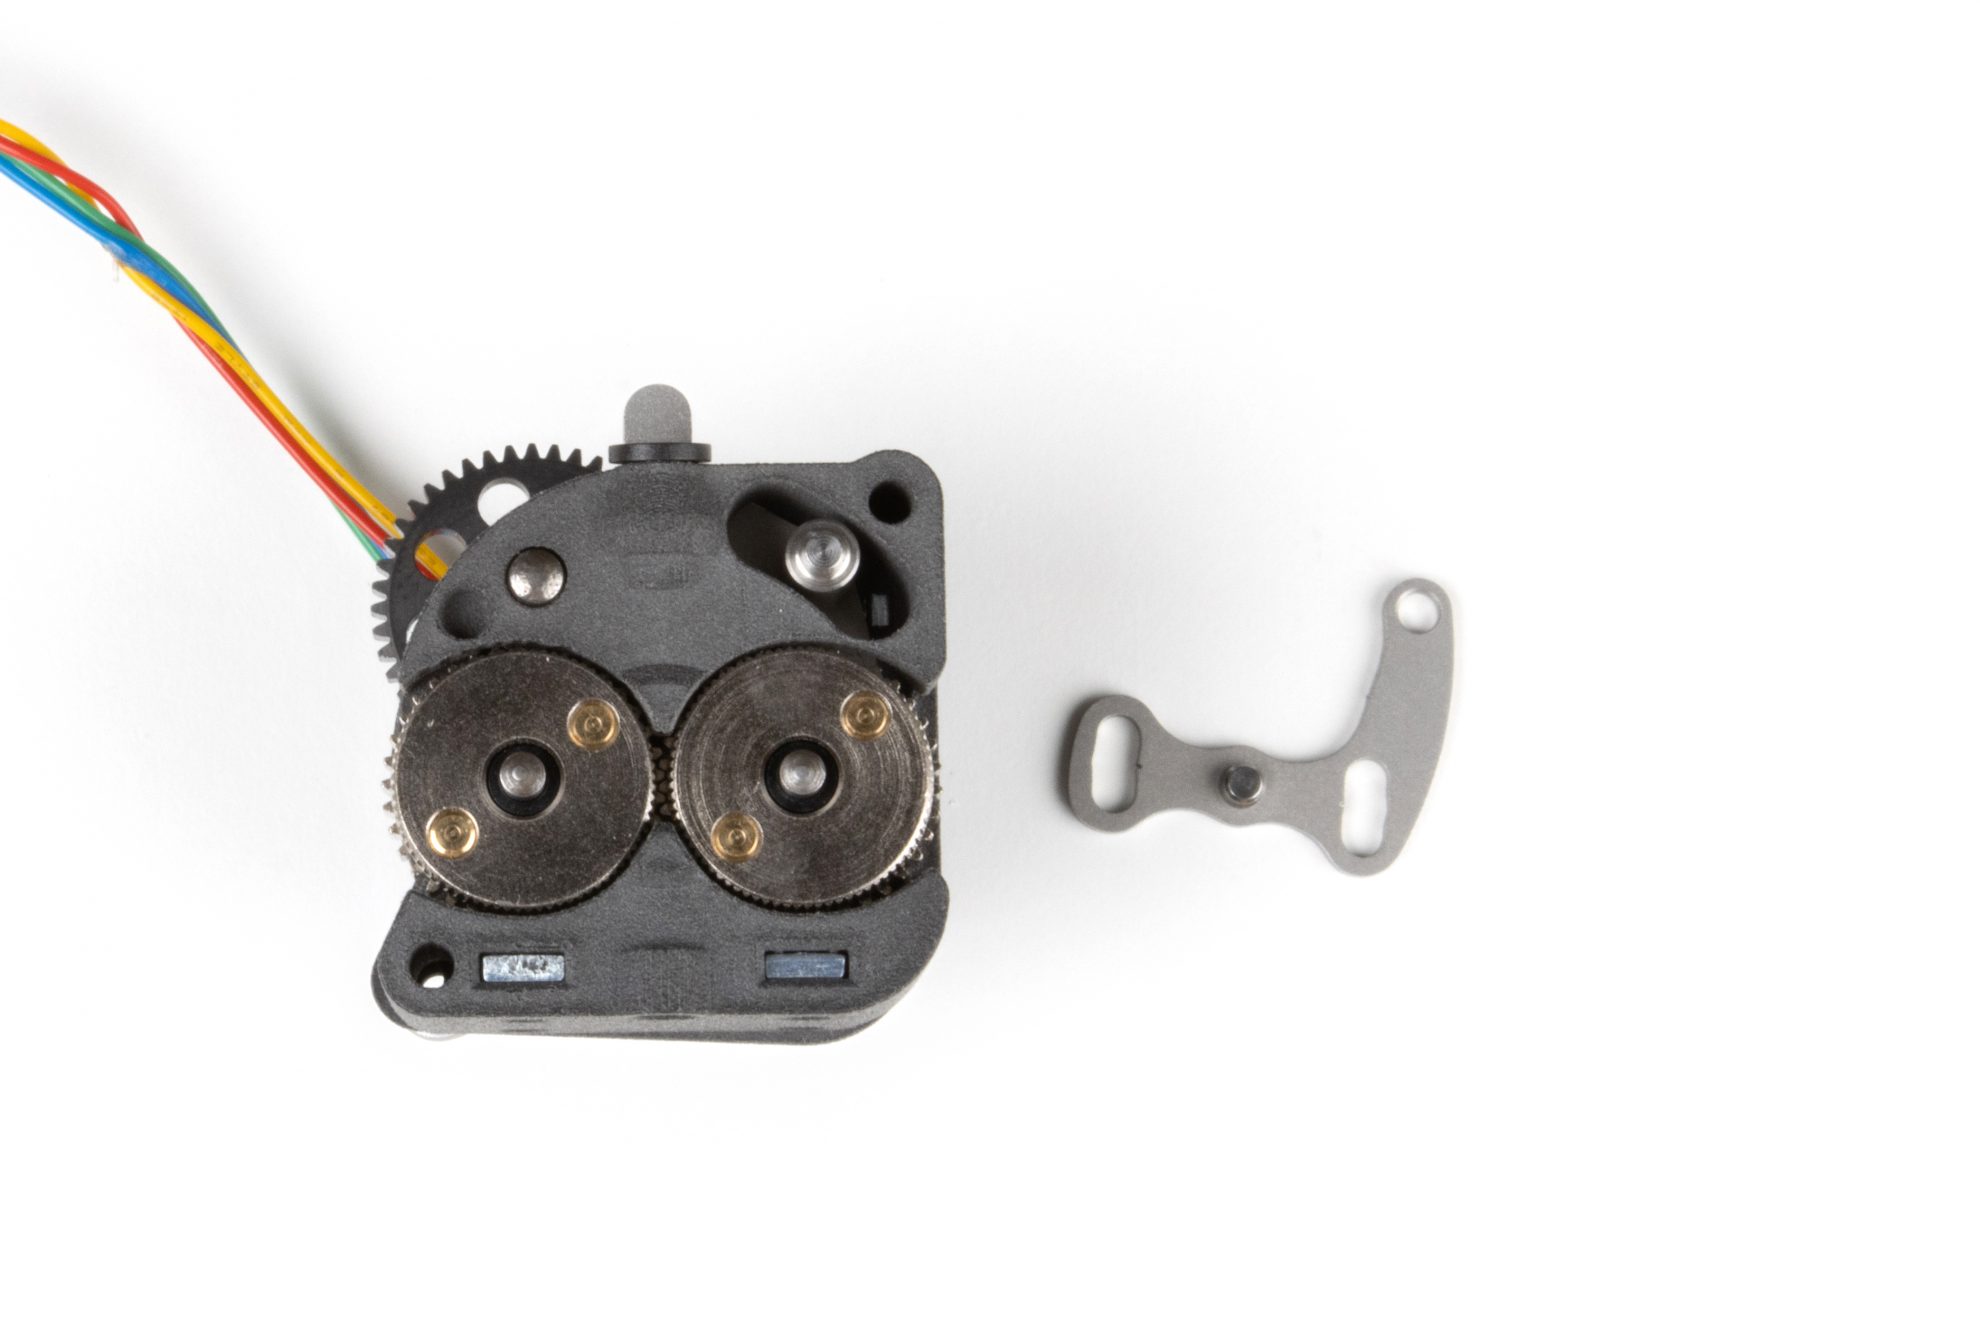
Step 1. Prepare Back Plate and Main Double Gear

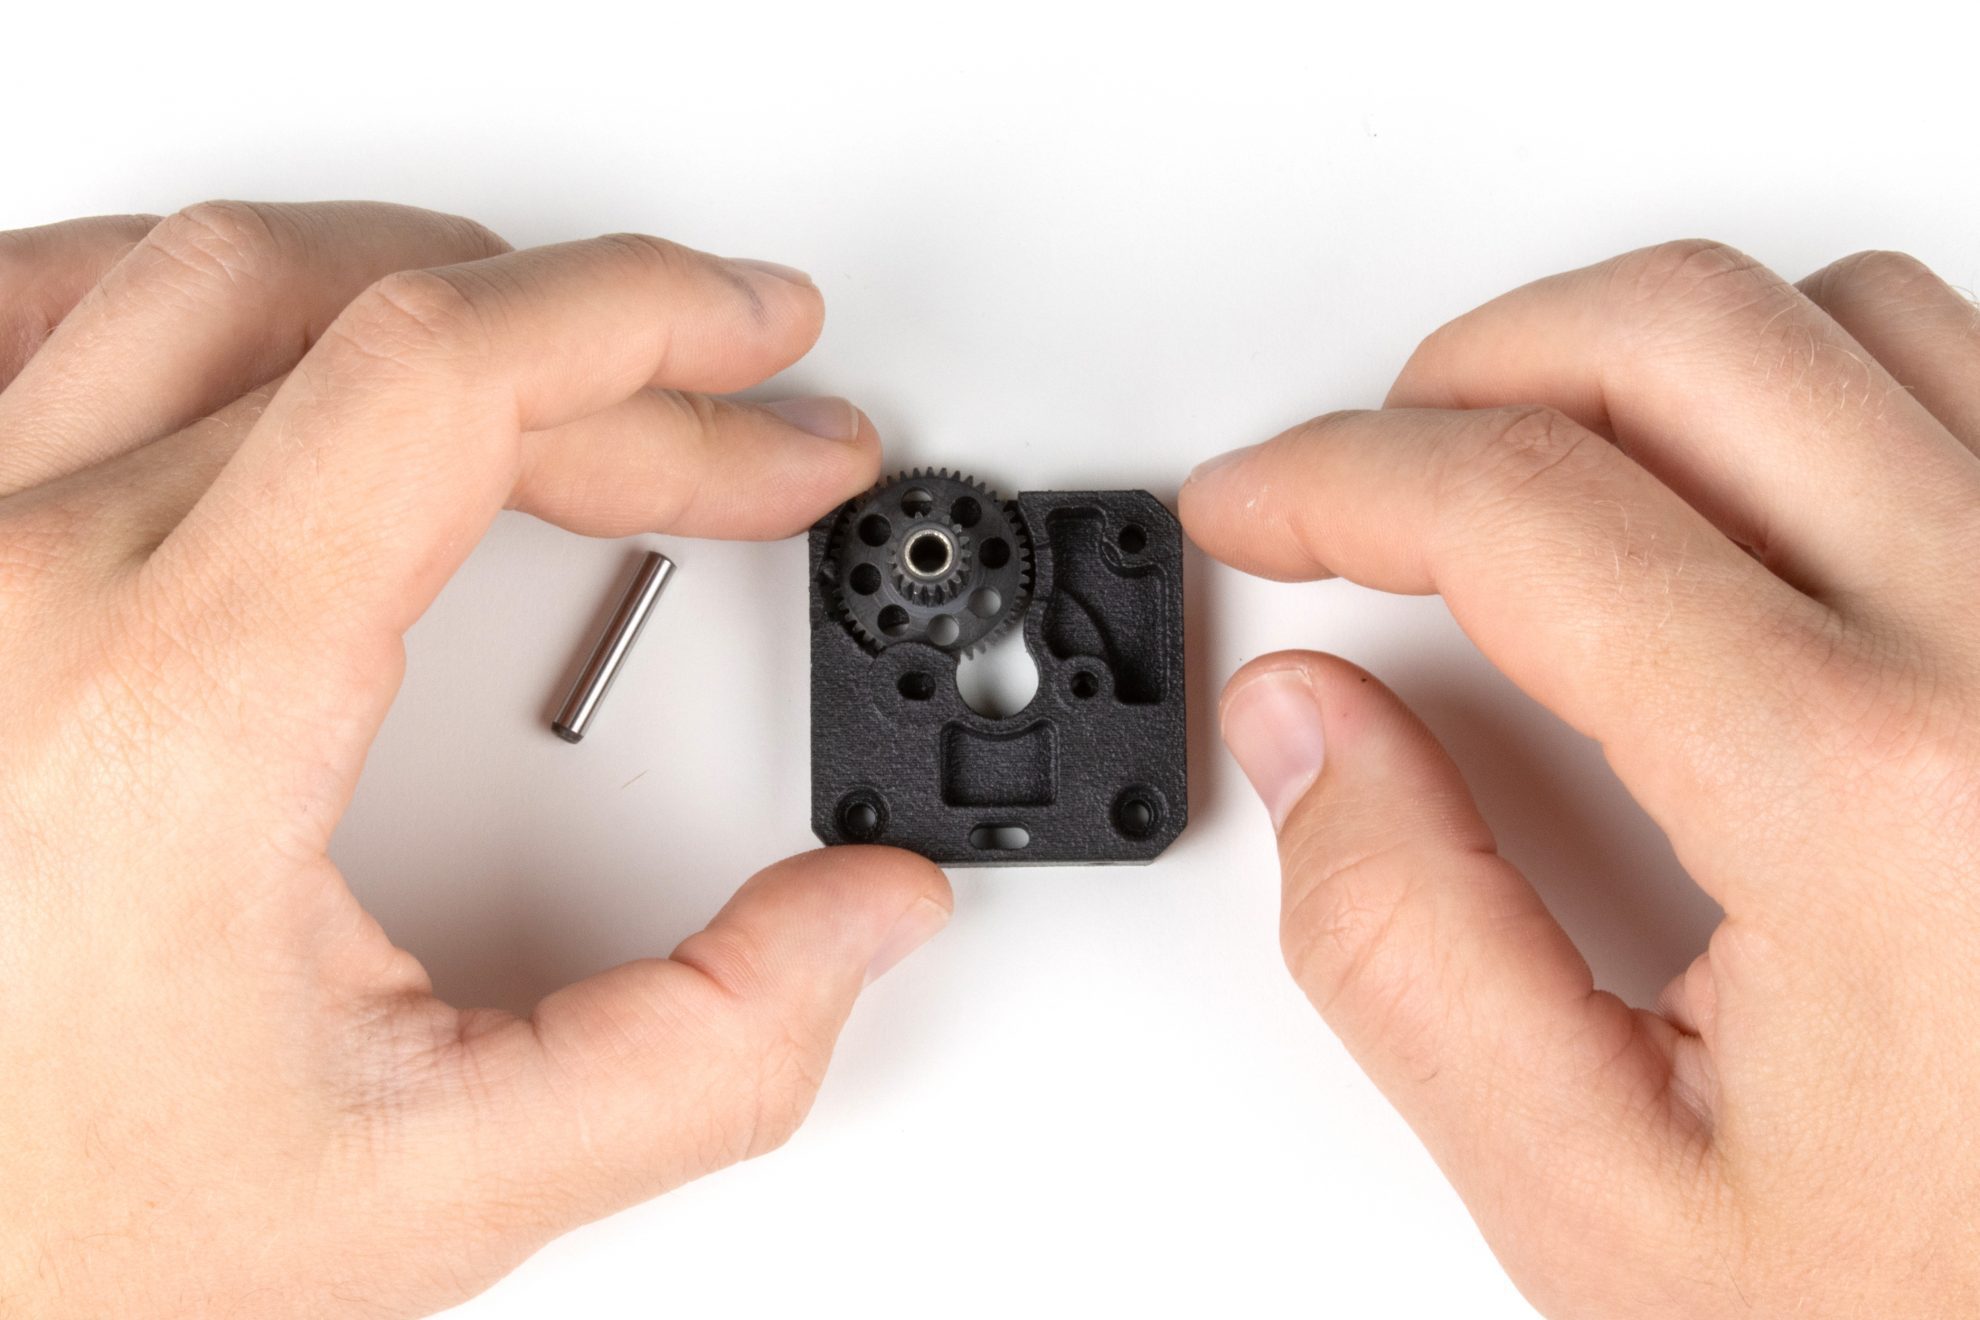

Step 2. Install Drive Gear Shafts and Posterior Pre-tension Lever Plate


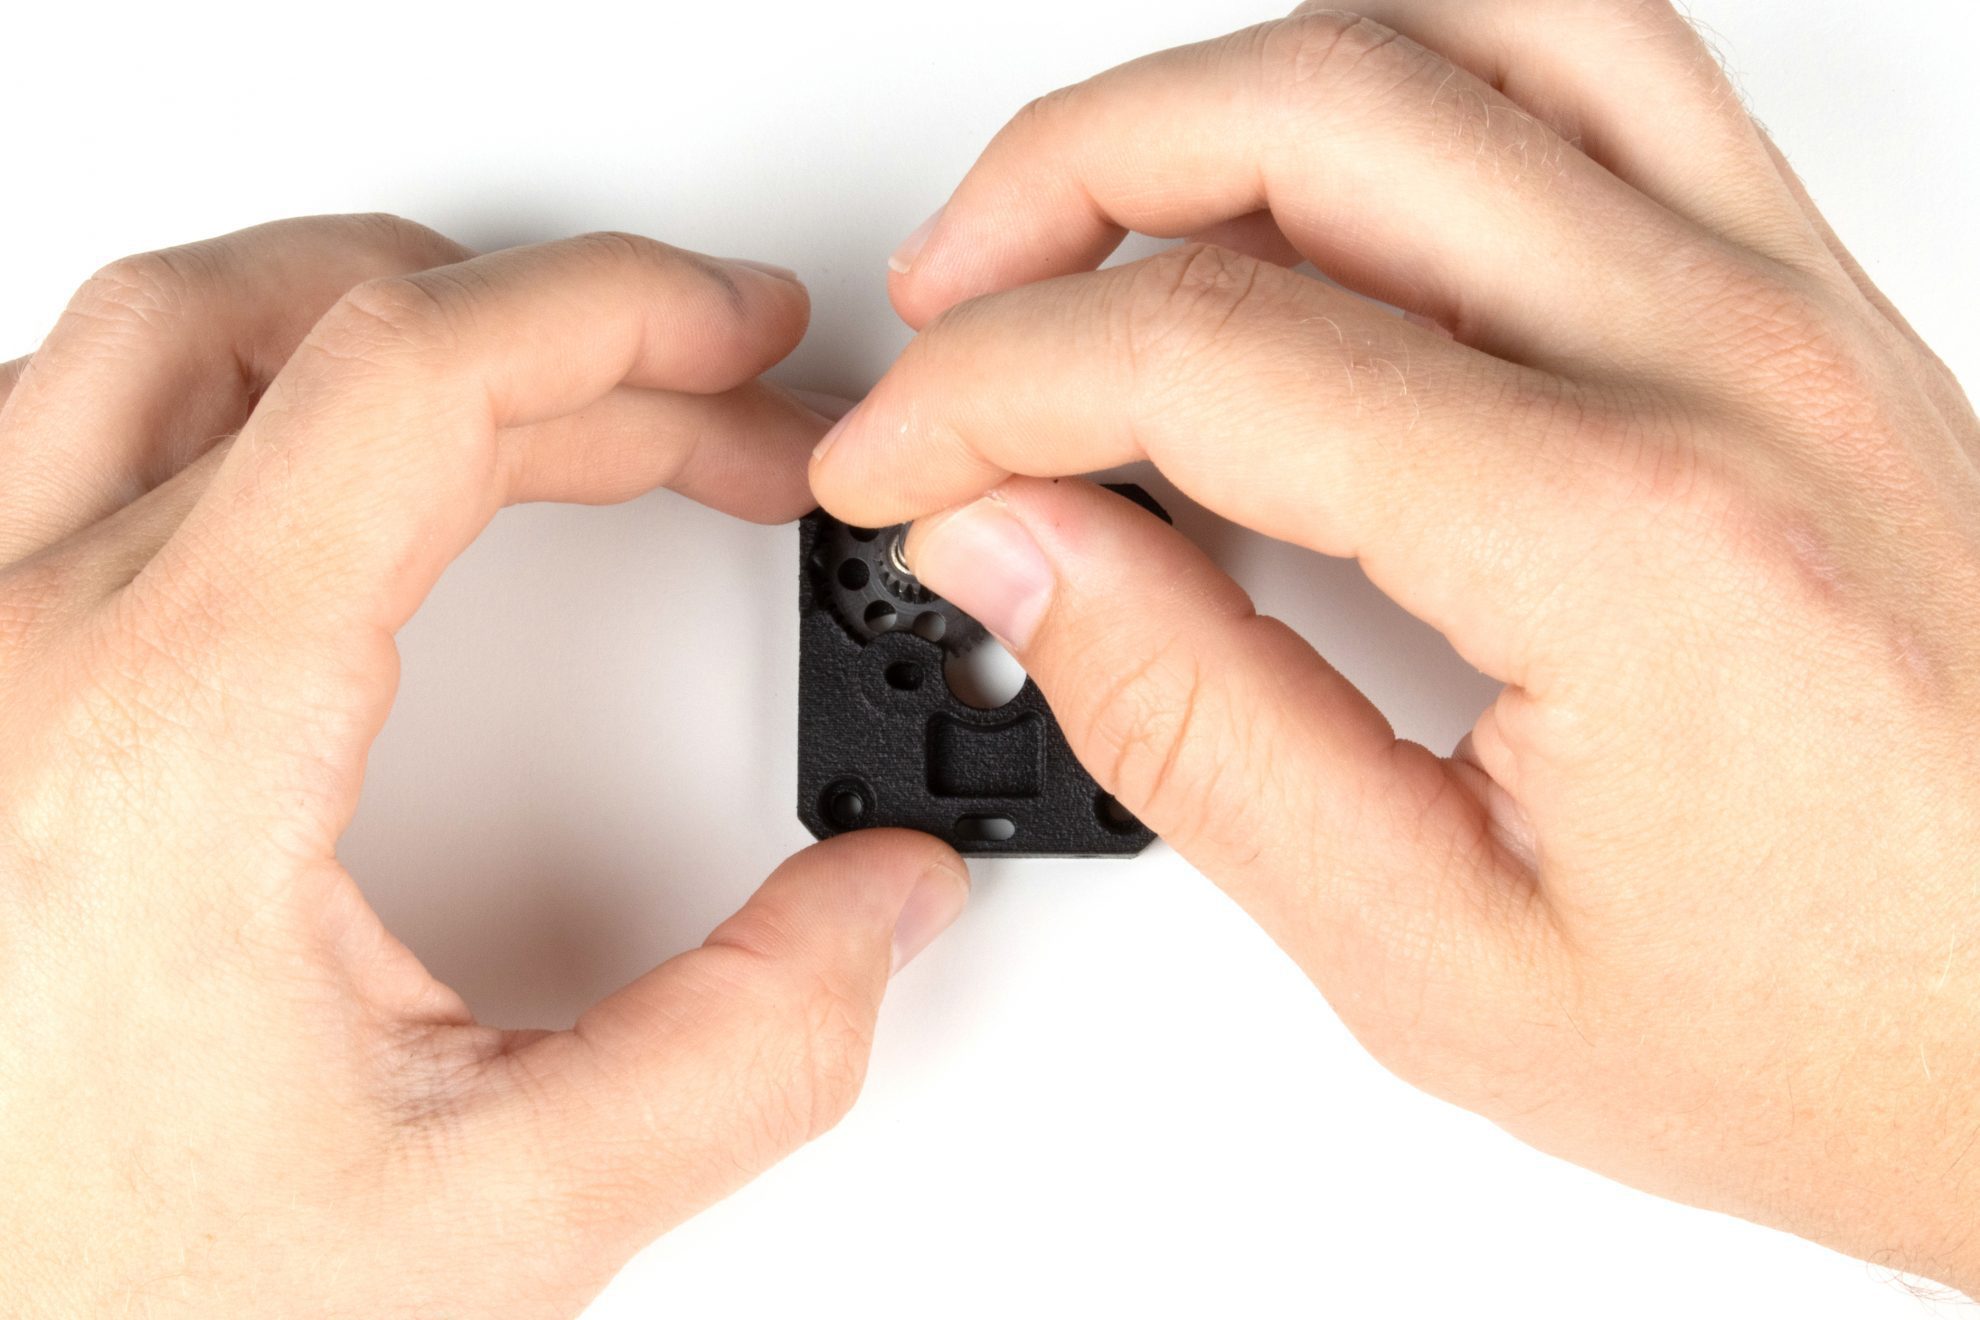
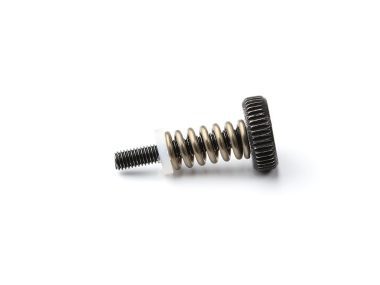
Step 3. Install the Pre-tension Lever Spring (do it slowly as here is where it's harder)


Step 4. Install the Drive Gears and Drive Wheels


Step 5. Install the Housing Mid Section


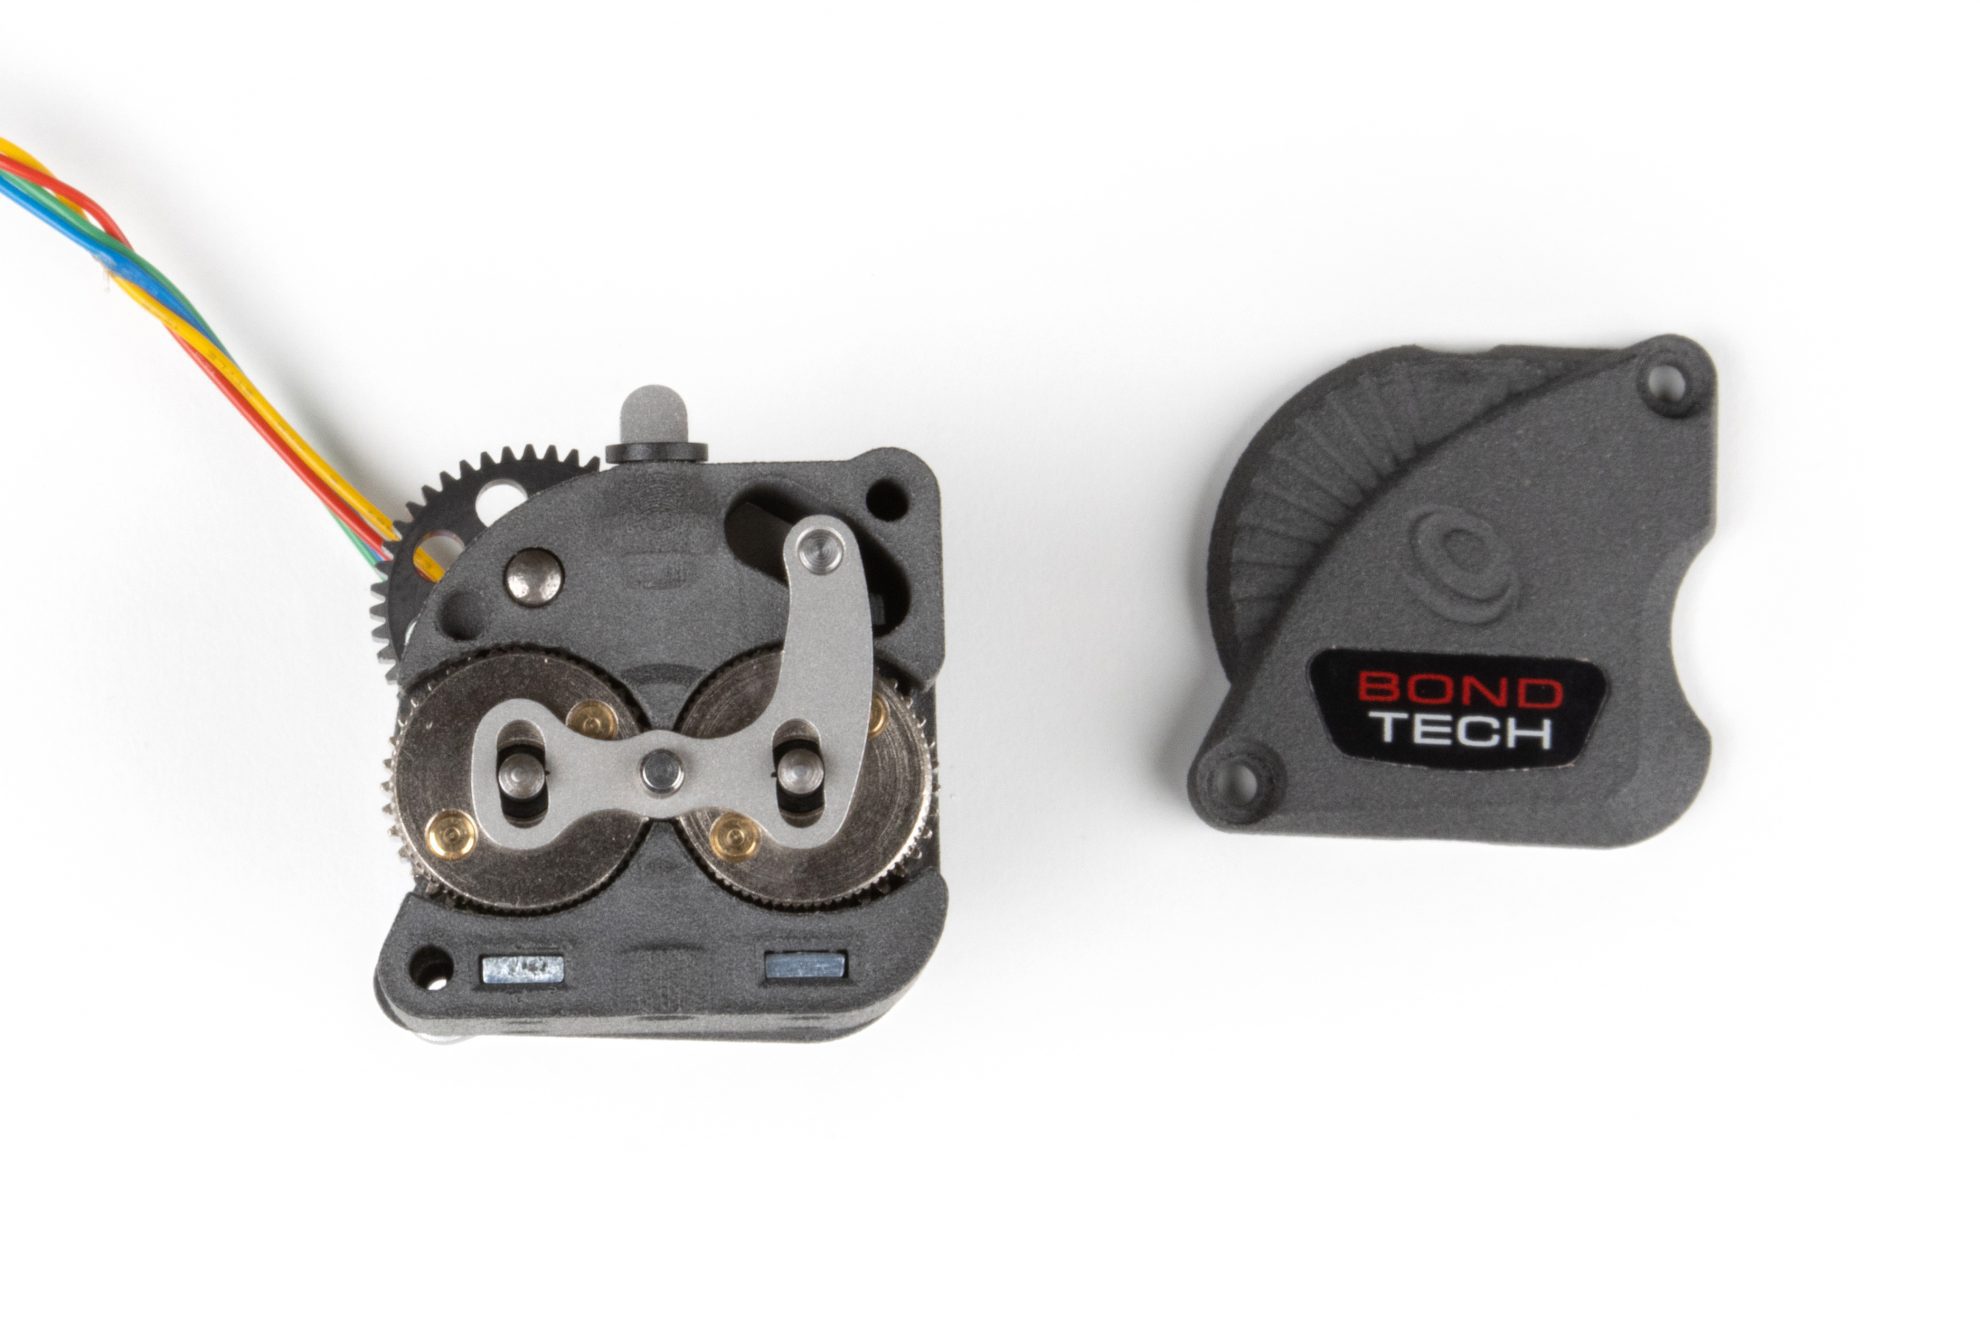
Step 6. Install the Anterior Pre-tension Lever plate


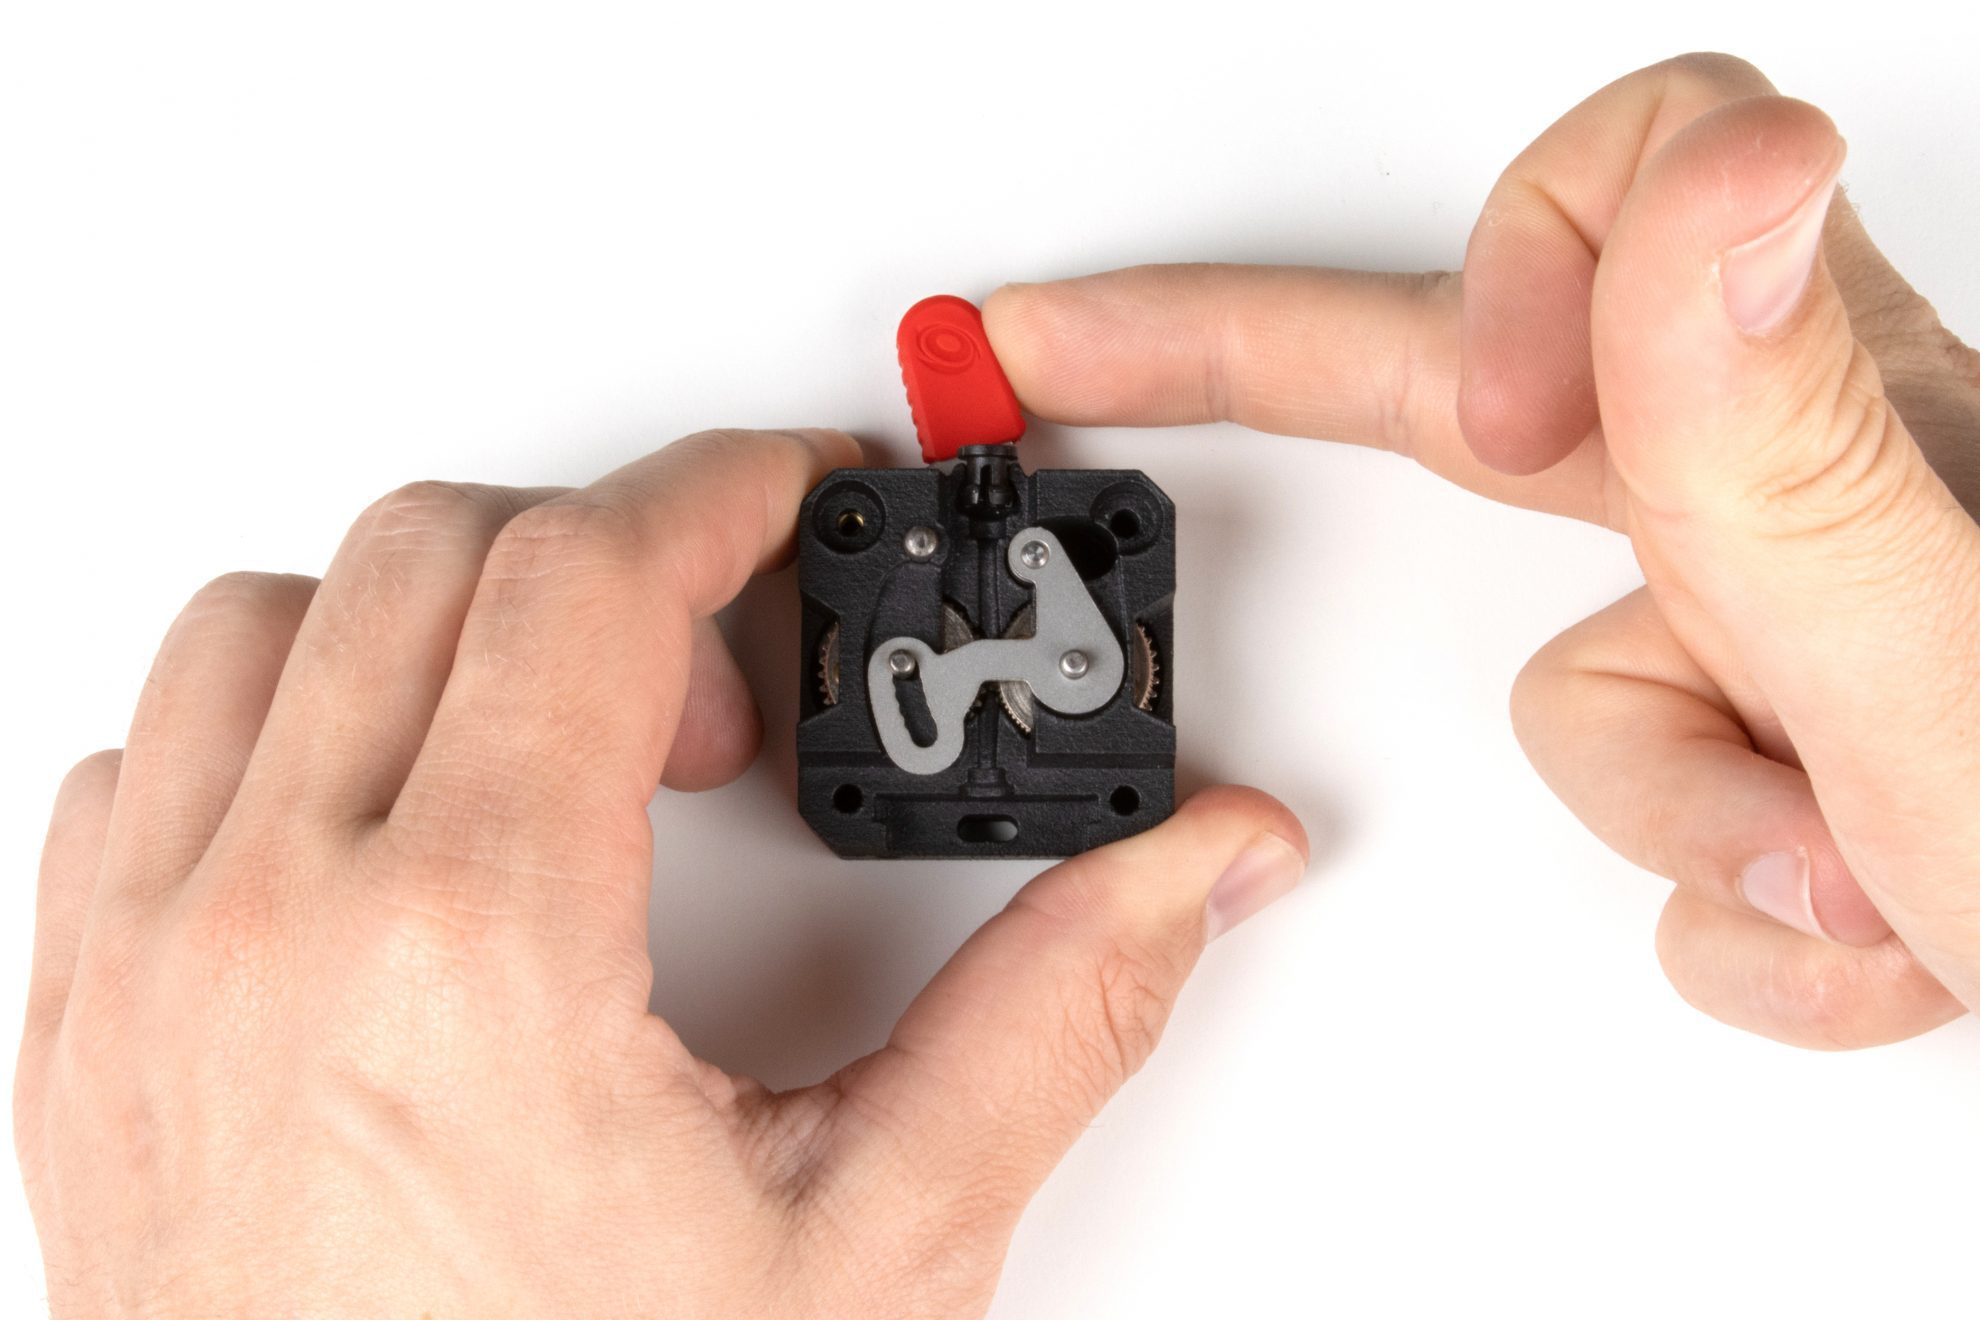
Step 7. Install the Collet and reposition the Lever Arm


Step 8. Install the Front Plate


Step 9. Install the Interface Plug


Step 10. Install the Stepper Motor

Step 11. Finish Assembling the LGX Extruder


How To Install On LGX Lite
Installing the LGX Steel Drive Train on the LGX Lite
The guide below shows how to install the LGX Steel Drive Train on the LGX Lite extruder.
The whole process is divided into 2 stages. Click each tab arrow below to reveal the steps on each stage.
You will need a LGX Lite extruder, the LGX hex key, and the LGX Steel Drive Train to perform this installation.
Step 1. Remove the Front Plate


Step 2. Detach the Anterior Pre-tension Lever Plate


Step 3. Remove the Top Mid Housing and Drive Gears/Drive Wheels Shafts


Step 4. Remove the Plastic Drive Gears/Drive Wheels Sets


Step 5. Remove the Plastic Main Double Gear
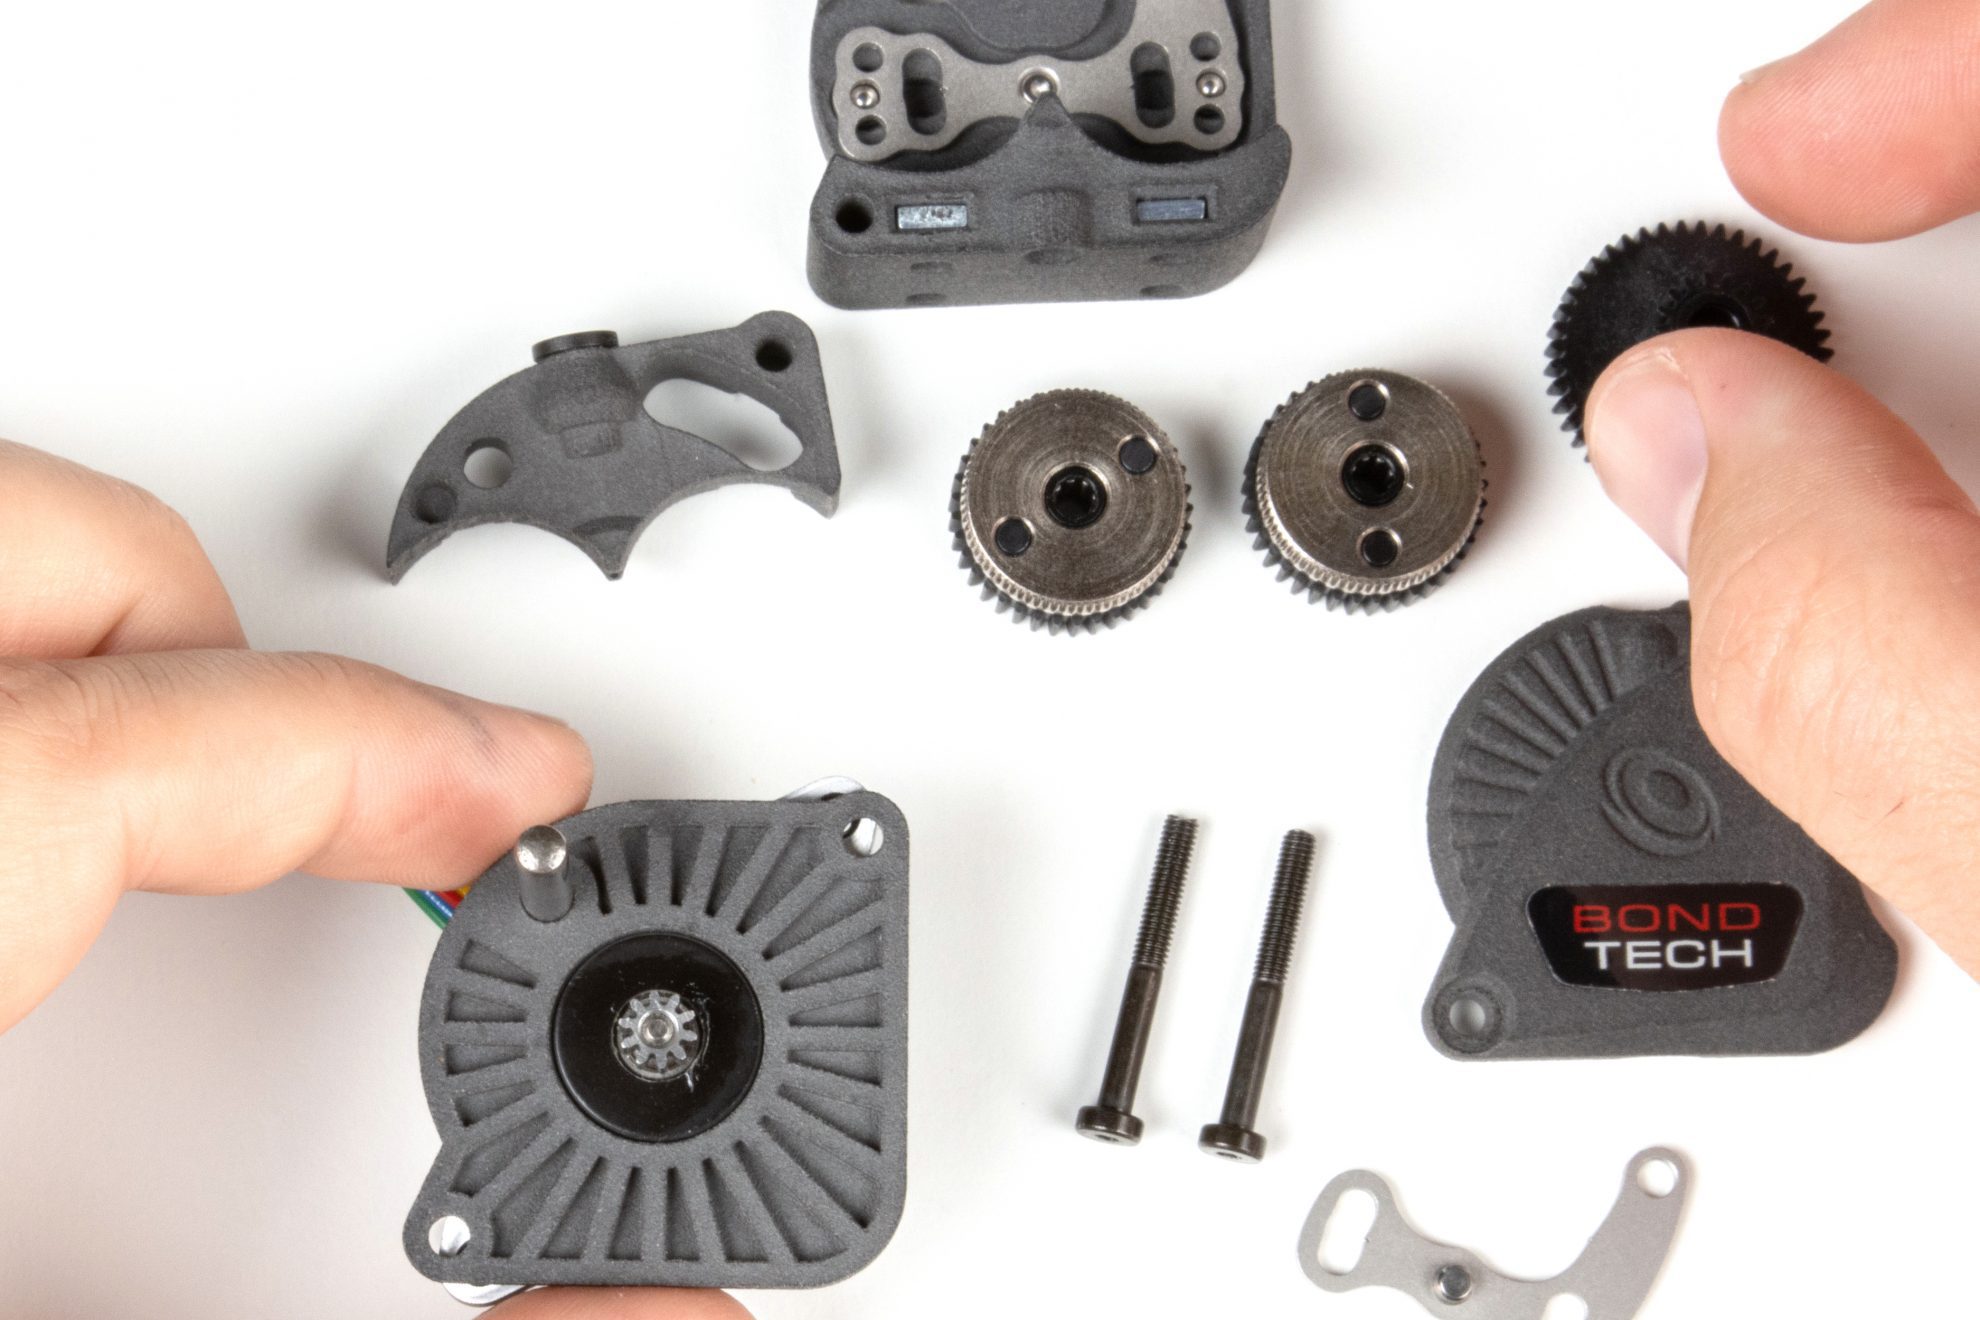
Replace the Plastic Drive Train with the Steel Drive Train
Before continuing check you have all the items in these pictures. One missing part is enough not to be able to complete the procedure.
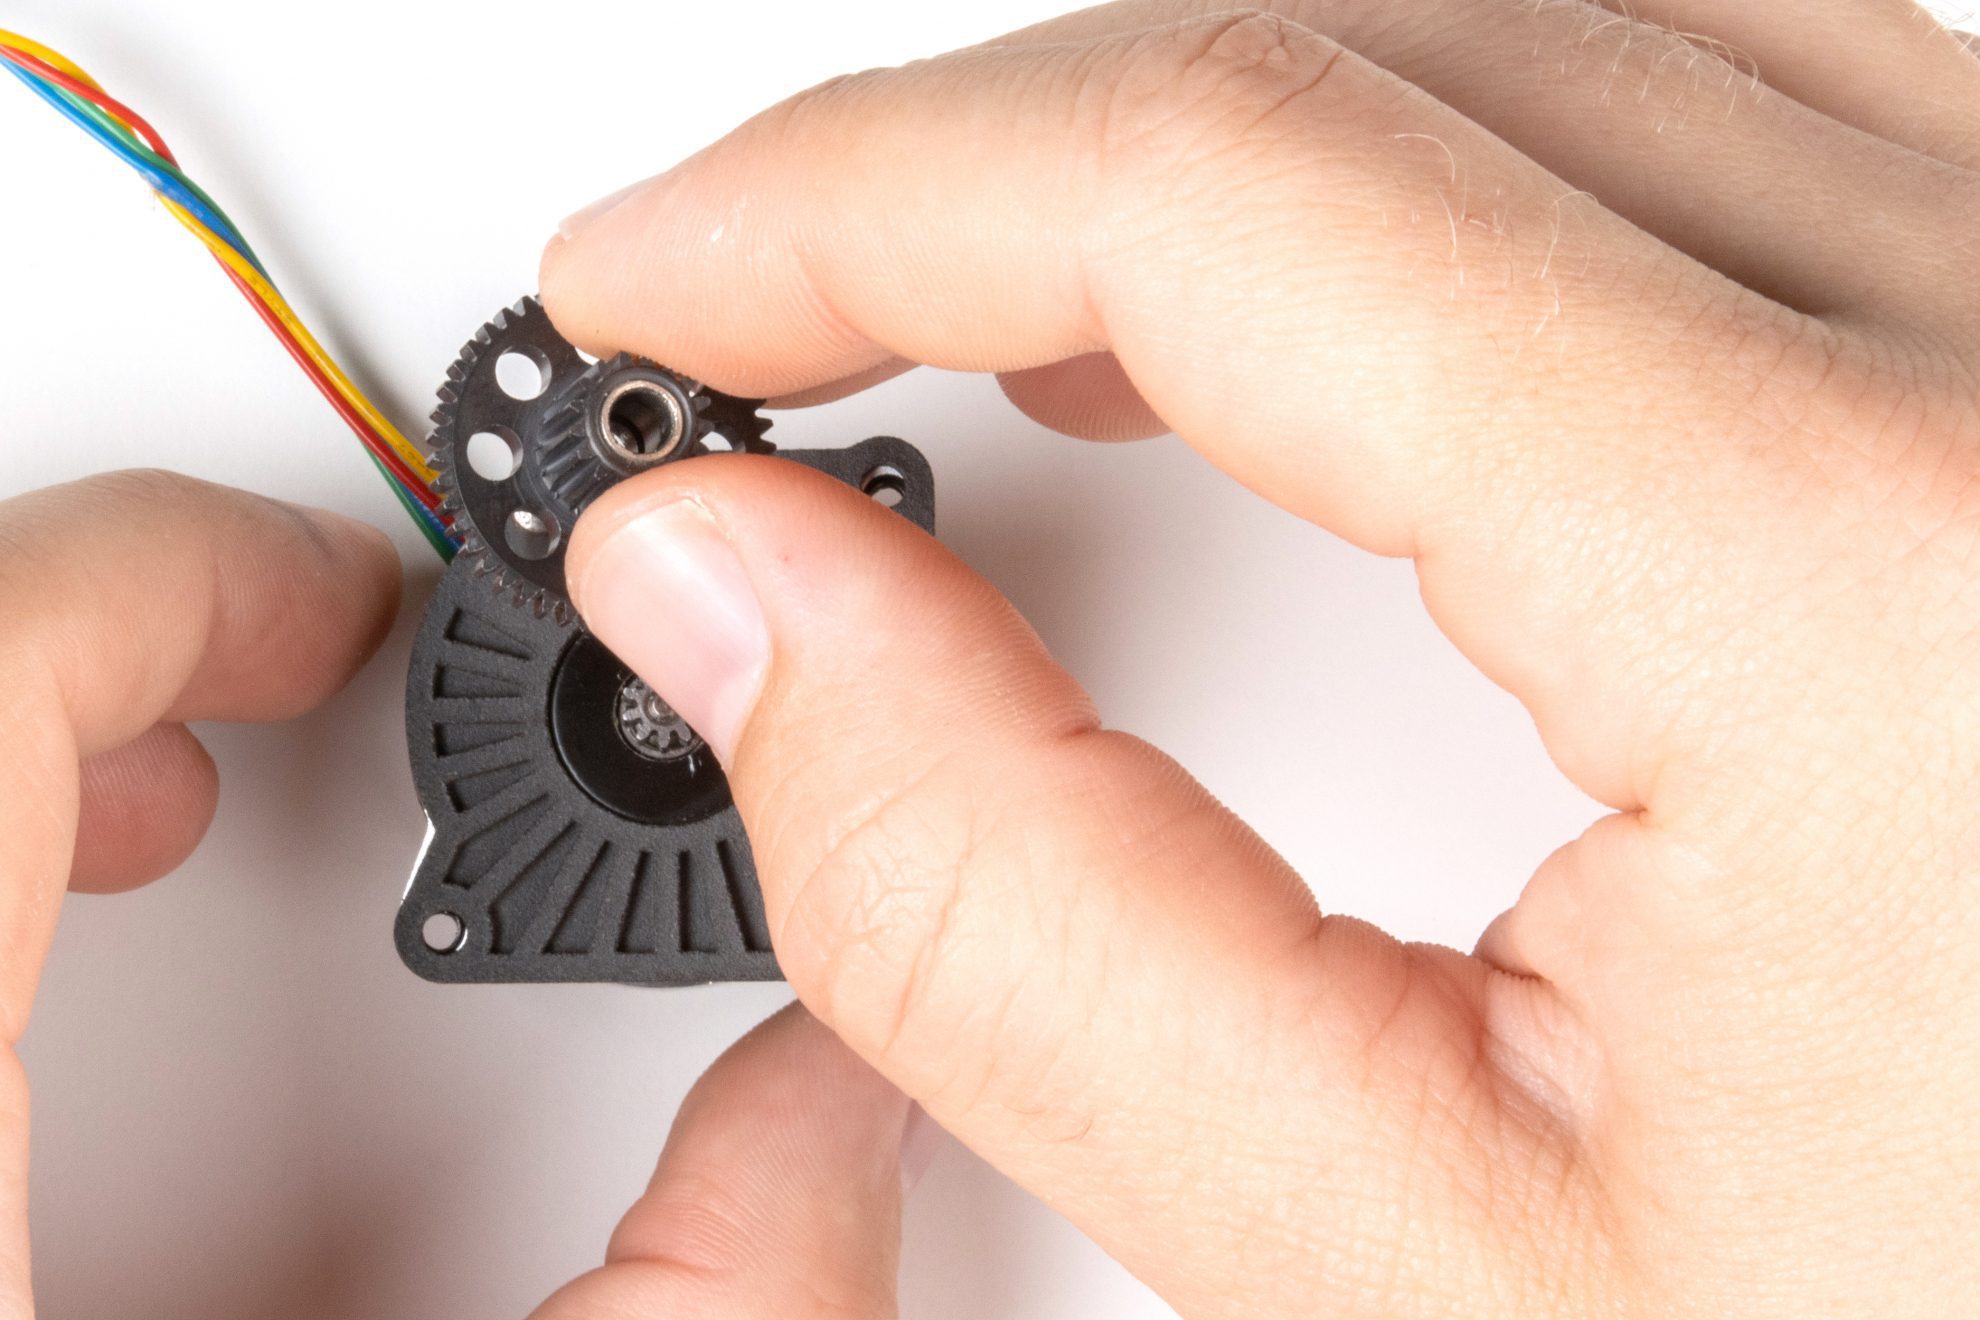
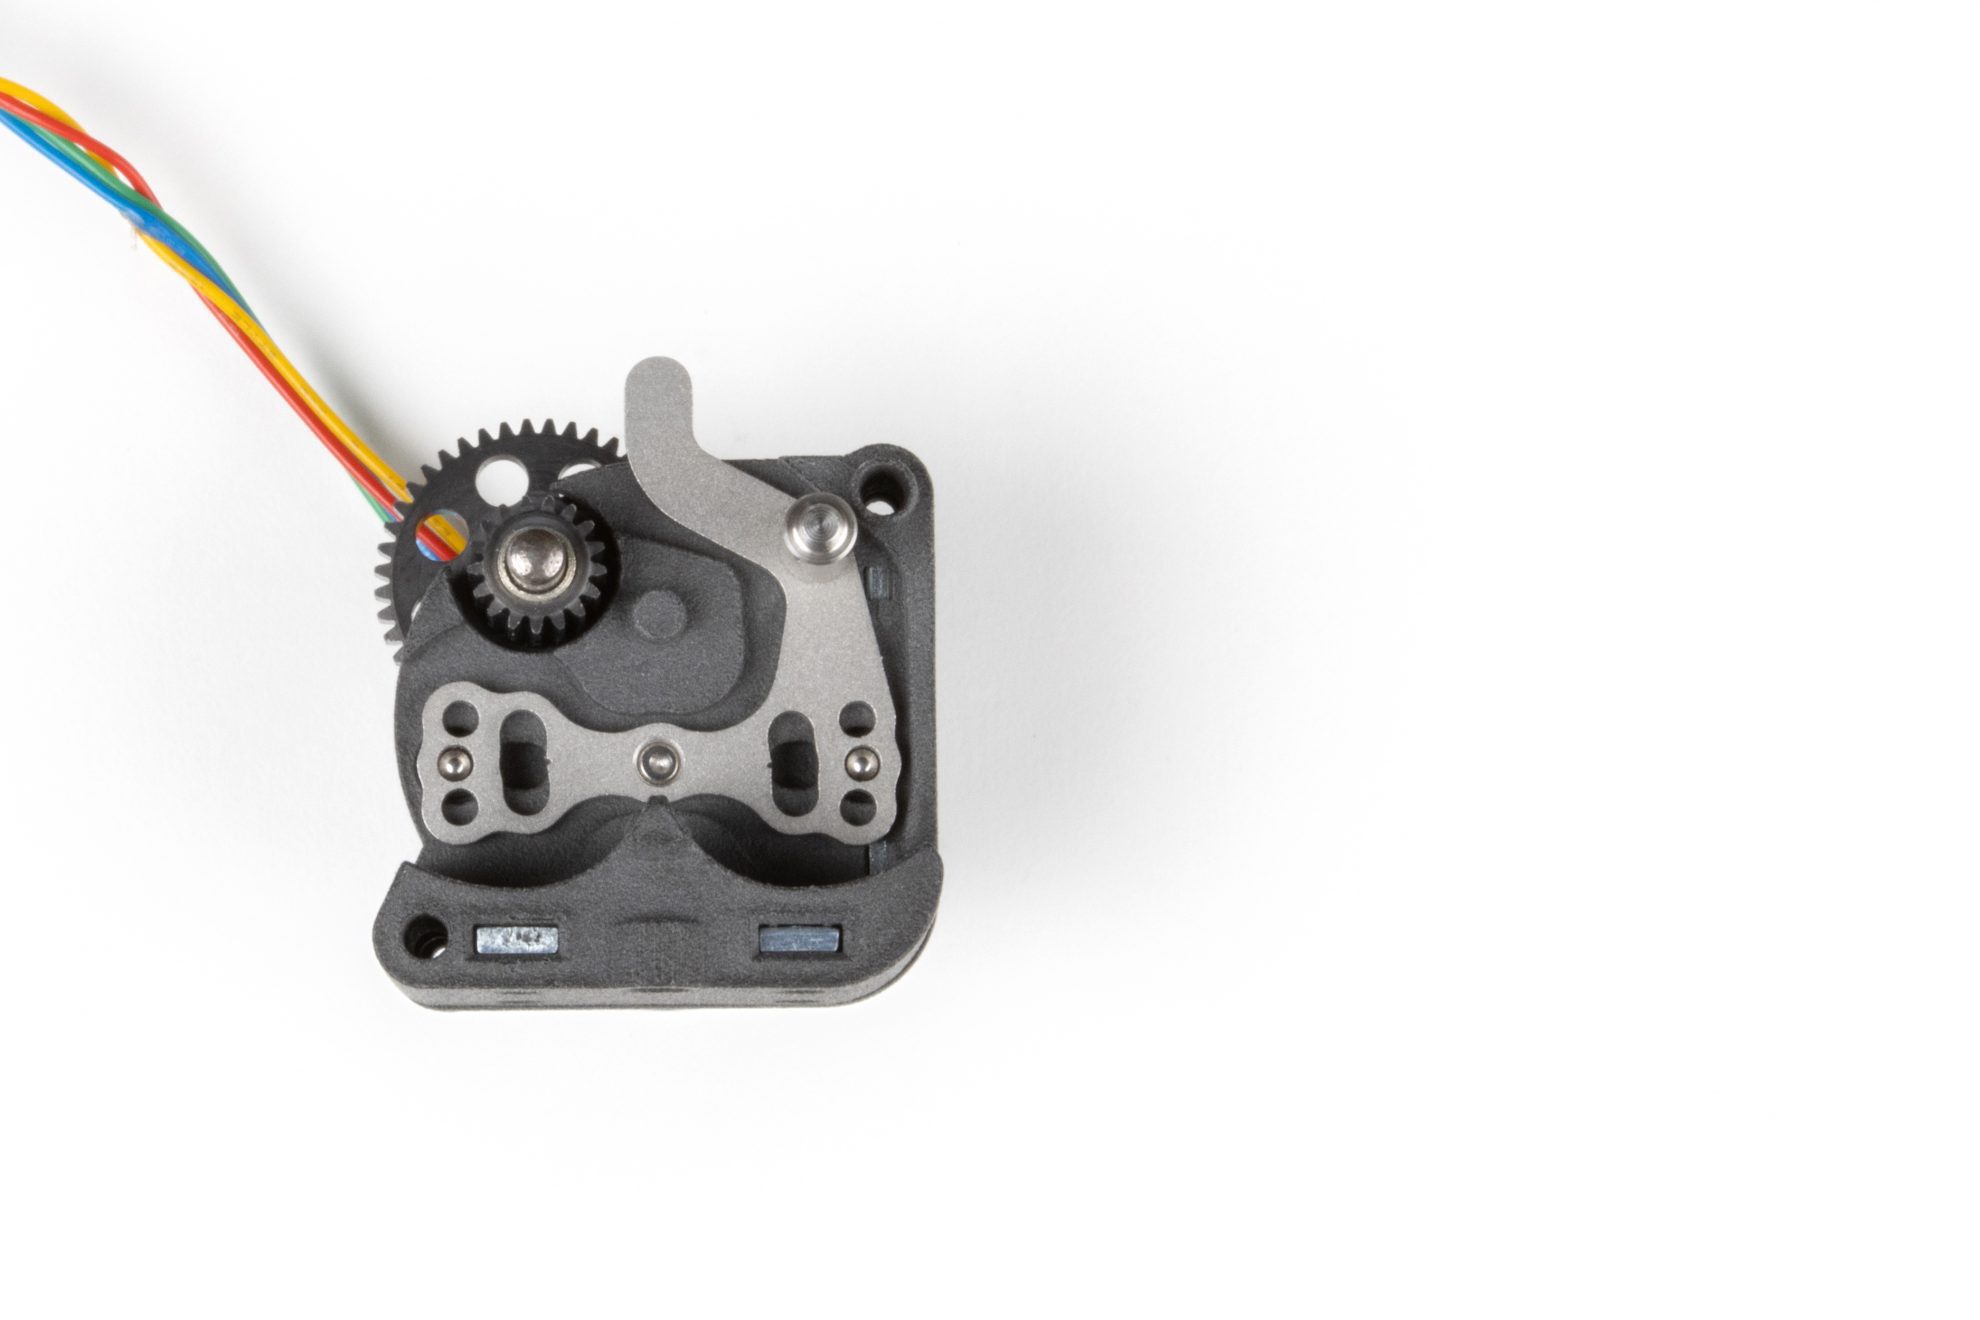
Step 1. Install Steel Main Double Gear


Step 2. Install Mid Housing and Posterior Pre-tension Lever Plate


Step 3. Install Metal Drive Gear/Drive Wheels Washers


Step 4. Install Metal Drive Gear/Drive Wheels Sets


Step 5. Install the Drive Shafts


Step 6. Install the Top Mid Housing


Step 7. Install the Anterior Pre-tension Lever Plate


Step 8. Install the Front Plate


Only logged in customers who have purchased this product may leave a review.
Related products


Reviews
There are no reviews yet.