

Copperhead Heat-break for Prusa Mini


Level-up and solve the heat-creep
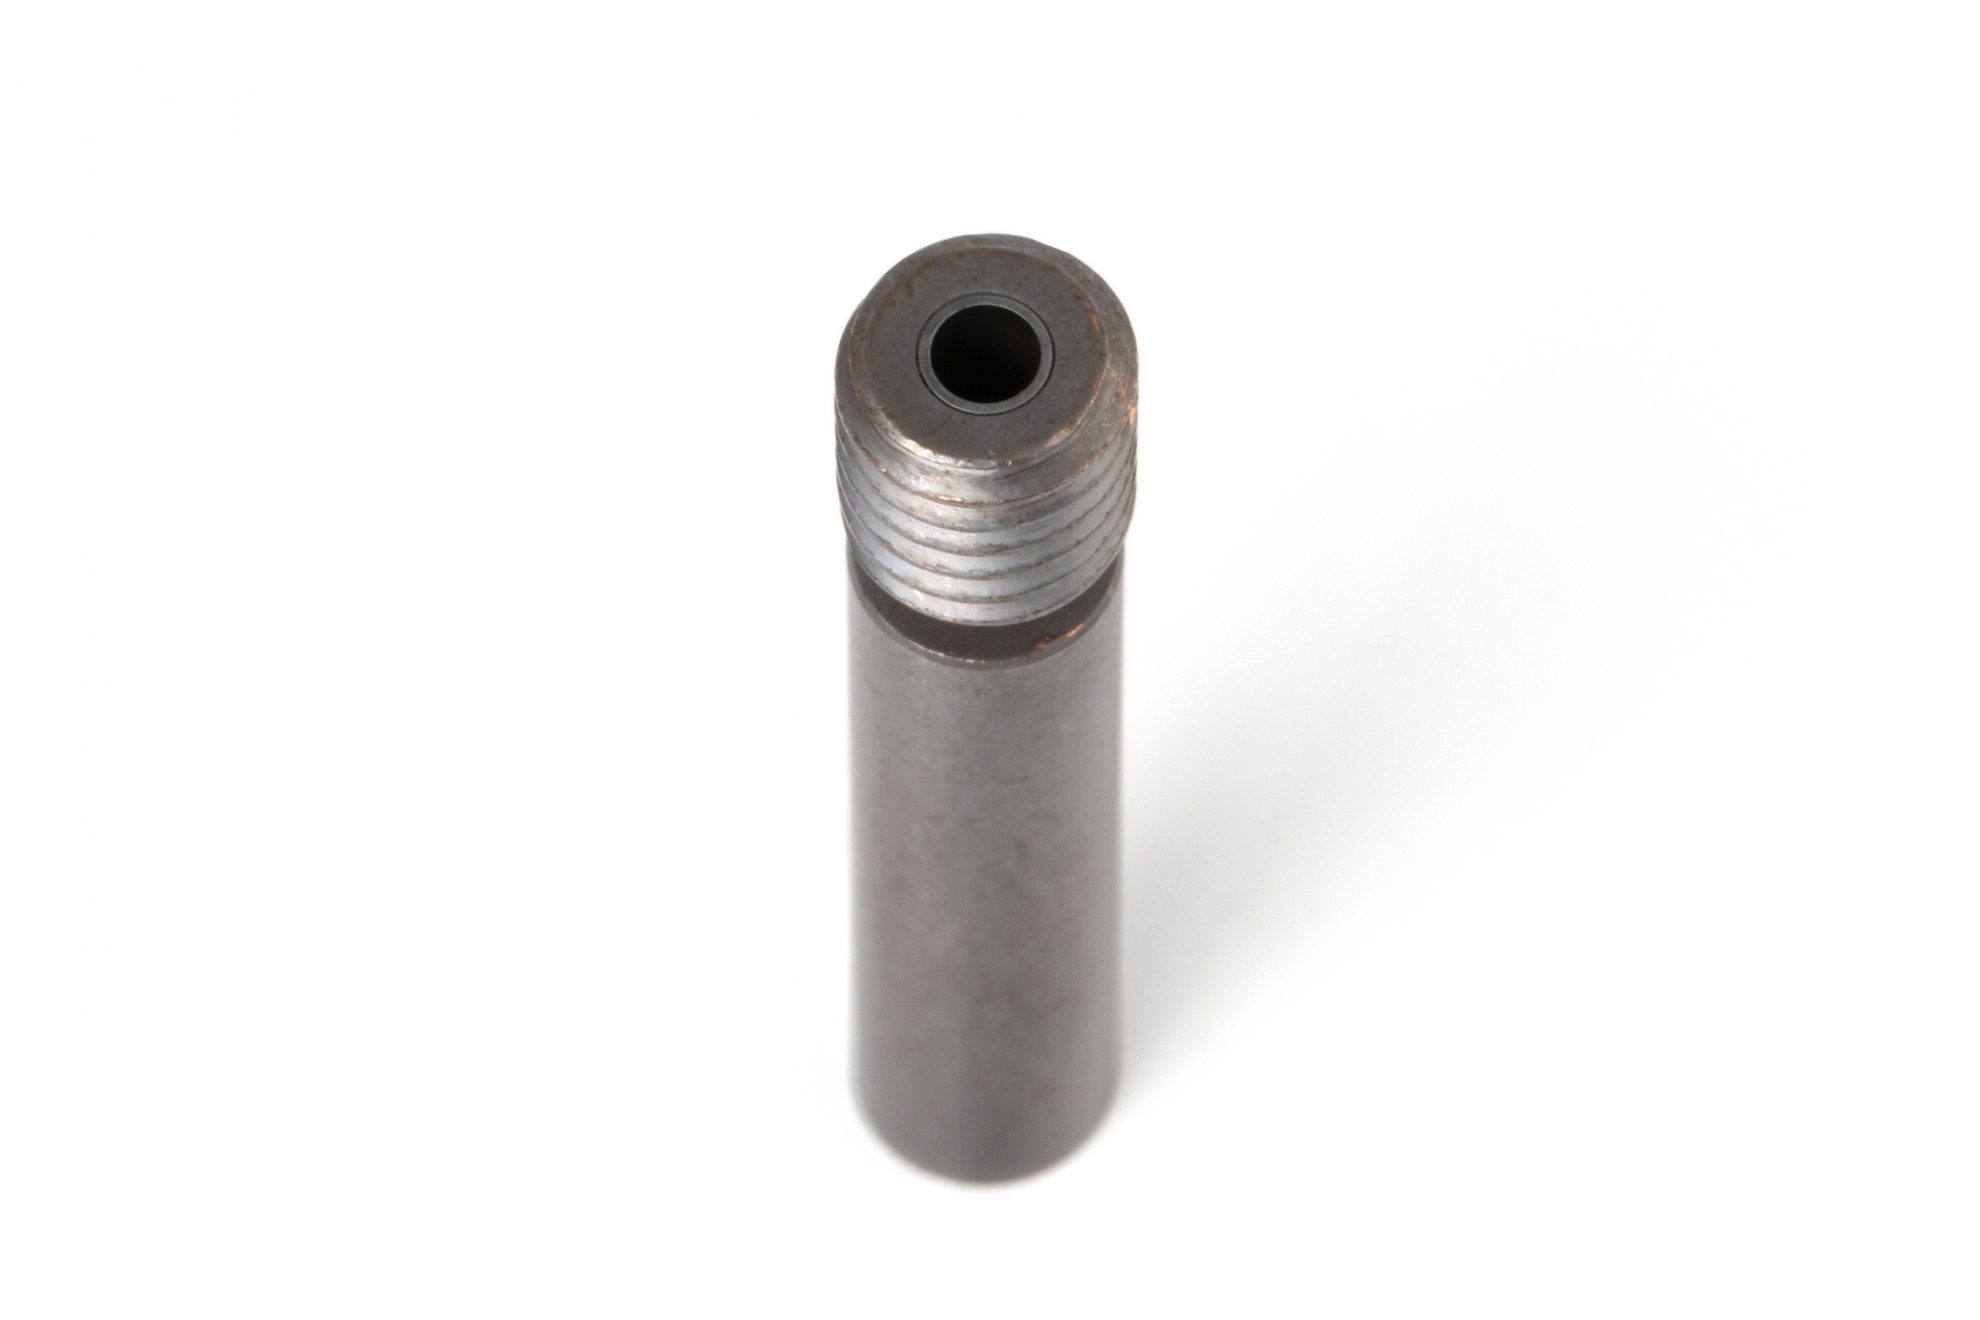
This bi-metallic heat-break made by Slice Engineering for the Prusa Mini addresses and solves the heat-creep issues of all materials we tested.
The adjusted length of the PTFE tube also prevents clogs to form between the tube and the heat-break.
Shipping with Silver thermal grease
and ready to use PTFE tube.
Price:
$34.90
In stock (can be backordered)
Chose Currency / Country
Select Currency
Select Country
Description
Included in this kit:
- 1x Copperhead P Mini heat-break
- 1x 32.8mm 2/4 chamfered PTFE tube
- 1x Silver based thermal paste bag [14118]
Recommendation
We recommend to use the included silver based thermal grease to properly fit the P Mini heat-break in the Prusa Mini’s heat-sink.
Notes on twisting the heat-break
To address the heat creep issues the design features a narrow steel throat with thin walls. When removing the heater block or changing nozzles, caution is required.
Before removing the heater block from the heat-break (or vice versa), heat-up the nozzle, hold the heater block and release some tightening pressure from the nozzle. Let the whole group cool down. After, you can simply unscrew the heat-break from the heater block.
To remove or replace a nozzle, never forget to secure the heater block before twisting the nozzle.
Check the Setup Guide [ 3 Pre-flight check / Step 1 Hot Tighten The Nozzle] for more detailed guidance.
Additional information
| Freight Weight | 6.4 g |
|---|---|
| Dimensions | 8 × 6 × 1 cm |
SETUP GUIDE

SETUP GUIDE
Setting Up the Copperhead P Mini Heat-break for Prusa Mini
The guide below shows how to install the Copperhead P Mini Heat-break for Prusa Mini.
The whole process is divided into 3 stages. Click each tab's arrow below to reveal the steps on each stage. This guide assumes you know how to operate the Prusa Mini. If you don't, please refer to Prusa Mini's Documentation.
You may click the guide's pictures to view bigger resolution versions.
1/3 Disassembly
Step 1. Unload Filament

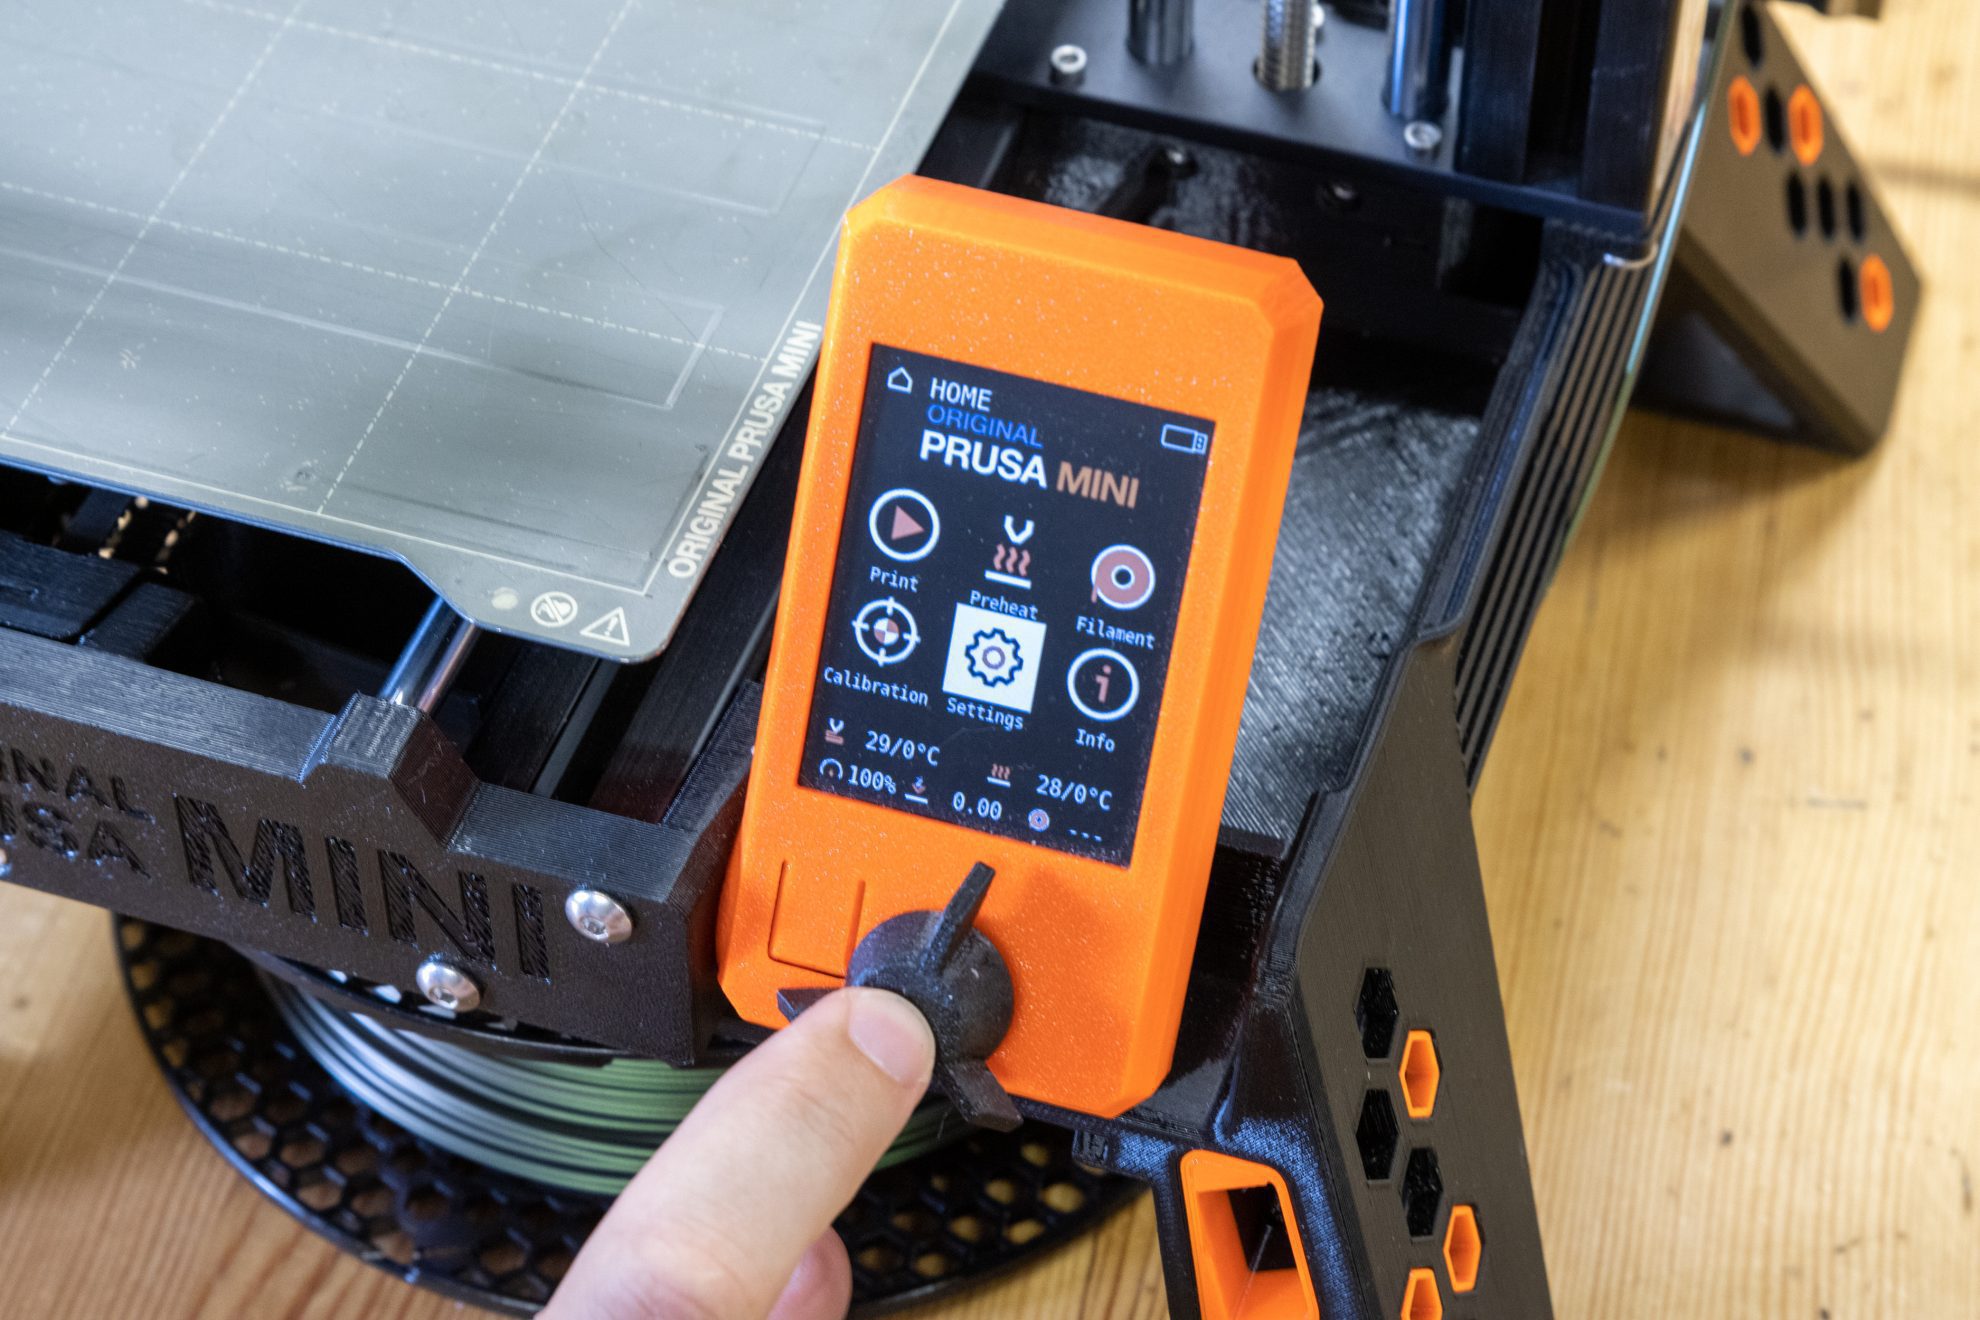
Turn your printer ON

Use option Filament > Unload Filament

Wait for filament to unload
Step 2. Release The Nozzle

Use option Settings > Temperature

Set nozzle temperature to 250C

ALERT : Let the hotend cool-down before proceeding.
Step 3. Release The Main Cable's Strain Relief

Unscrew the strain relief holder's screw

Pull the holder backwards

Lift the holder up
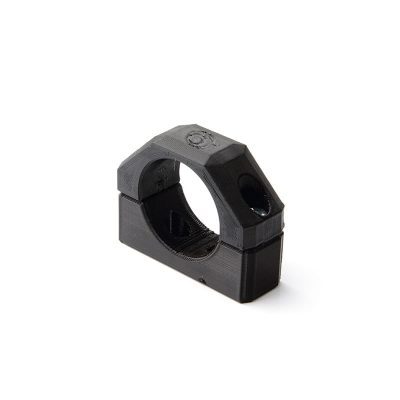
Step 4. Release The PINDA Holder

Unfasten this screw

Unfasten this screw
Release the PINDA holder
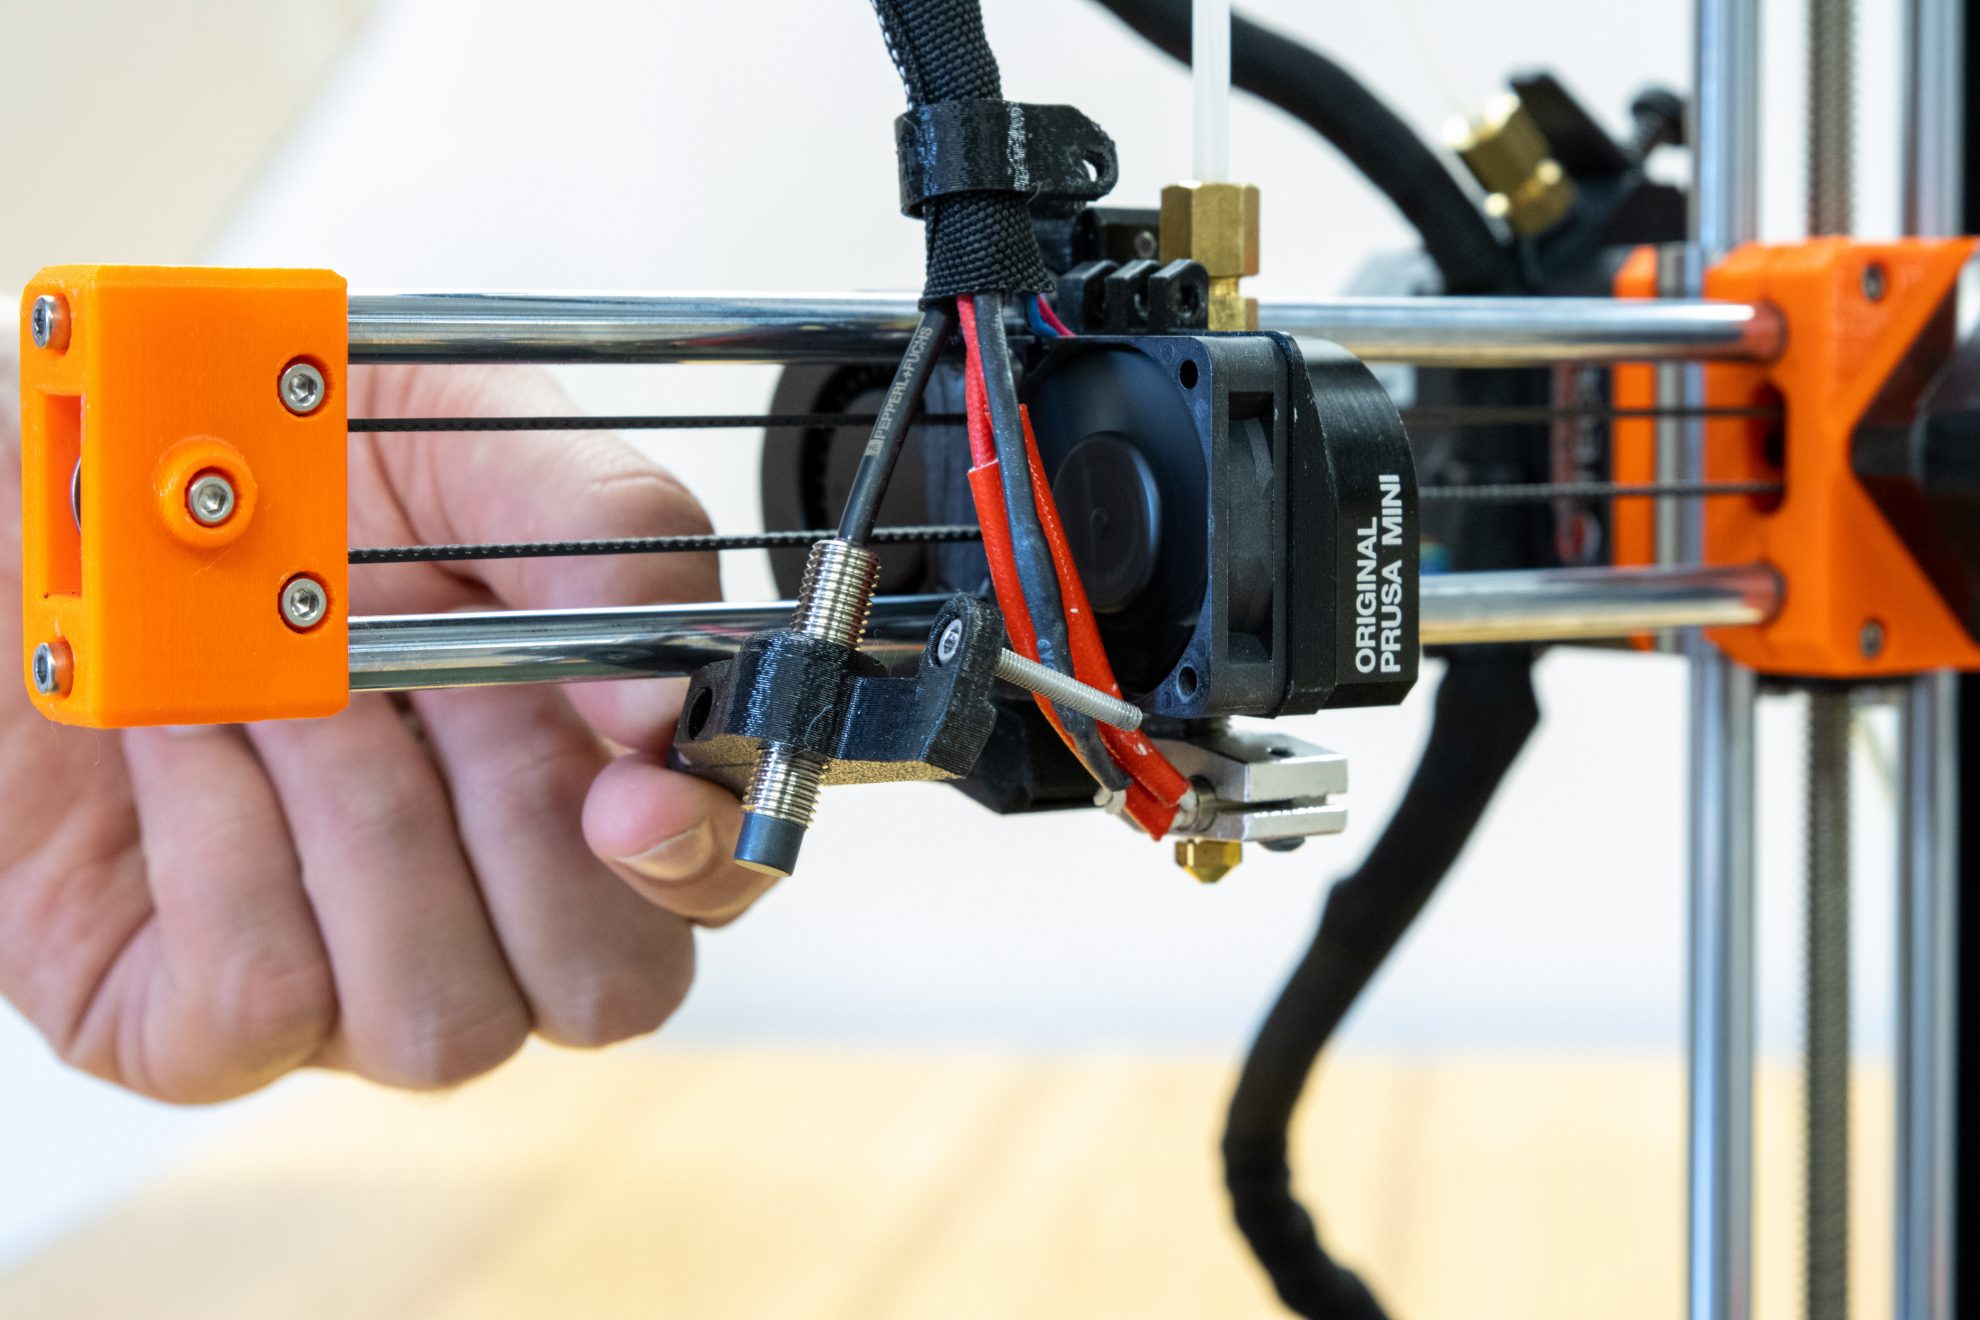
Step 5. Disconnect the Bowden Tube

Unfasten the bottom fitting

Unfasten the pipe fittings

Remove the bowden tube
Step 6. Remove The Heat-break

Unfasten the 3 set screws

Pull the hot block down

Remove the heat-break
Using The Thermal Paste
The surfaces of the heat-break and heat-sink have roughness, due to the manufacturing process. Although micro, that low roughness allows for the creation of micro-pockets of air in between their surfaces.
Air is not a good heat conductor. The pockets of air will decrease the metal-to-metal contact surface and lower the heat dispersion.
For that reason we send with the Copperhead heat-break a bag of thermal paste and we recommend you coat the surface of its cold side as shown in these pictures.
This guide does not show the heat-break coated with the thermal paste but it is recommended you do coat it.


2/3 Assembly
Step 1. Replace The Stock Heat-break

Unscrew the stock heat-break out of the heat-block

Verify the nozzle head is ~2mm away from the heat-block

Screw the P Mini heat-break into the heat-block

Gaps between nozzle/heat-break and heat-block look like these
Step 2. Create Slack On The Pipe Fitting

Use a 10mm wrench

Unscrew the fitting 1/4 of a turn

Step 3. Place The P Mini Heat-break

Insert the P Mini into the heat-sink

Use a hex-key to align the PTFE tube

Tighten the 3 heat-break set screws
Step 4. Re-connect The Bowden Tube

Tighten the pipe-fitting's bottom

Reconnect the pipe-fitting's top

Tighten the pipe fitting
Step 5. Re-install the PINDA mount

Place the PINDA mount back

Tighten this screw

And tighten the other
Step 6. Re-install the Main Cable strain relief

Place the strain relief back

Align the mounting holes

Use the screw to tighten it in place
3/3 Pre-flight Check
Step 1. Hot Tighten The Nozzle
Raise nozzle temperature in Settings

Set the nozzle's temperature to 250C.

Tighten the nozzle with a torque wrench
ALERT : Let the hotend cool-down before proceeding.
Step 2. Z-offset Re-adjustment
Check the Prusa Mini MINDA / Super PINDA Height Adjustment guide for further details.

Turn the Mini OFF

Lower the X-axis

Until the nozzle touches the bed

Release the PINDA set-screw


Tighten the PINDA set-screw again
ALERT : This distance - about 0.8mm - is very important to a proper functioning of the bed levelling and printing.
FAQ
FAQ
Frequently Asked Questions
What are the differences between the P Mini and the Bondtech Heat Break for Prusa Mini?
The main difference are the materials. The Bondtech Heat Break for Prusa Mini is a Stainless Steel heat break. The Copperhead P Mini is a bimetallic heat break, made of a Copper outer body and an interior steel needle.
Due to the materials, there is a big difference in thermal performance. The P Mini has a better cooling performance allowing for a shorter transition from the hot to the cold side.
At the end the main difference is the Bondtech Heat Break for Prusa Mini is a solution for most materials, but it struggles to stop heat-creep and clogs with some forms of PLA. The Copperhead P Mini solves all issues and overall it is a better solution.
Reviews (0)
Only logged in customers who have purchased this product may leave a review.
Related products
ON SALE
$4.90

$14.70

$2.00
Reviews
There are no reviews yet.